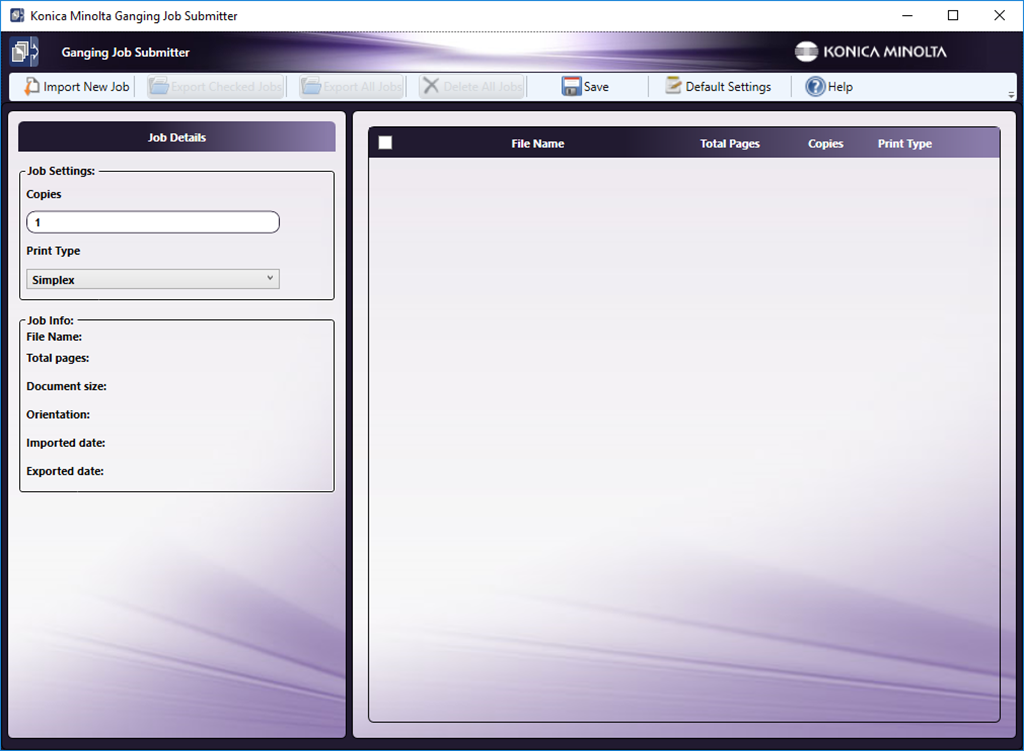
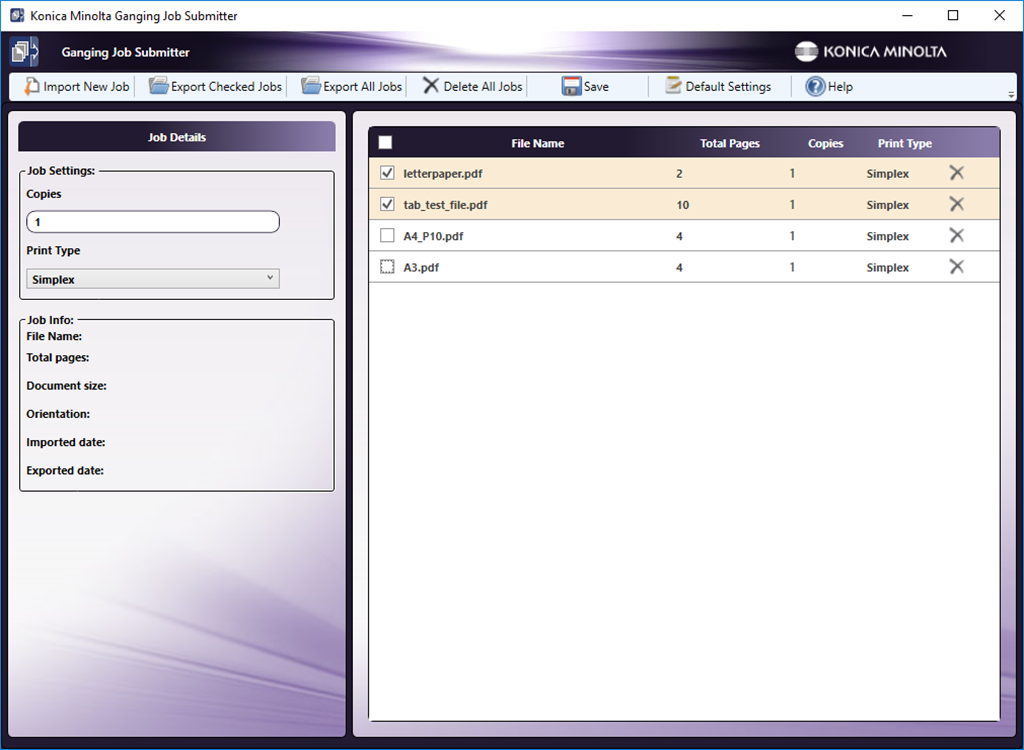
Using the Ganging Job Submitter
Use the Ganging Job Submitter Tool to create an input file for the Ganging Node.
The Ganging Job Submitter screen can be launched by double-clicking the icon shown below:

Import a Job
-
Import a new job by selecting the Import New Job button. On the screen that opens, navigate to then select the file.
-
As an alternative to this method, drag and drop a PDF file onto the main panel of the GUI.
-
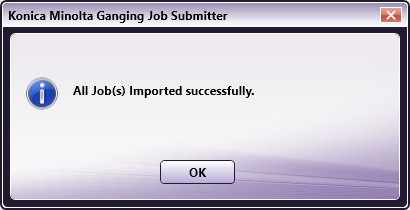
When an import is successful, the following message is displayed.
-
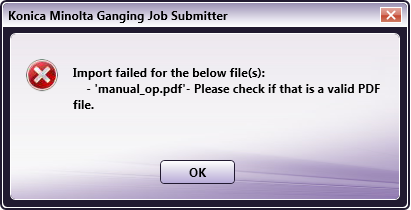
If the job is not imported, the following message appears. The name of the PDF file that failed to import is also noted:
Default Settings
-
“Default Settings” button can be used to apply the current values of Copies and Print Type in Job Details section as default values for the new jobs to be imported.

-
Click the Default Settings button.
-
A confirmation messages opens, Click Yes to apply current settings as default settings or No to cancel the request.

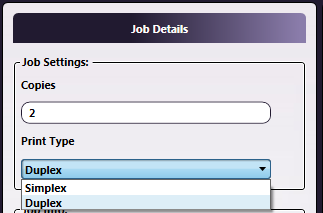
Update Job Details
-
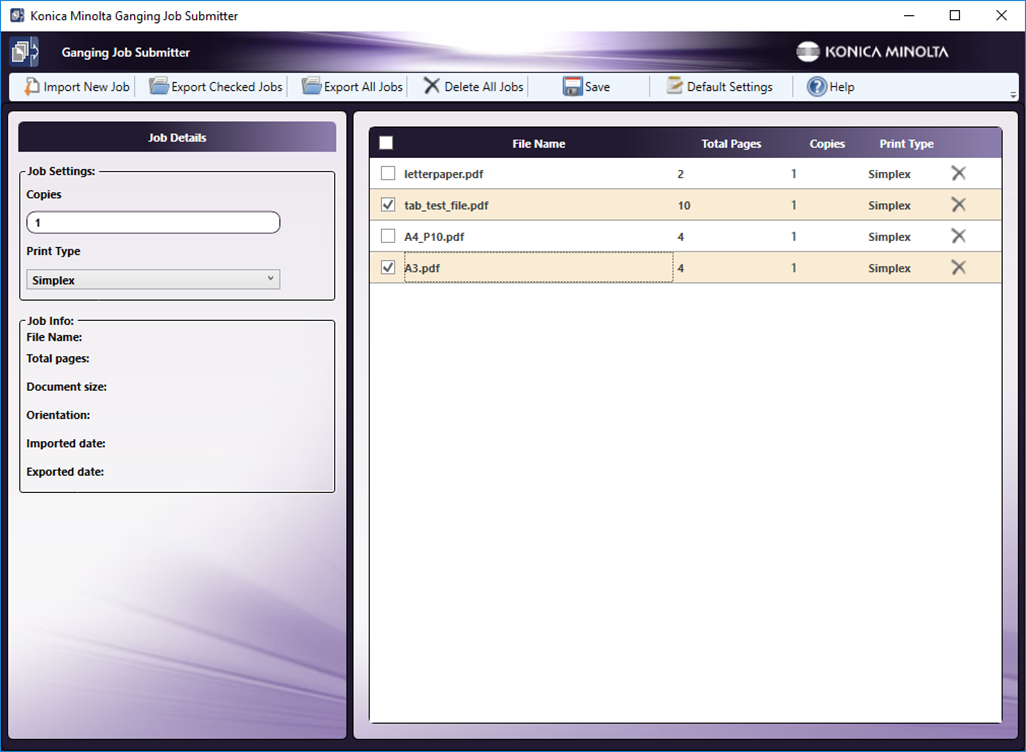
Select one or more jobs from the table by holding the keyboard’s (Ctrl) or (Shift) key:
-
Under the Job Details section, enter a value for Copies and select a Print Type from the drop-down:
-
The updated Copies and Print Type values are reflected in job table.
Export a Job (or Jobs)
-
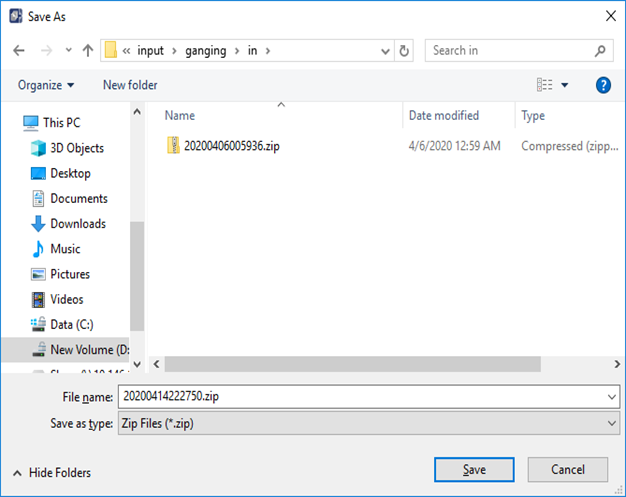
In the main panel, click the selection box of one or more jobs. From the top menu, click the Export Checked Jobs button.

-
On the screen that opens, navigate to the preferred storage location, and click Save.
-
As an option, select the Export All Jobs button to export all the jobs in the main panel

-
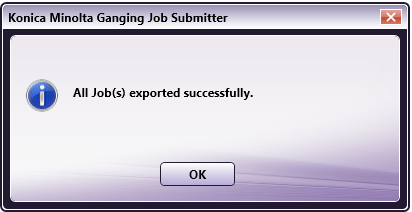
The jobs are sent to the specified location. Once the export is successful, the following pop-up message opens:
-
A zip file is created for each job. The zip file is stored in the location specified in Step 2 above. The file name is noted in the pop-up message using the naming convention date + time.ZIP. The date and time format is as follows:
• If the ZIP file is created at 09:58:42 on Aug 10, 2017, the file name is:
20170810095842.ZIP
The ZIP file is ready to be submitted to the Ganging Node.
Delete Jobs
-
In the main panel, select one or more jobs by holding the (Ctrl) or (Shift) key then pressing the keyboard’s Delete button.
-
A confirmation message opens. Click Yes to delete the selected job(s) or No to cancel the request. If Yes is clicked, the selected jobs are removed from the job’s list.

-
To delete all jobs, click the Delete All Jobs button:

-
A confirmation message opens. Click Yes to delete all jobs or No to cancel the request. If Yes is clicked, all jobs are removed from the job’s list.

Save and Help Options
-
To save all changes made to the node, click the Save button:

-
To launch the Help file for Ganging Job Submitter, click the Help button:
