The Recovery Procedure for a Site Server That Was Part of a Spooler Controller Group
This page describes the recovery of a single Site Server from a Spooler Controller group which was installed using a Server installer package – the Site Server deployment scenario. It is expected that the server is no longer functional and a new one will be used to replace it.
This guide assumes that you have a backup of databases and a backup of configuration (and binary) files available.
Jobs stored on the non-functional server will be lost and users will need to submit them again.
Site Server Recovery
Prepare a server (or a virtual machine) with the same hostname/IP as the original Site Server had used.
Check the backup of the configuration files and note the following:
Which optional features were installed:
Mobile Print Server – the MPS folder is available in backup files.
Dispatcher Paragon Payment System – the YPS folder is available in backup files.
Site Server GUID (SPOC GUID). It is noted in the guid.conf file as the value of the LocalGUID option. For example:
backup\SPOC\conf\modules\guid.conflocalGUID=ectp5o8ep0op3hzi
Reinstall Site Server using the same build installation package.
Enable optional features if they were used before (see step 2.a).
Configure the connection to Management Server(s) the same way as was configured before.
Provide the wizard with the same Site Server GUID that was used before (see step 2.b).
Finish the installation.
See Site Server Deployment for a detailed procedure.
If Dispatcher Paragon Payment System with an embedded PostgreSQL database was installed on the Site Server that is being restored, perform the following steps:
Stop almost all Dispatcher Paragon services after installation is finished.
Leave only the YSoft Bundled PostgresSQL 11 service running.
Stop all other Dispatcher Paragon services.
You can use the following PowerShell script to perform the task:
Get-Service*YSoft* |Where-Object{$_.Name-notmatch'YSoftPGSQL'} |Stop-Service
Run the pgAdmin administration tool <DispatcherParagon_DIRECTORY>\PGSQL\bin\pgAdmin4.exe (e.g., c:\DispatcherParagon\PGSQL\bin\pgAdmin4.exe)
In the Object browser window, double-click the SafeQ 6 item and connect to the server
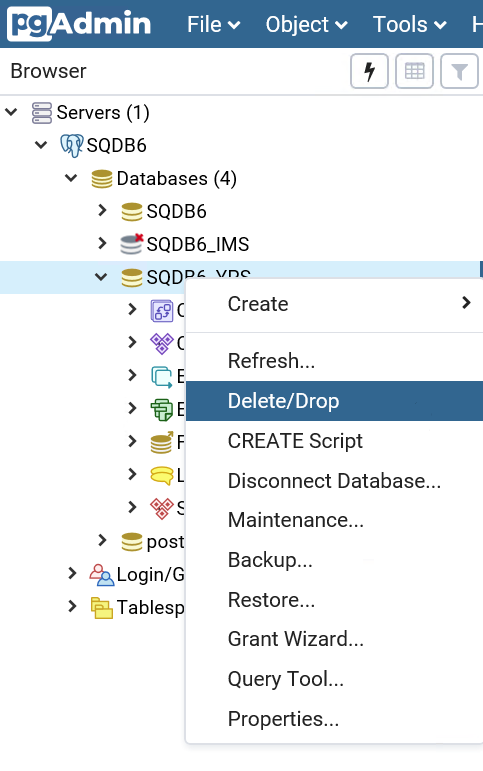
Delete the current SQDB6_YPS database:
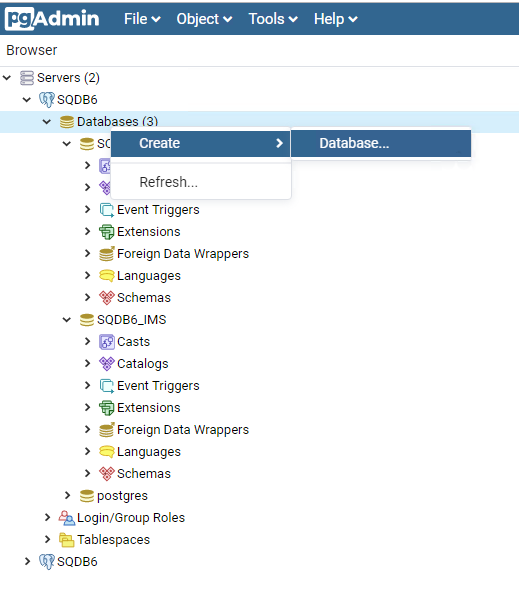
Create a new SQDB6_YPS database:
Right-click Databases > Create > Databese...
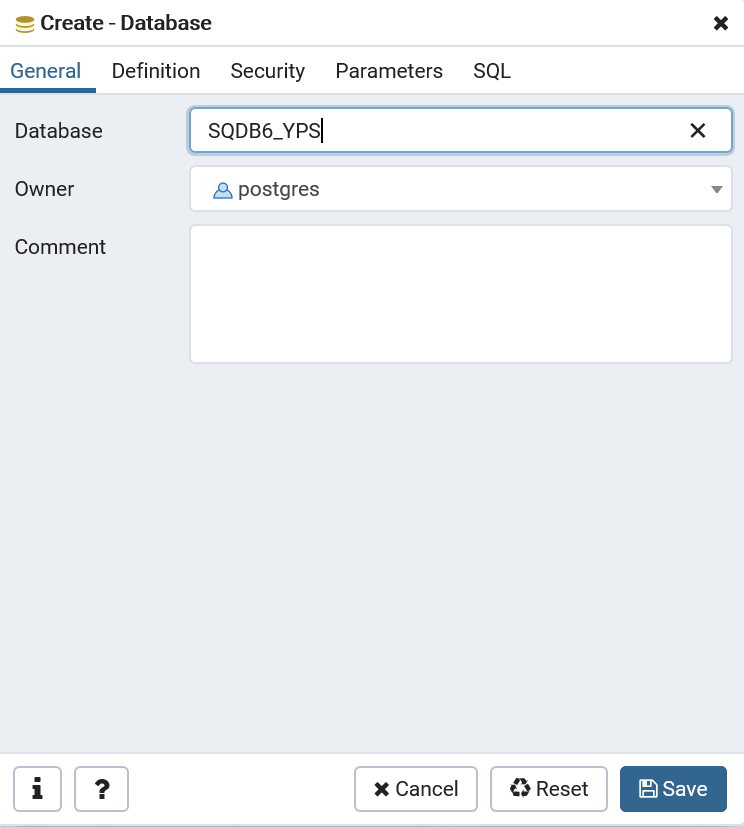
Create a new SQDB6_YPS database with Owner set to postgres:
Restore SQDB6_YPS database from the backup file:
Right-click the database name and select Restore... option.

Select your backup file
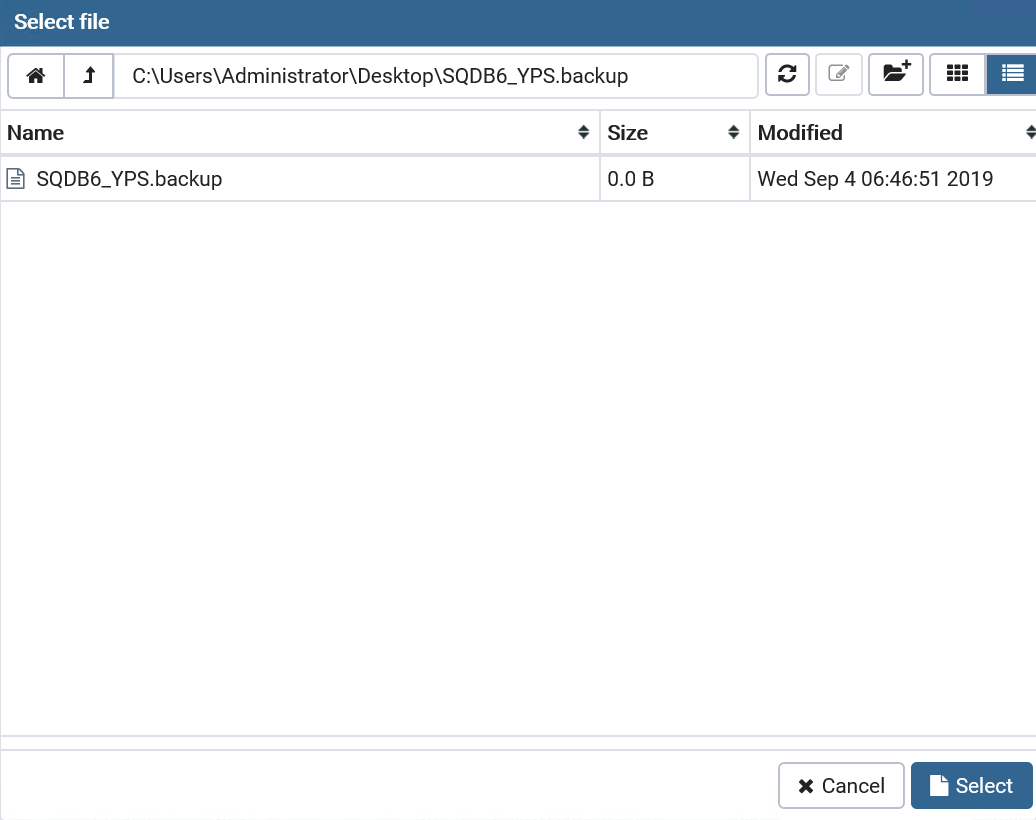
Click Restore.
The backup will be restored.
Popup appears with information that procedure ended successfully
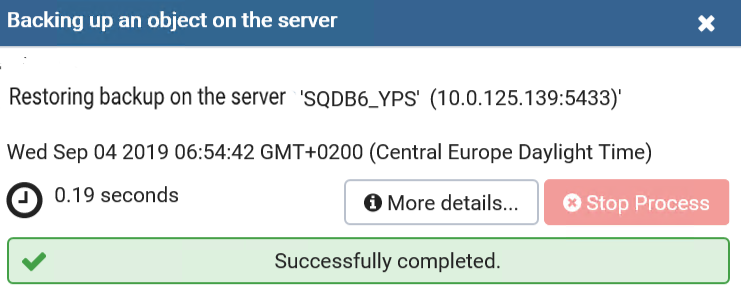
Click on More details to see log.
Start Dispatcher Paragon services with the Automatic startup type again.
Do not start the Dispatcher Paragon Spooler Controller Group Service. It will be started by the Dispatcher Paragon Spooler Controller service when the proper configuration is ready.
You can use the following PowerShell script to perform the task:
Get-Service*YSoft* |Where-Object{$_.Name-ne'YSoftSQ-SPOCGS'} |Start-Service
Restore the customized configuration:
If you had services running under a specific domain account, set it up again.
If you used customized scripts on the server (e.g., for batch files launched by Rule-Based Engine or customized batch files used by Workflow Processing System), restore those scripts from backup.
If you used a customized configuration (such as your own certificates for the web services), seek the relevant documentation and set up the configuration again.
Check the Management Web interface, the Spooler Controller must be correctly shown as online.
Reinstall all Dispatcher Paragon Embedded Terminals that are managed by the affected Spooler Controller.
Spooler Controller Group Verification
If the failover for Embedded Terminals is being used and the parameter enableEtcd is enabled, then the etcd cluster in Terminal Server must also be reconfigured
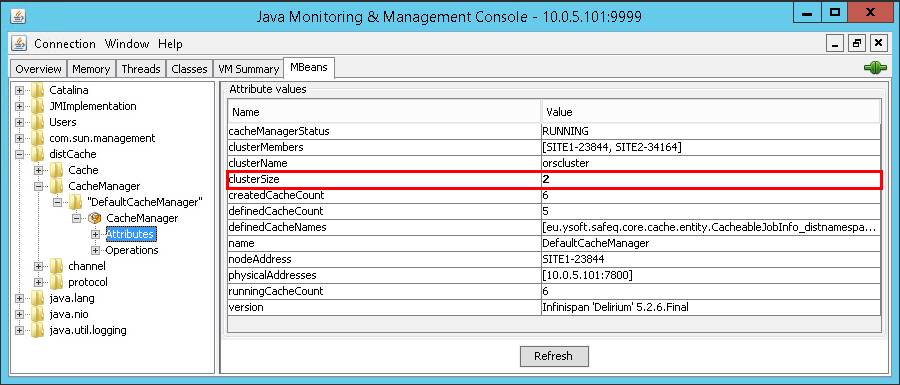
Check the number of Site Servers forming the Spooler Controller group using JConsole
Please do no change anything in the MBeans tab. Just check the values in the Attributes leaf.
Run <DispatcherParagon_DIRECTORY>\SPOC\utilities\sqjconsole.bat
Connect to a Site Serverthat is a member of the target Spooler Controller group on port 9999.
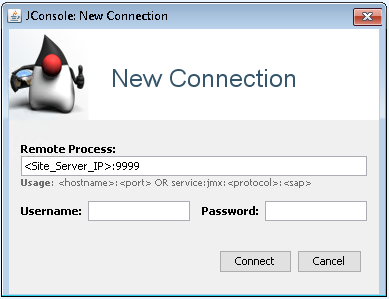
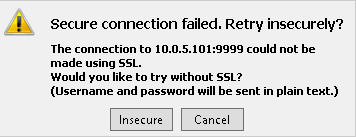
Confirm the Insecure connection.
Switch to MBeans tab.
Expand distCache > CacheManager > DefaultCacheManager > CacheManager and select Attributes.
Check the value of clusterSize – it must correspond to the number of Site Servers in the desired Spooler Controller group.