- After you installed the embedded terminal, navigate to the web interface of the Brother device.
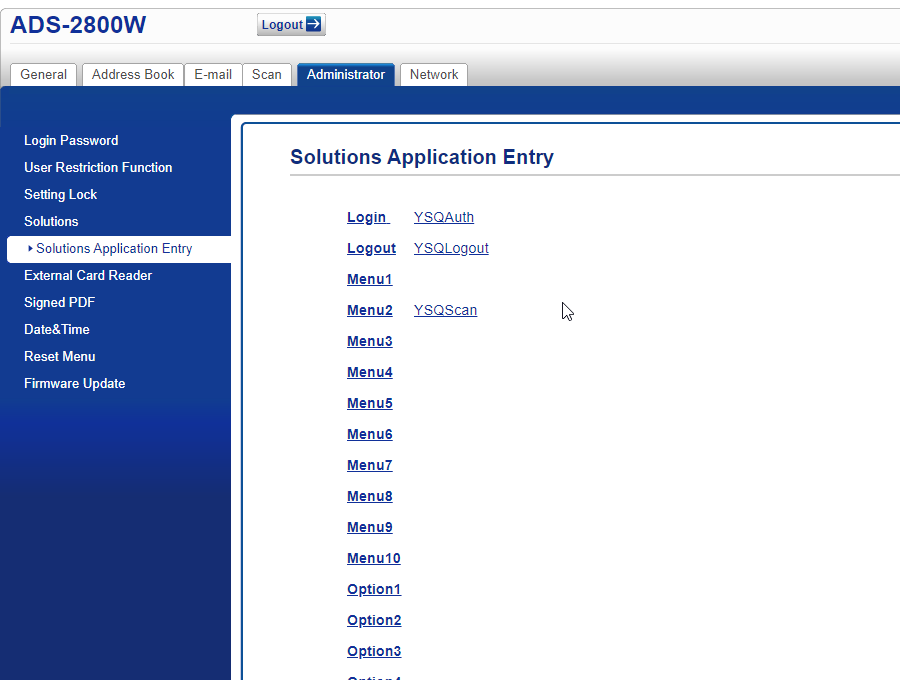
- Navigate to Solutions - Solutions Application Entry.
- Click YSQPrint.

Remove all entries from the fields for Application ID, Display Name, URL.
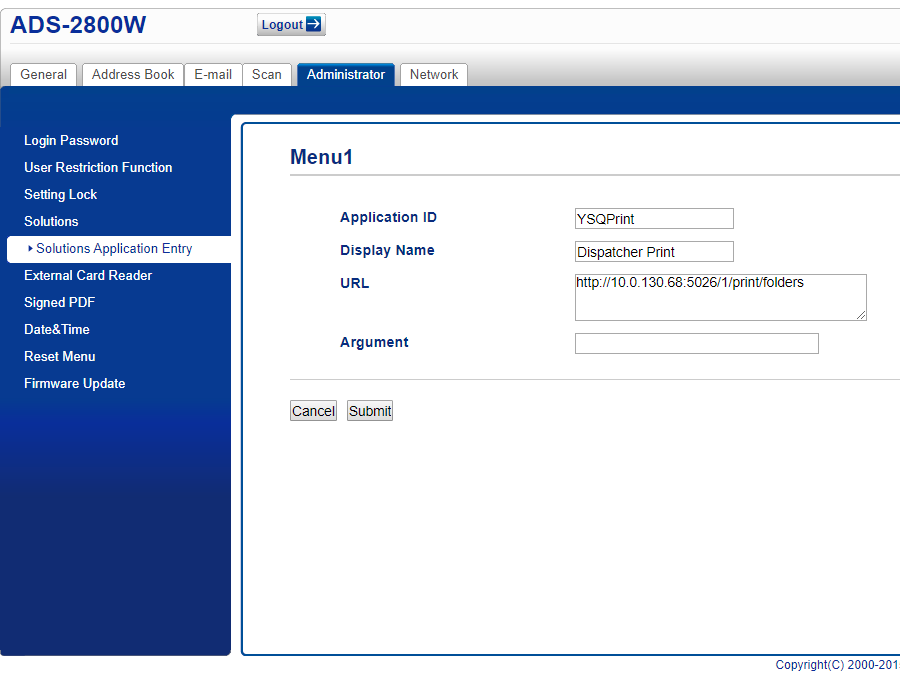
- Click Submit.
- After saving the change, the Solutions Application Entry screen looks like this:
- Navigate back to the Solutions screen.
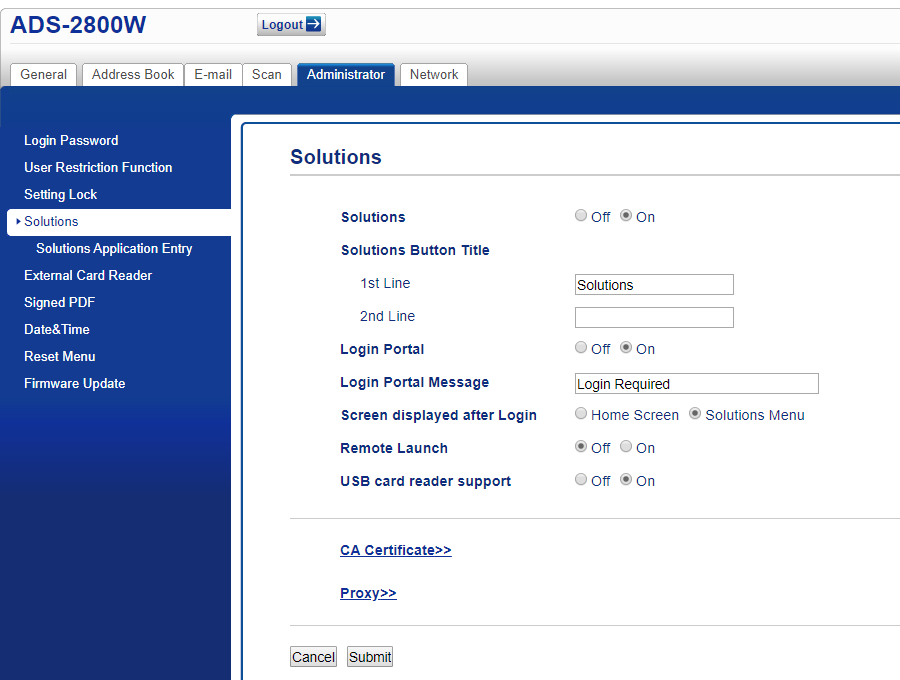
- Set Login portal to ON.
- Set Screen displayed after Login to Solutions Menu.
- Save the changes.
- Wait for the device to restart.
- After the user logs in to device they will be taken directly to Dispatcher Paragon Scan application.
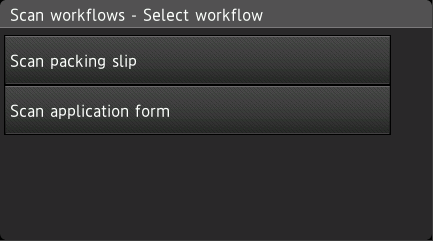
(The example above shows two scan workflows Scan packing slip and Scan application form.