LPR is a network protocol for submitting print jobs to a remote printer or print server. Dispatcher Paragon can behave as a print server in this case. This page explains how to configure a shared printer in Windows Server 2012 to use LPR for printing jobs via Dispatcher Paragon.
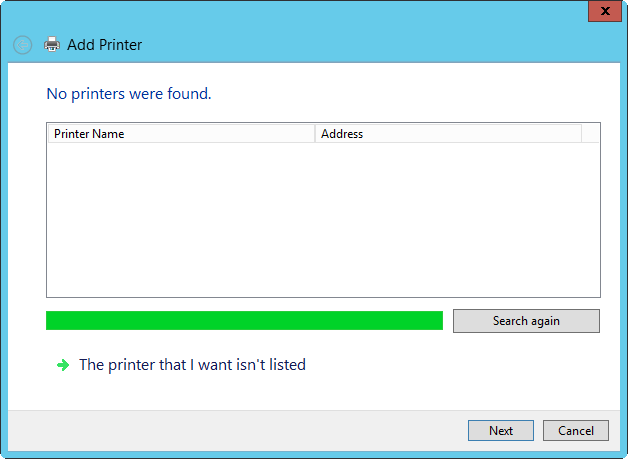
- Open the Devices and Printers wizard and select Add a printer.
- Select The printer that I want isn't listed.
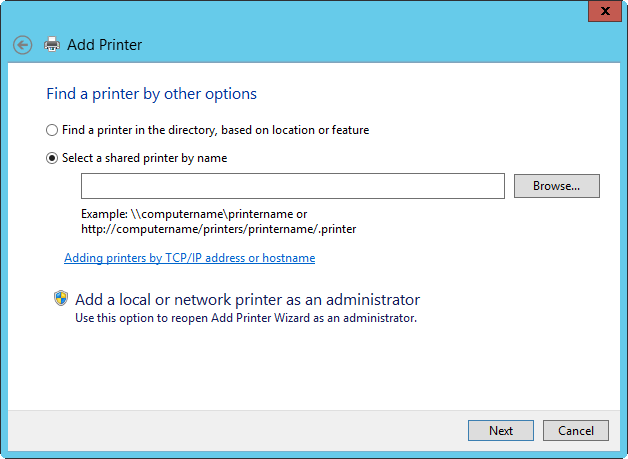
- Select Add a local network printer as an administrator. By selecting this you will reopen the Devices and Printers wizard as an administrator.
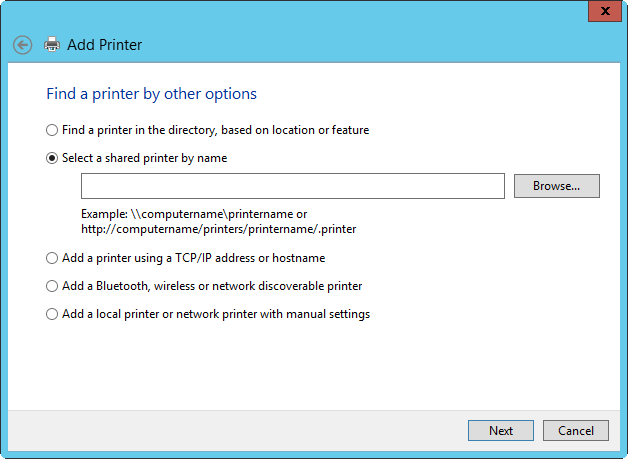
- Select The printer that I want isn't listed.

- Select Add a printer using a TCP/IP address or hostname.
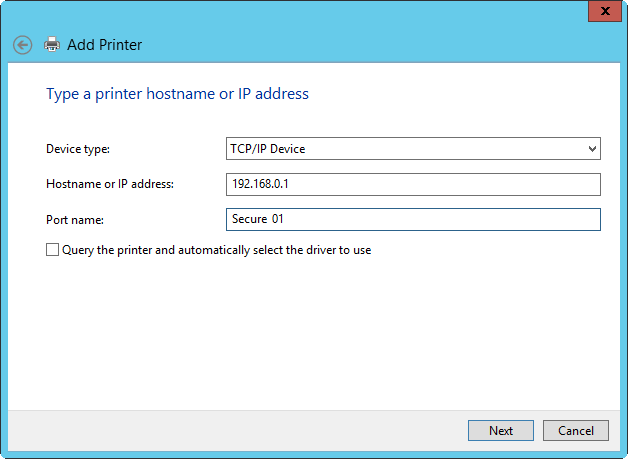
- For Device type, select TCP/IP Device. For Hostname or IP address, enter the address of the Dispatcher Paragon Management Server or Dispatcher Paragon Site Server; then enter a name for the port.
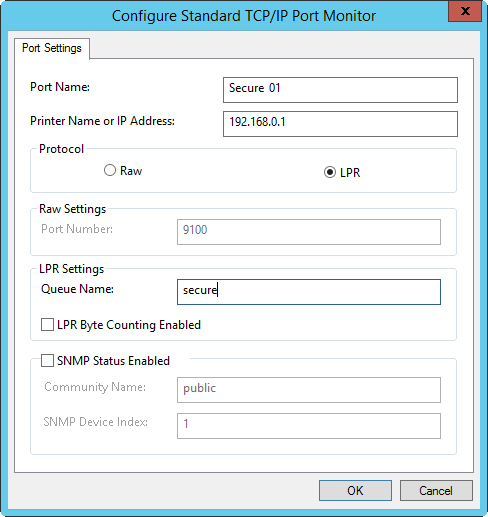
- Select Custom and click on Settings.

The Hostname or IP address of the Dispatcher Paragon Management Server or Dispatcher Paragon Site Server created should already be visible in Port Name and Printer Name or IP Address
- In the Protocol section, select LPR.
- On the LPR Settings page, enter the name of the queue that will be used for the printer (for example secure when using print roaming).
- If necessary, change other settings on the page to disable LPR Byte Counting and SNMP status.
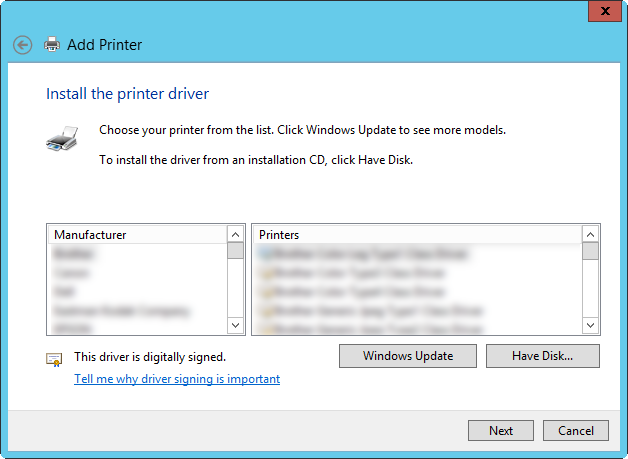
- From the list of printer drivers, select the appropriate driver or select a driver from the disk. Please make sure that the selected driver is supported by all MFPs in the print roaming group.
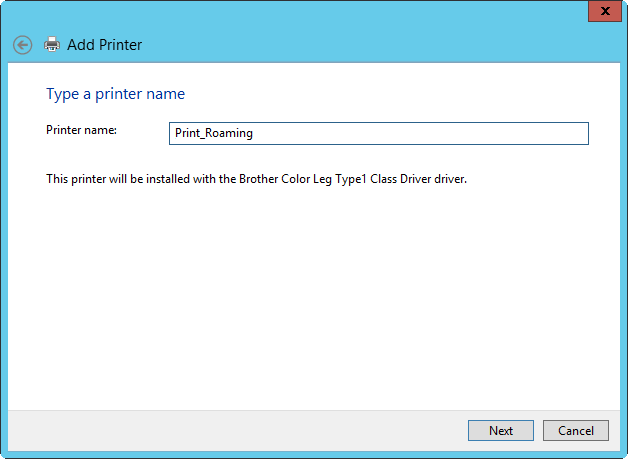
- Enter a name for the new printer for example SafeQ_Print_Roaming.
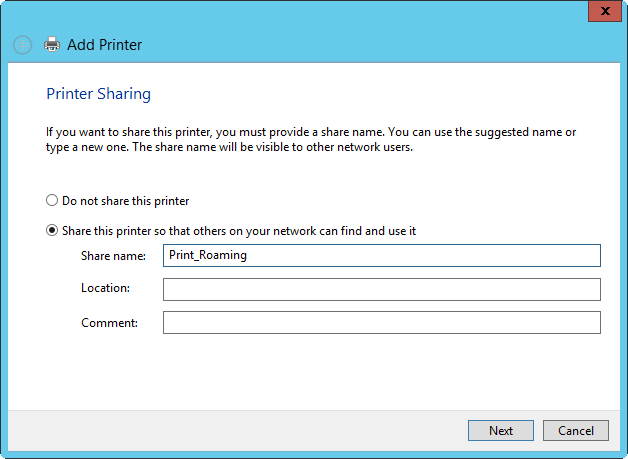
- To share the printer select Share this printer so that others on your network can find it and use it.
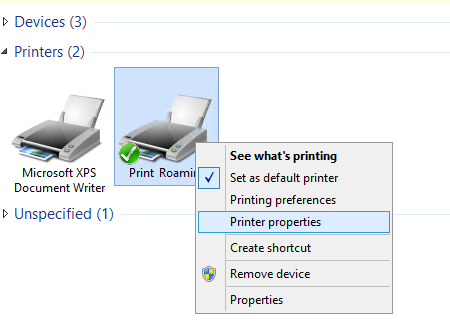
- To give access right to the group Everyone, follow the procedure below. Open Devices and Printers, right-click selected device and select Printer properties.
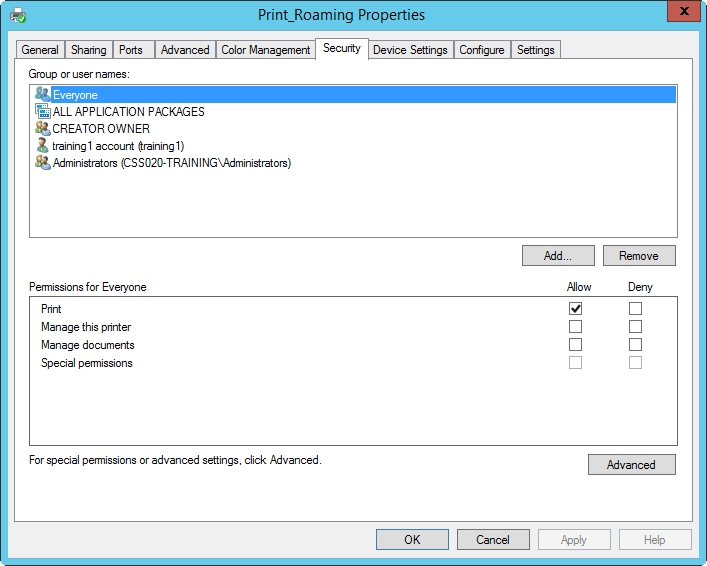
On the Security tab, make sure the group Everyone has the permission to Print.
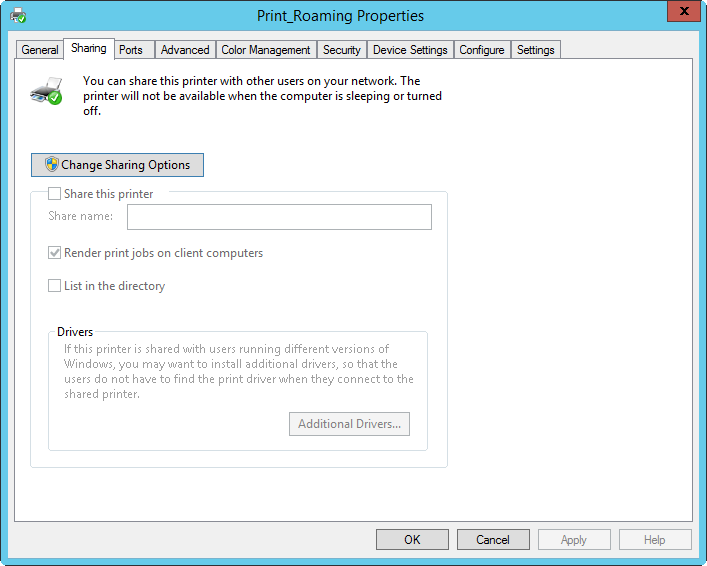
- To add a x86 print driver go to the tab Sharing in order to add support for 32bit Windows OS. Select Change Sharing Options.
Then select additional Drivers.
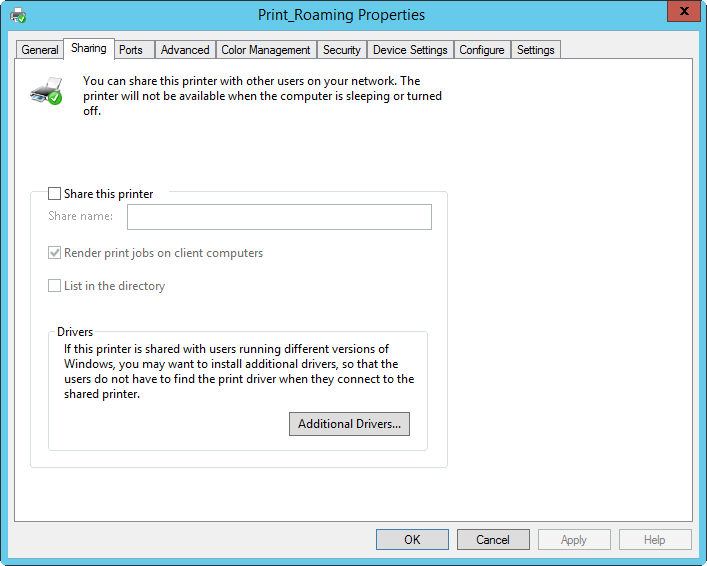
In the additional drivers window please select x86.
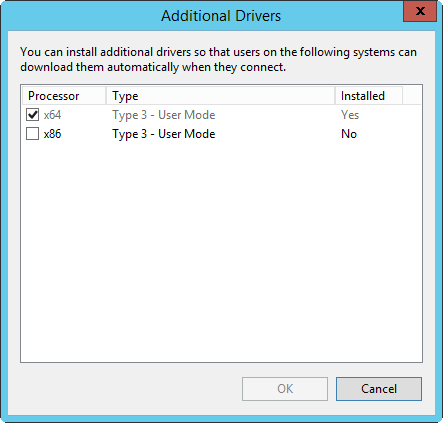
Then select the Location of the print driver.
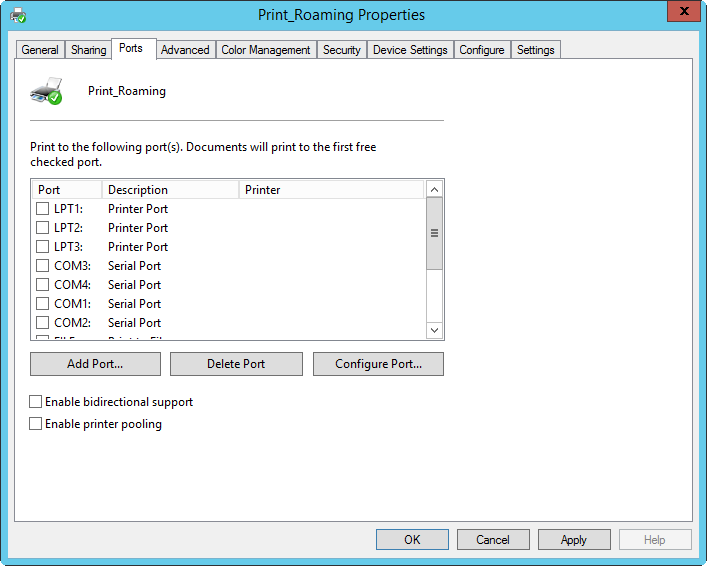
- Because the print driver has no direct access to any printer, it is necessary to uncheck Bidirectional support to prevent a time-out caused by unsuccessful attempt for such communication. On the Ports tab, make sure Enable bidirectional support is left unchecked. When the print driver has any other kind of bidirectional support embedded, it has to be disabled as well such as Auto Acquire Settings, Bi-Directional Communication, etc.
- Because the driver is in default configuration, it is necessary select all available extensions and options such as finishers, paper trays, staplers, booklets to meet the highest available hardware configuration.
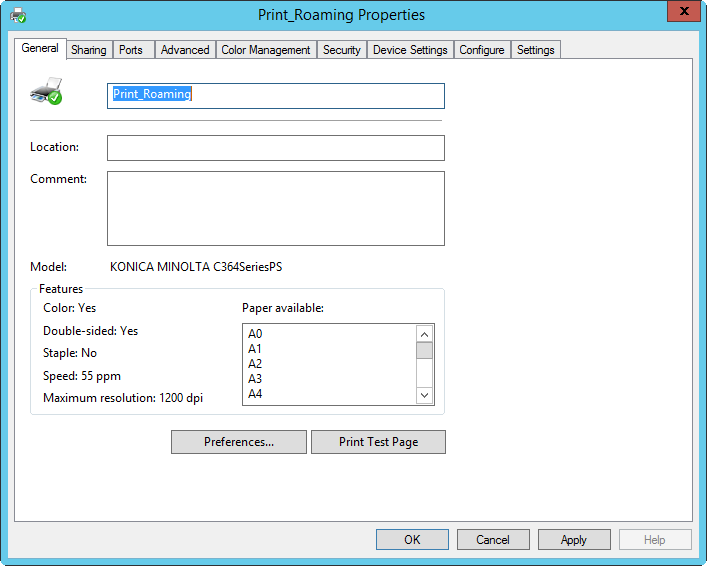
- Send a test page to validate that the printer was installed correctly. Go to the tab General and select Print Test Page.
- Enable Print Pooling and create another 4 LPR ports.