This document has been created using WorkCentre 4265
![]() You must enable Network accounting using Network Accounting Kit 098S04928.
You must enable Network accounting using Network Accounting Kit 098S04928.
Enabling SSL
SSL can only be enabled and configured from an internal web page of the MFD. Create a new secure certificate, and enable SSL.
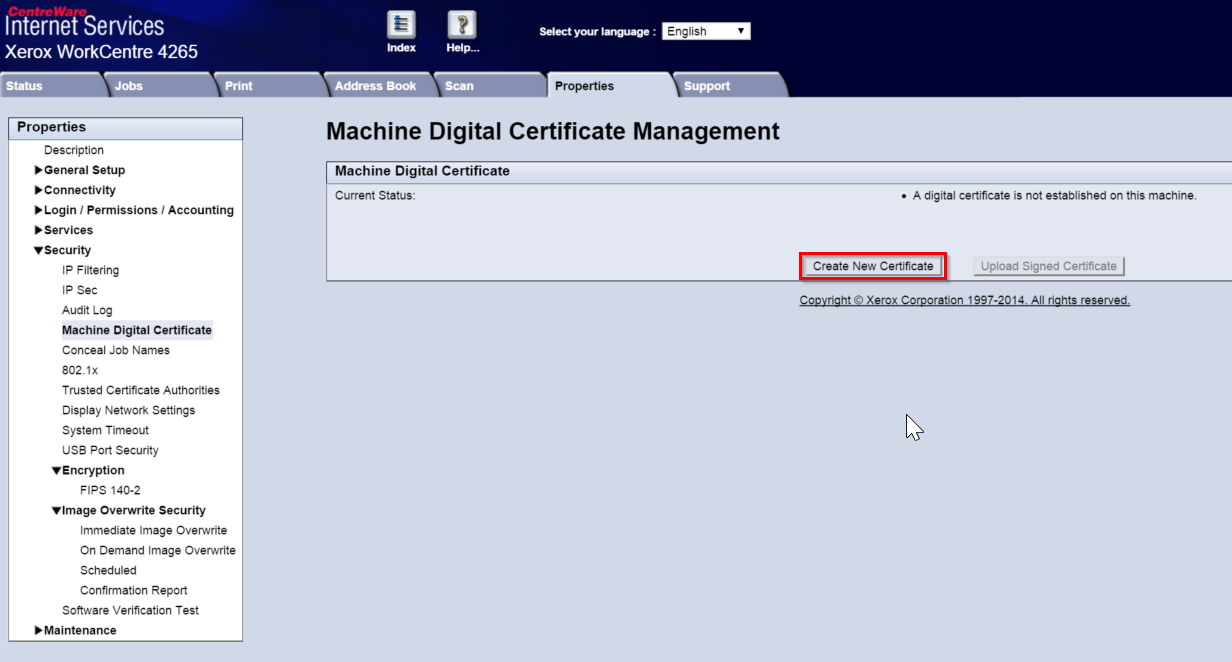
Go to Properties tab > Security > Machine Digital Certificate, and check Installed Certificates. If a certificate has not been created, create a new Self Signed Certificate.
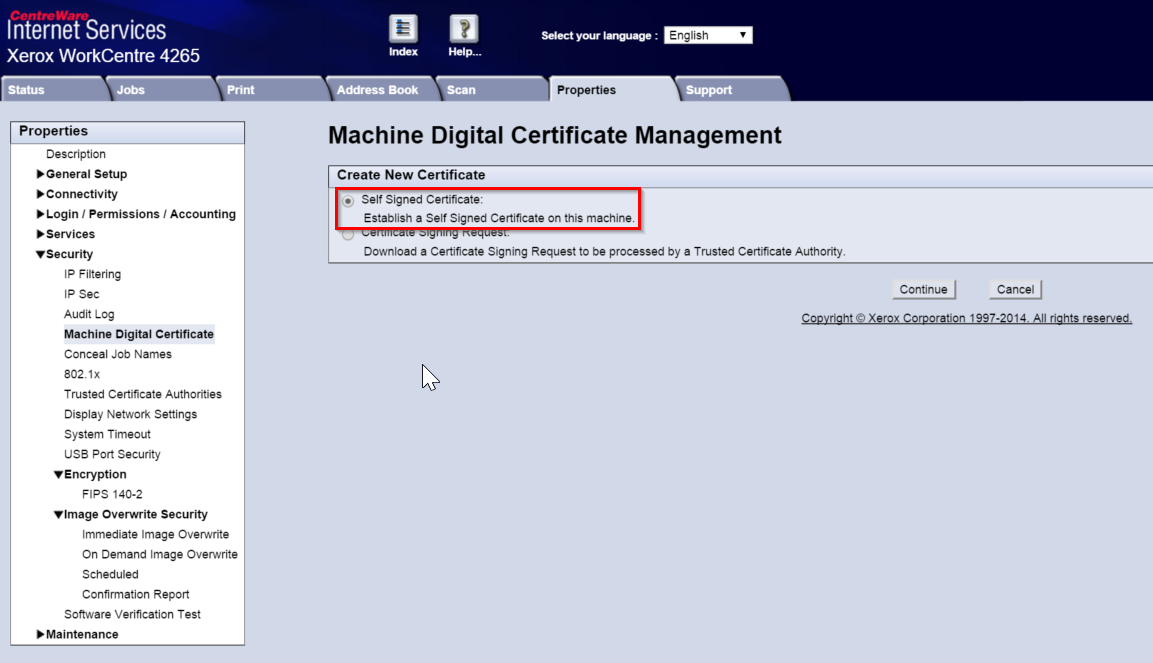
Select Self Signed Certificate in order to Establish a Self Signed Certificate on this machine.
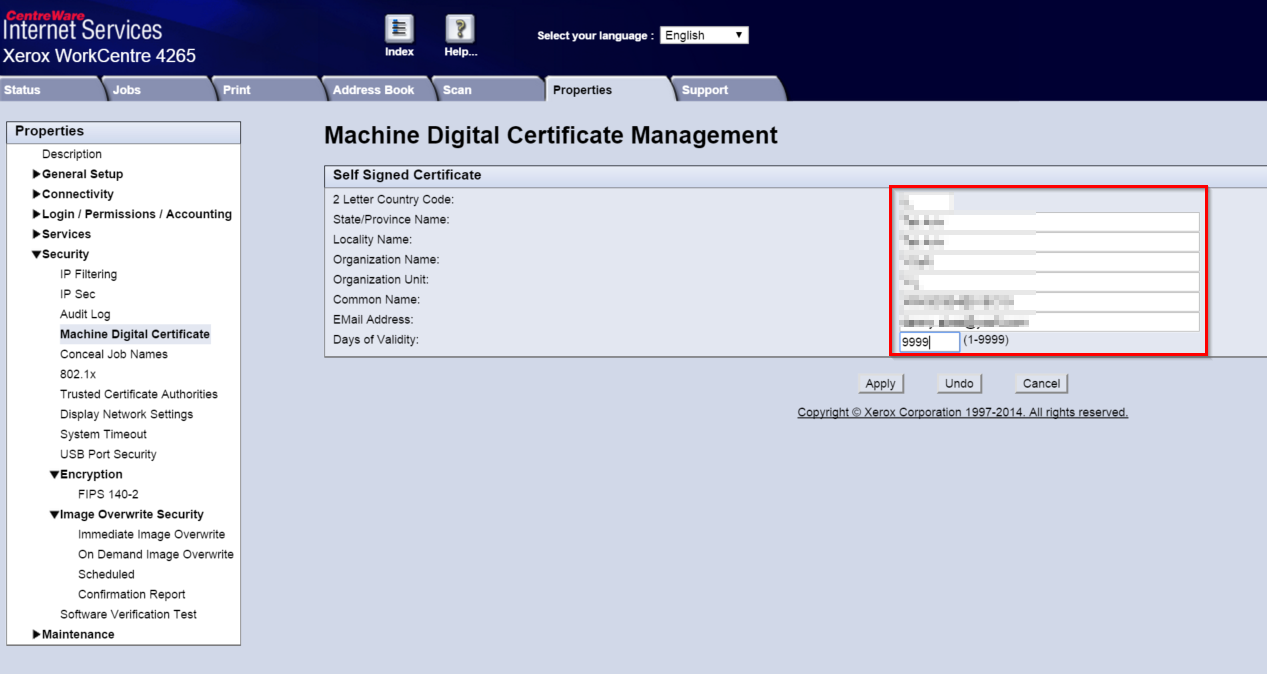
Enter the company information, set the days of validity to max, and press Apply.
Then go to the Properties tab > Connectivity > Protocols > HTTP, and enable SSL.
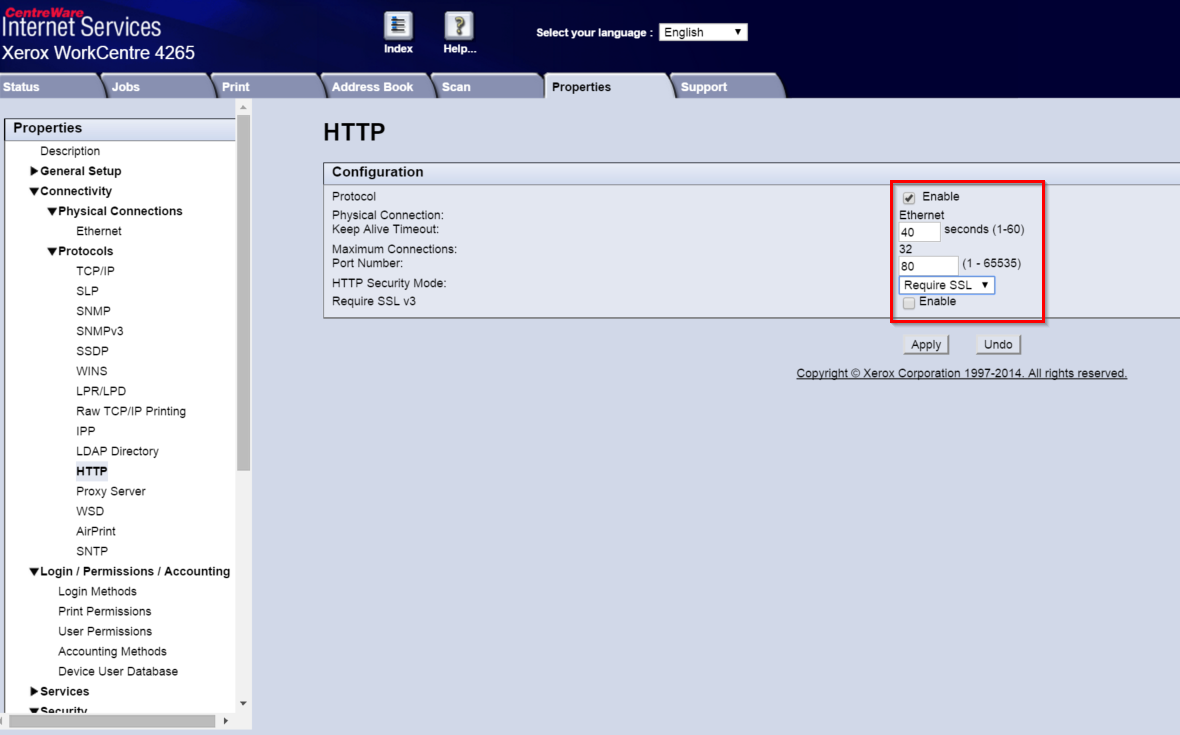
Note that you have to reload the page after you enable SSL if it was disabled before. The next time, you will be redirected to a secured page (HTTPS). Also remember that you have to recreate the certificate if you move the device to another IP as the certificate is IP related.
Enabling JBA ("Network Accounting")
Turn on the Network Accounting (formerly called JBA) technology if you are using MFD specific accounting instead of SNMP or job analysis accounting.
It is also required for On-box and Off-box user verification (otherwise, it must be turned off)
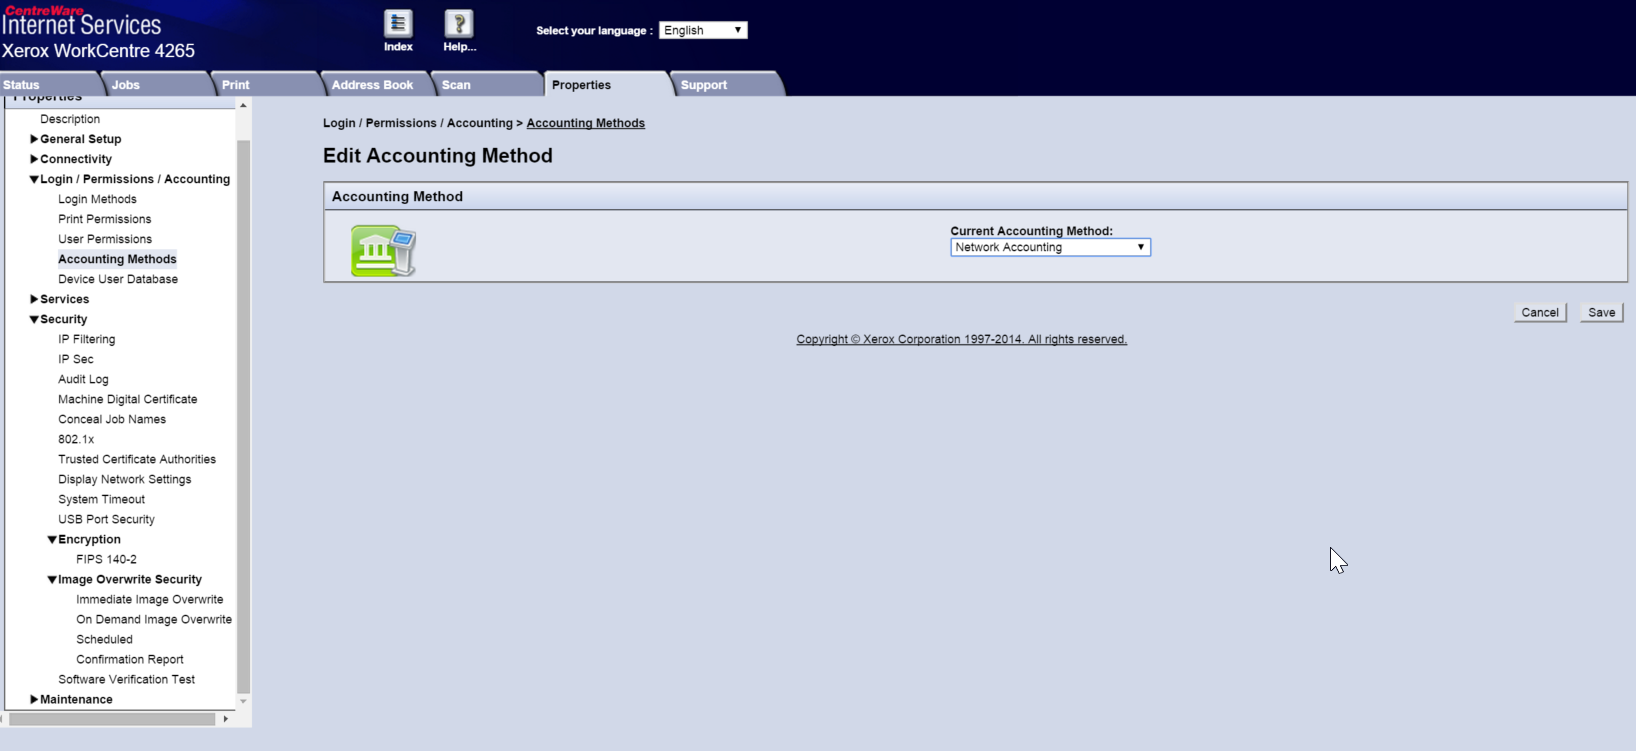
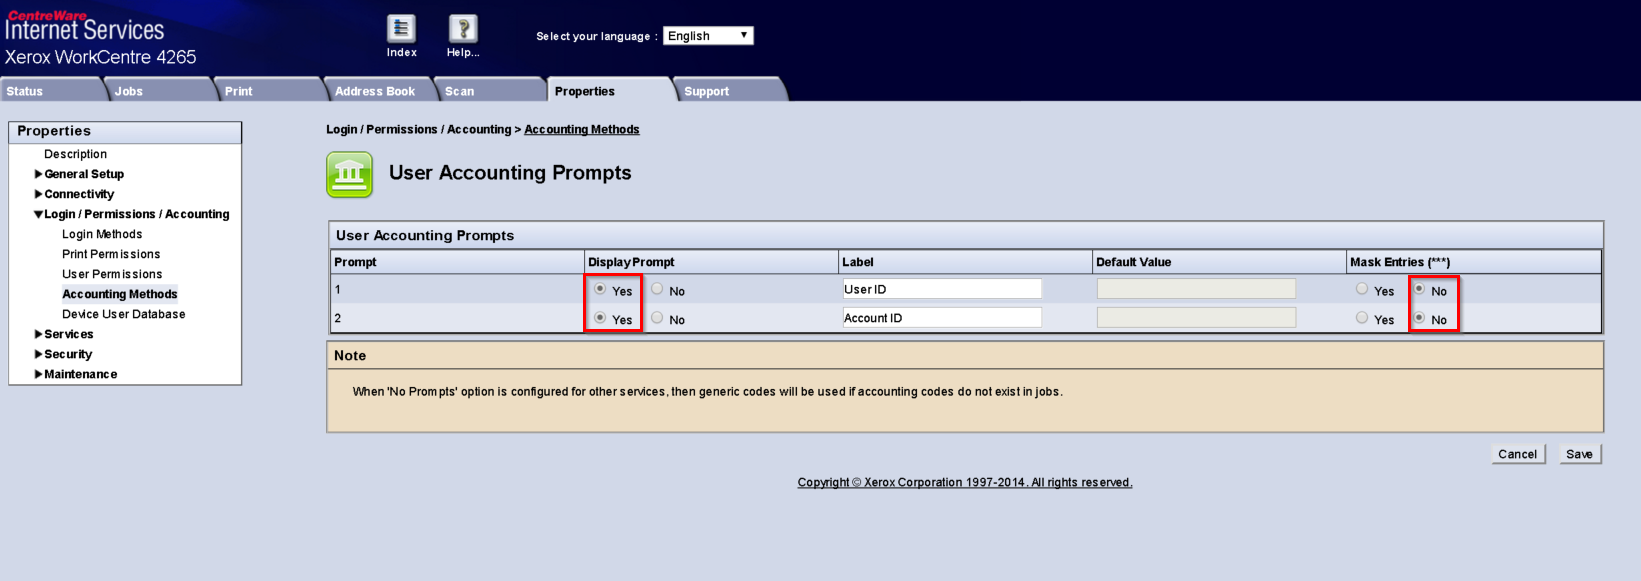
Go to the Properties tab > Login/Permissions/Accounting > Accounting method, and select Network Accounting.
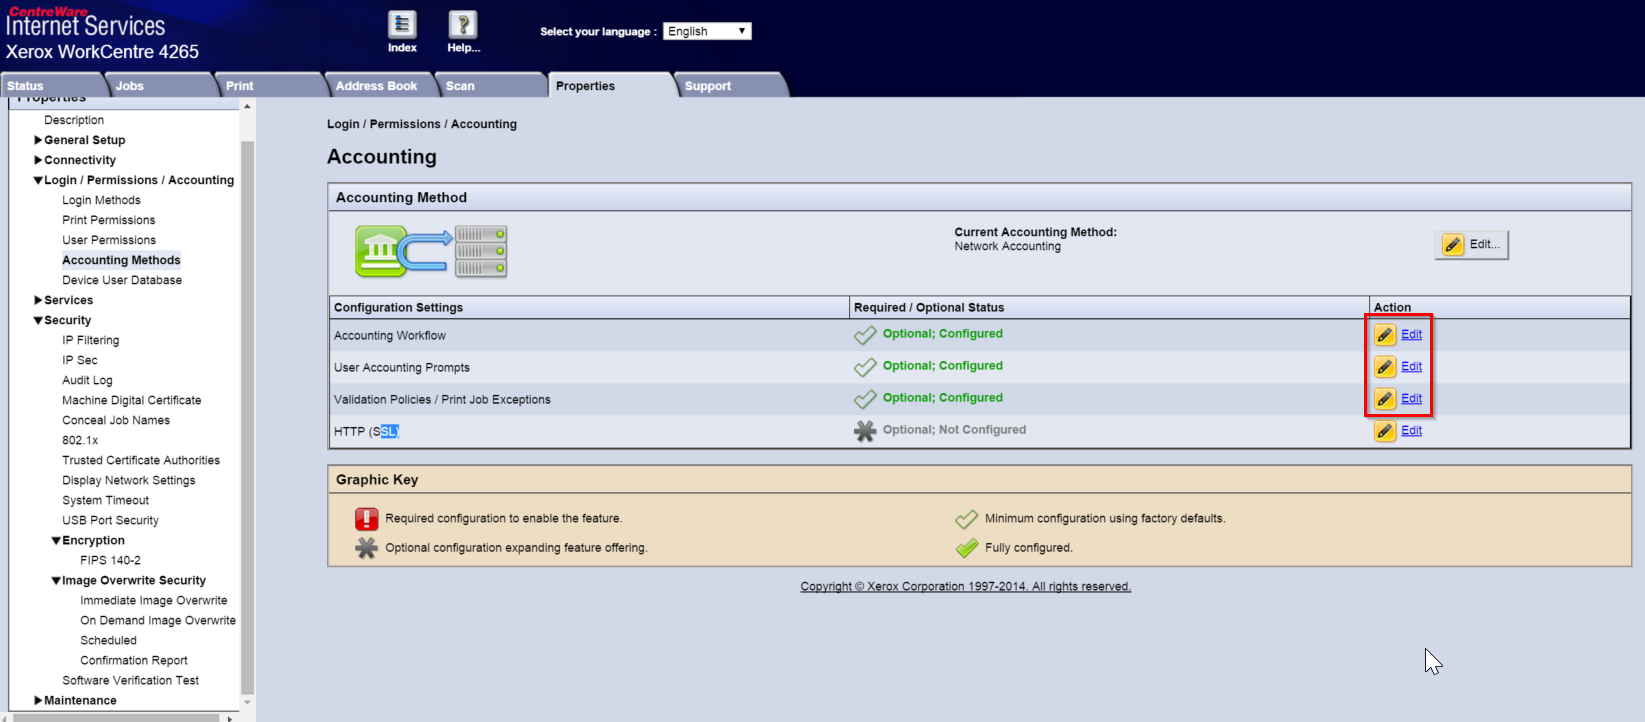
You then must configure the Accounting workflows, User Accounting Prompts, and Validation for Accounting Codes. Click the respective Edit buttons.
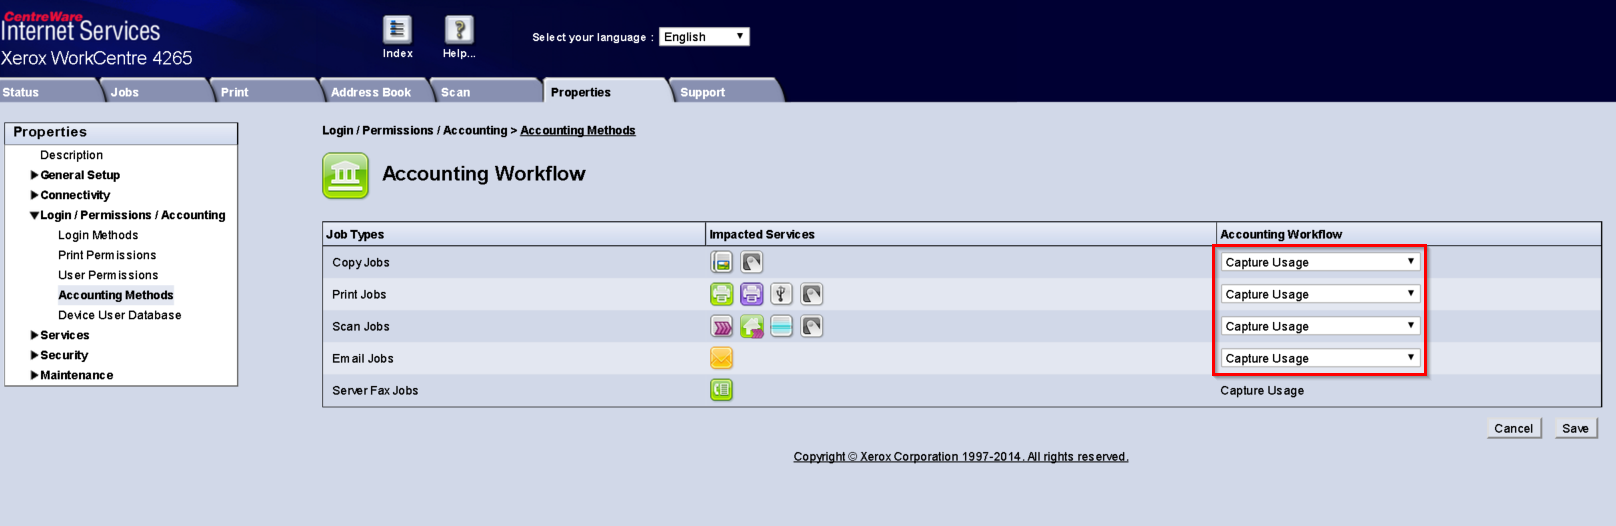
Accounting Workflows:
Note that settings other than Capture Usage will cause a malfunction. For example, selecting the copy function and starting copying will do the scanning part of the process but then MFD will wait for user verification.
User Accounting Prompts:
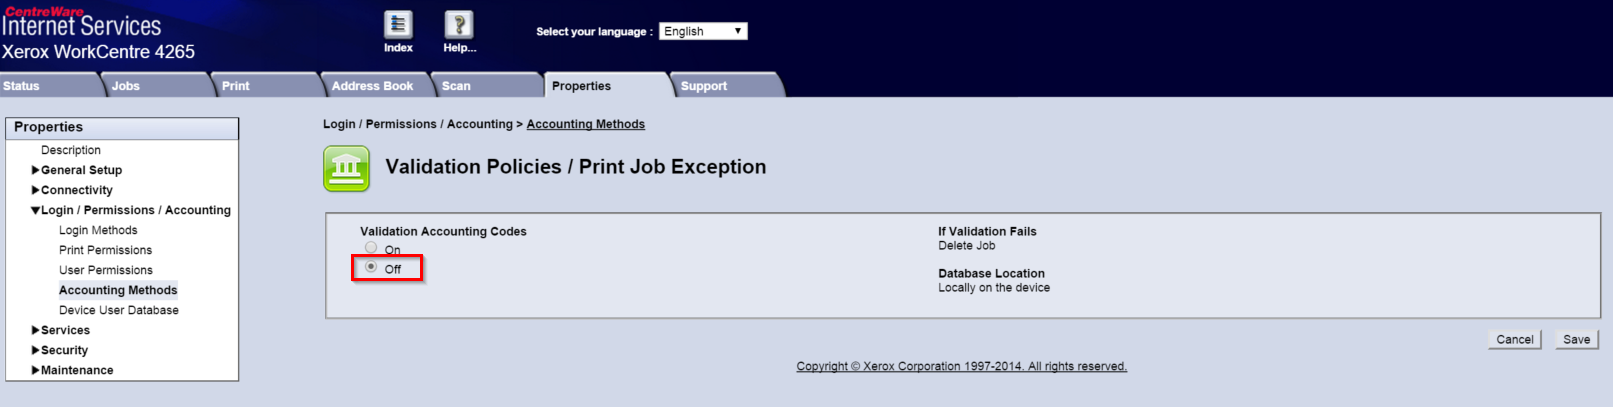
Validation for Accounting Codes:
Time Settings
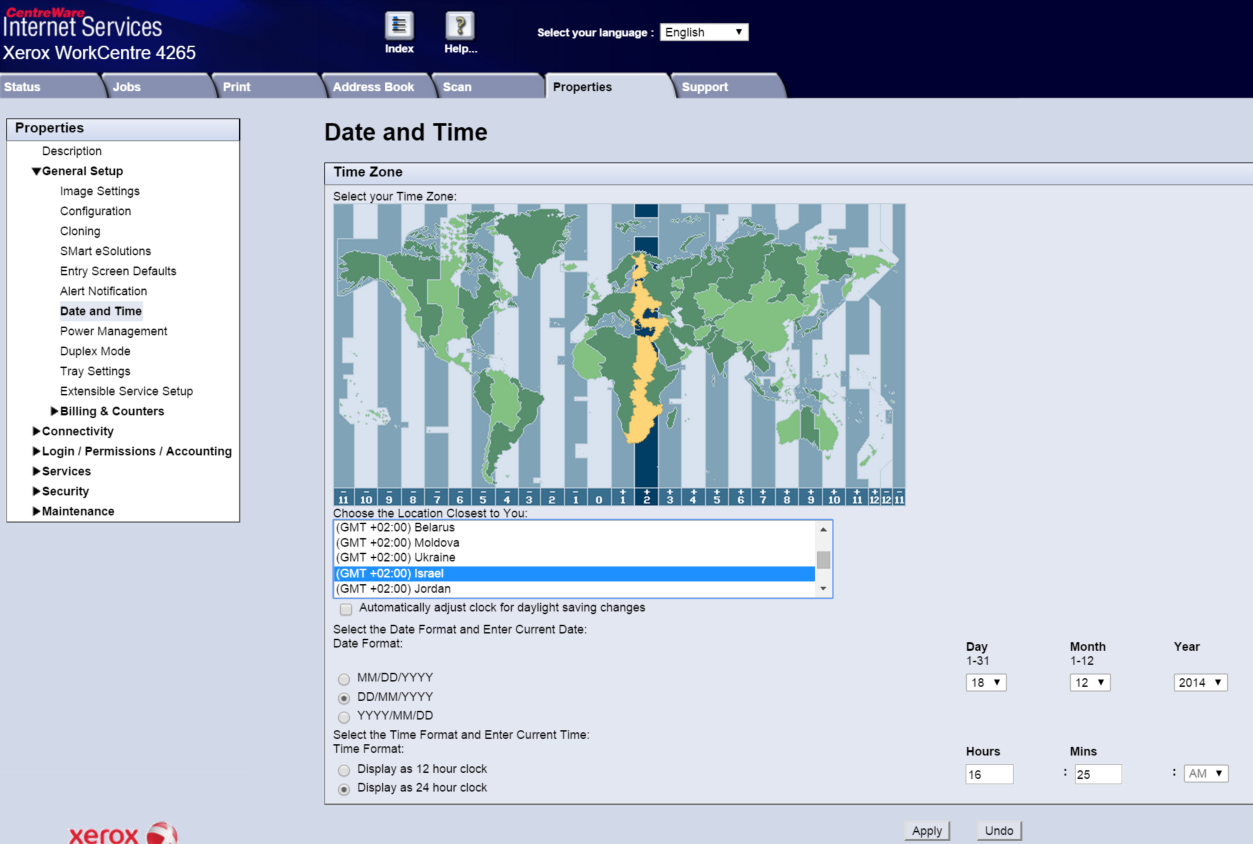
The device time setting should be the same as the Dispatcher Paragon server.
Go to the Properties tab > General Setup > Date and Time. Make sure you set the time to match the Dispatcher Paragon server time or specify automatic time configuration via an NTP server.
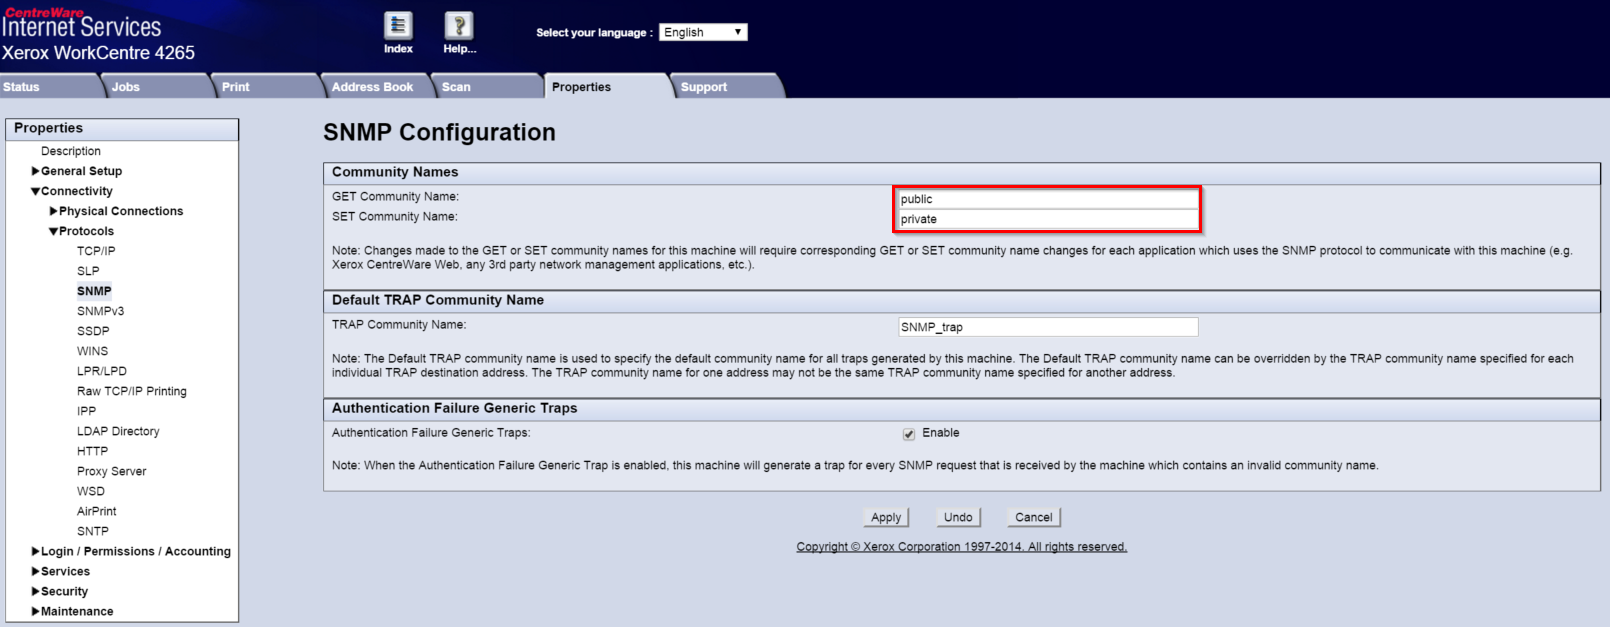
SNMP Community Setting
You will later need to enter a proper SNMP community in the device configuration.
Go to the Properties tab > Connectivity > Protocols > SNMP. Enable SNMP, and then click Edit in the Edit SNMP properties row.
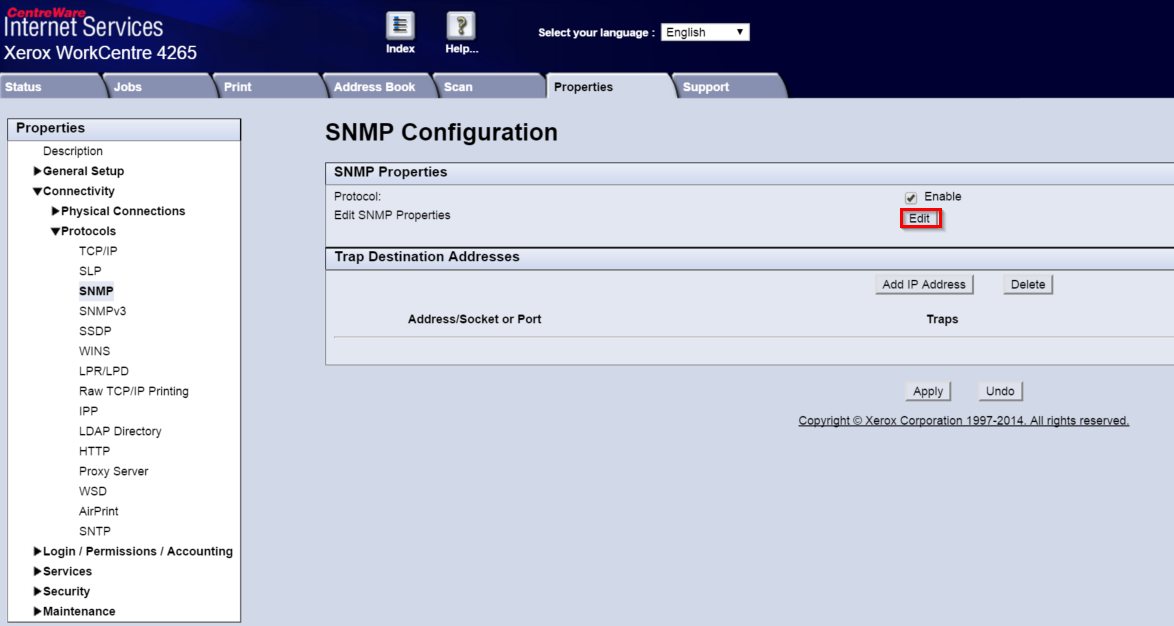
Set the Community Name (Read/Write) accordingly:
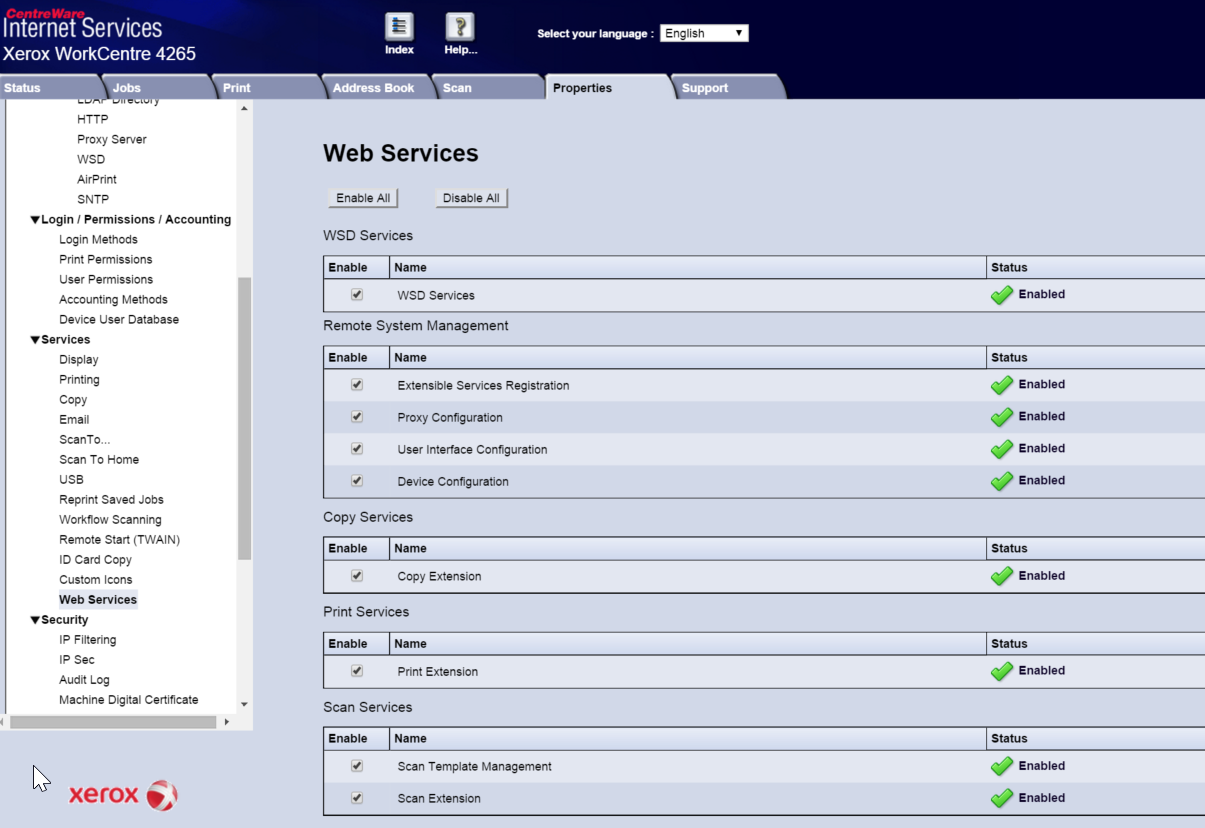
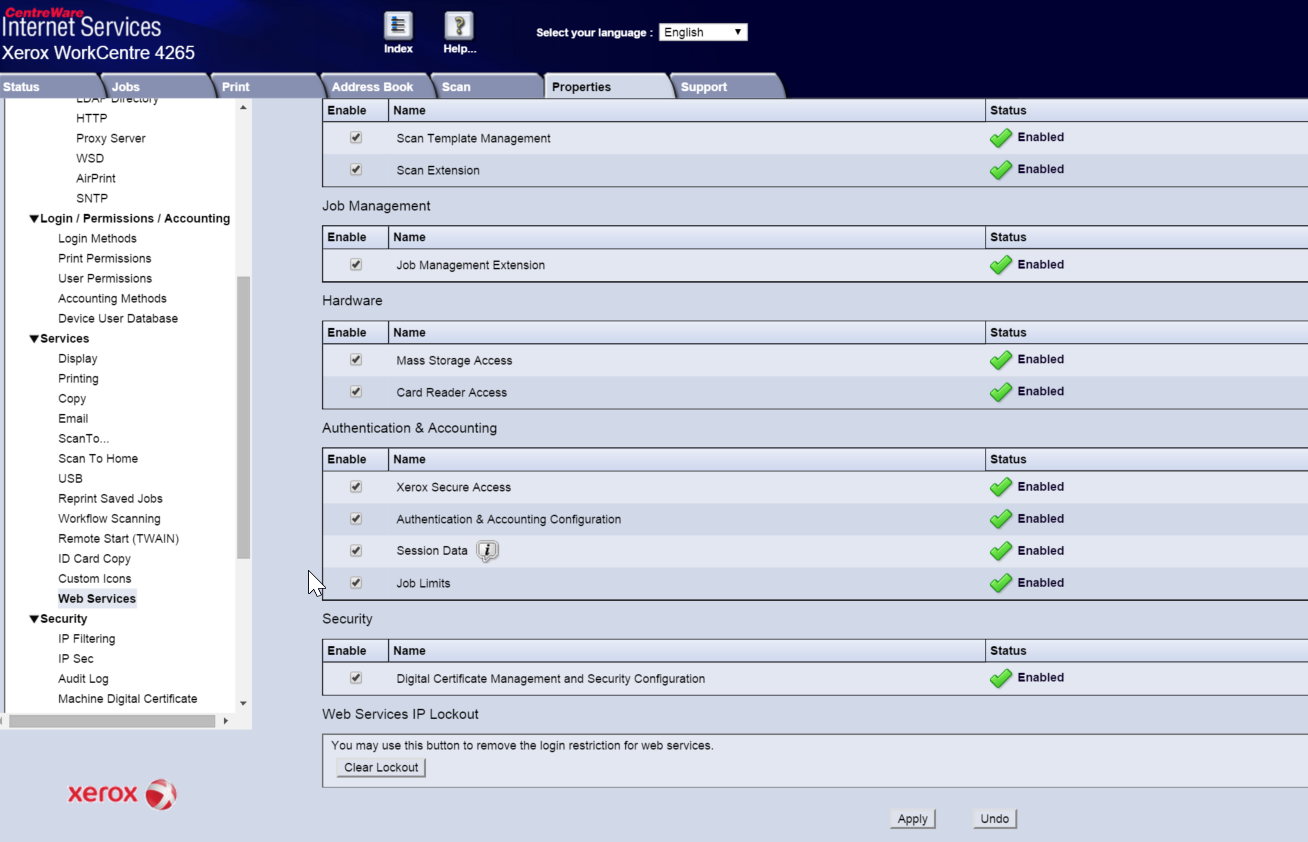
Checking Enabled Features
A Xerox device might come with many options disabled by the factory settings. Go to Template Management Services: Properties > Services > Web Services
Please ensure the following options are enabled:
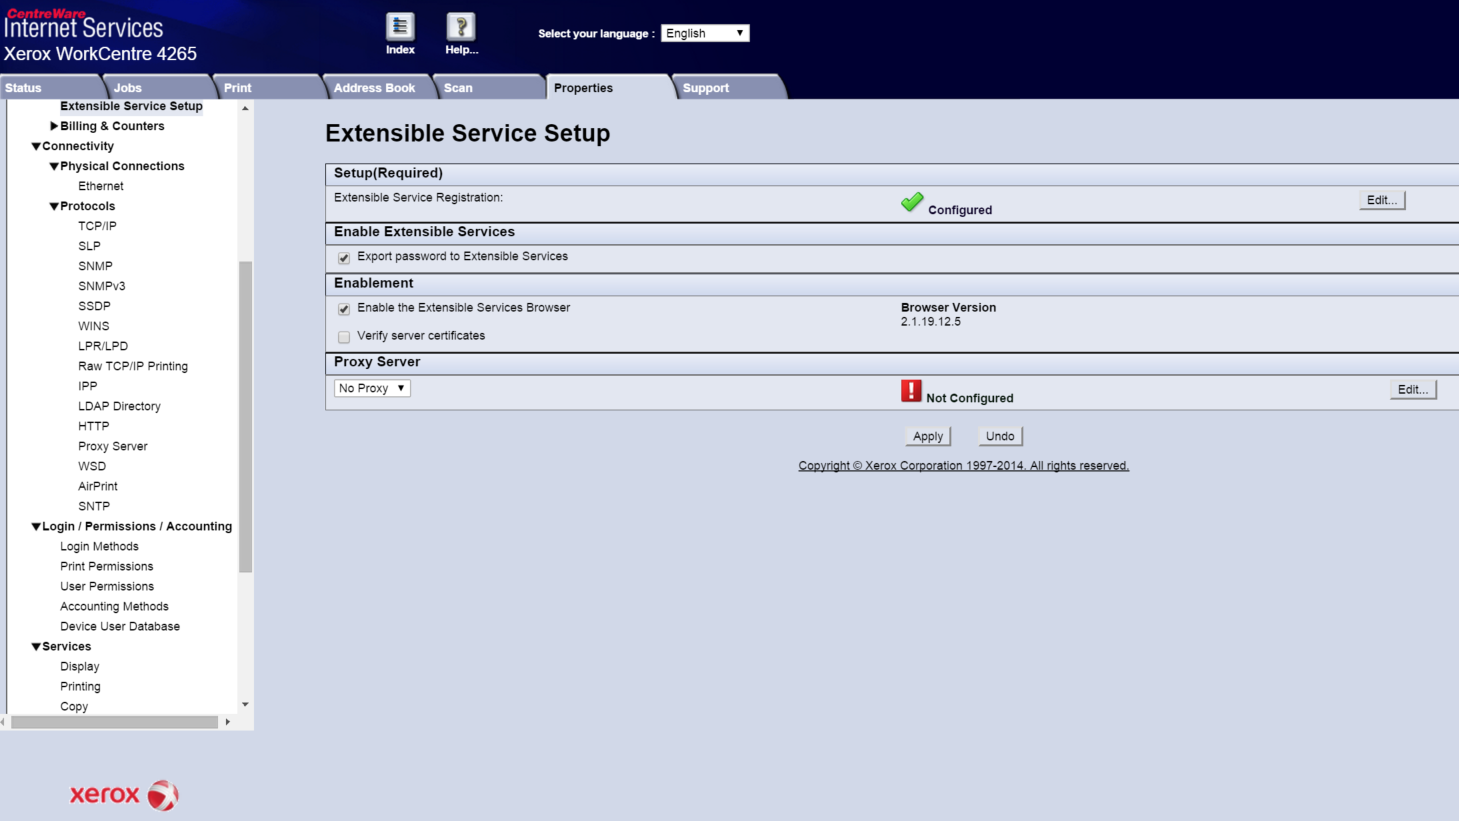
Custom Services: Properties > General Setup > Extensible Service Setup
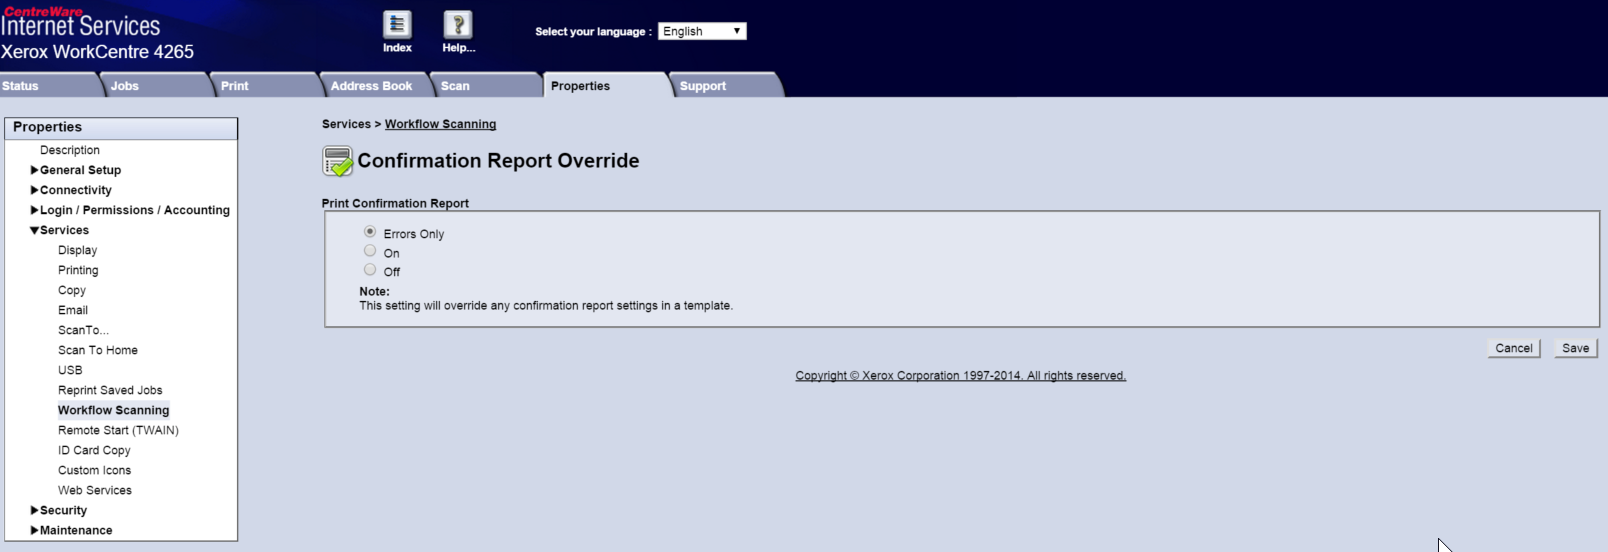
Scan Confirmation Sheet:
You might also want to check that the Confirmation Sheets for Scanning Workflows are set to print only in case of an error. Otherwise, a page might be printed every time when someone uses the Scan option in Dispatcher Paragon Embedded Terminal.
Go to the Properties tab > Services > Workflow Scanning > Confirmation Report Override
Set Confirmation Report Override to Errors Only.
Disabling the Device Start-Up Page and Banner Page
Disabling the Device Start-Up Page
Go to the Properties tab > Services > Printing, and set Device Start-Up Page to Disabled.
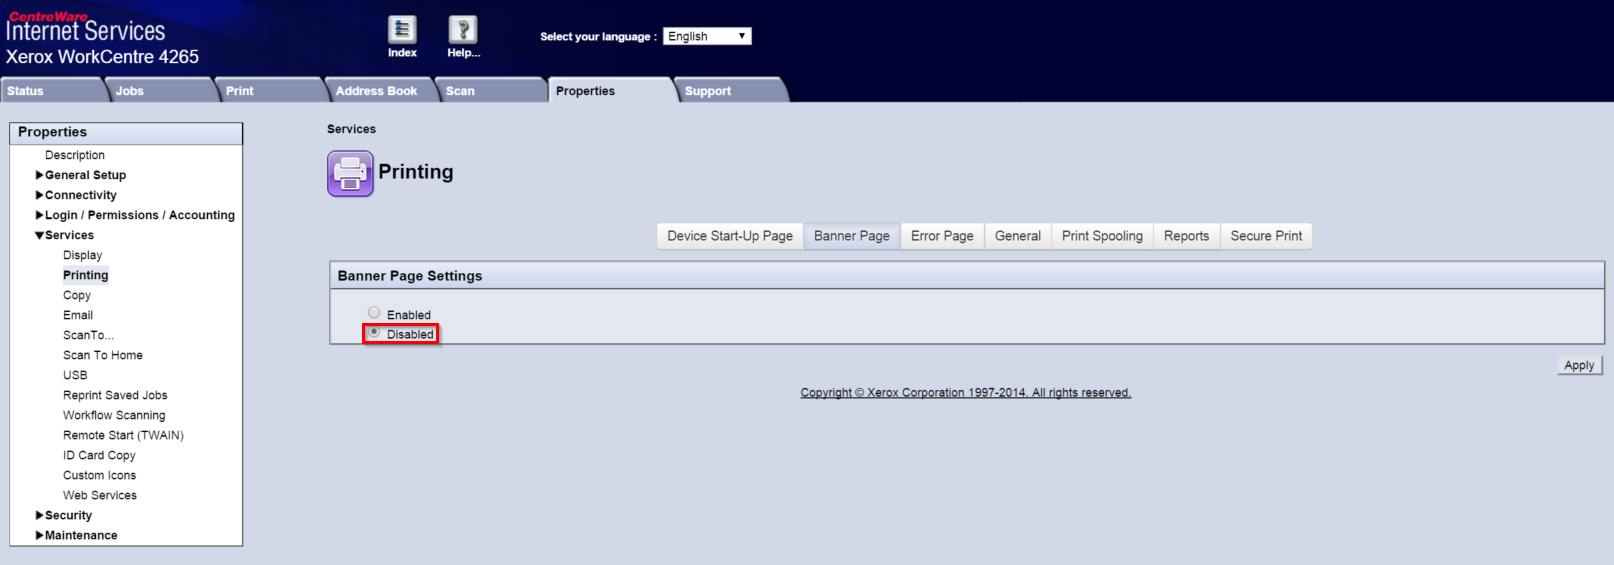
Disabling the Banner Page
Go to the Properties tab > Services > Printing, and set Banner Page to Disabled.
Configuring Global User Access
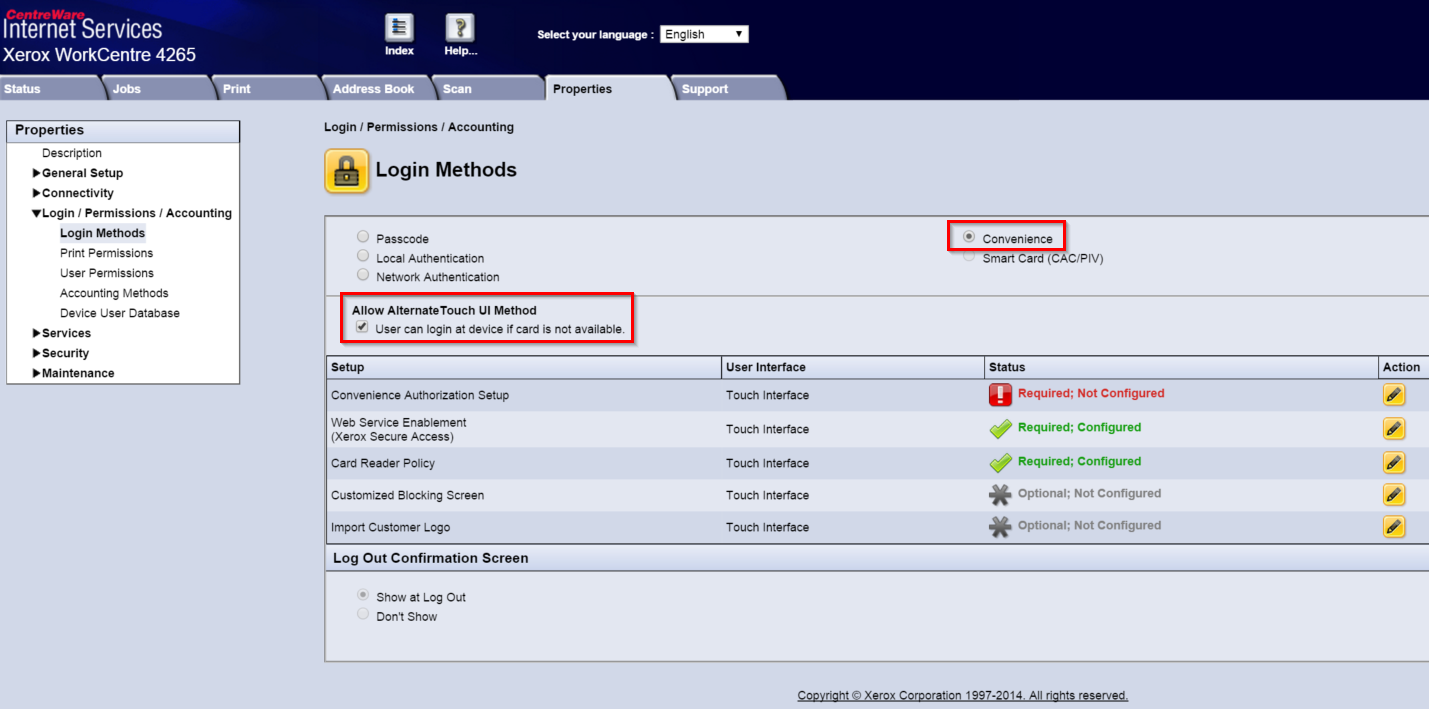
Configuring the Convenience Authentication settings
Go to the Properties tab > Login / Permissions / Accounting > Login Methods and select Convenience Authentication.
Also enable User can login at device if card is not available.
Configuring User Permissions Roles
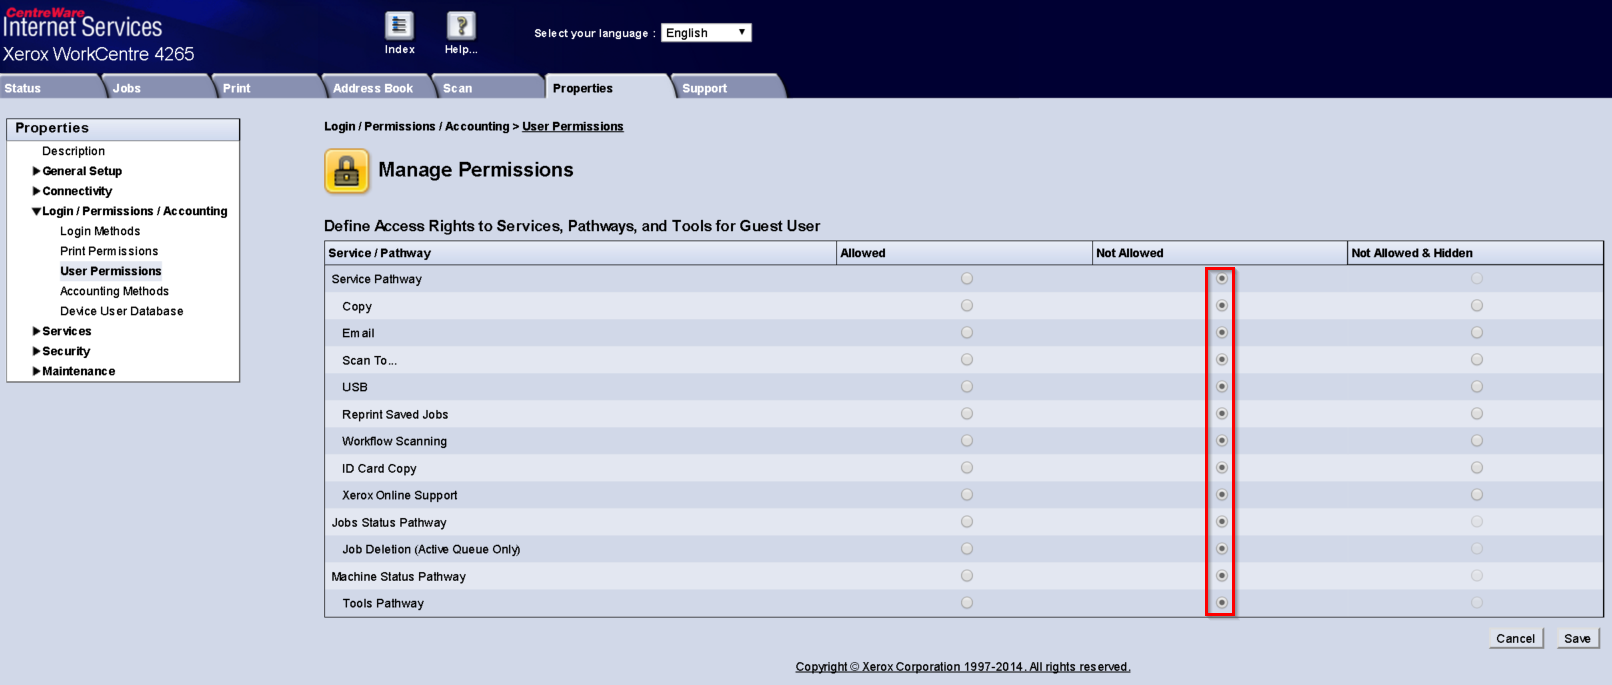
Go to the Properties tab > Login / Permissions / Accounting > User Permissions. Click the yellow pen Edit icon in the Non-Logged-In (Guest) User Role.
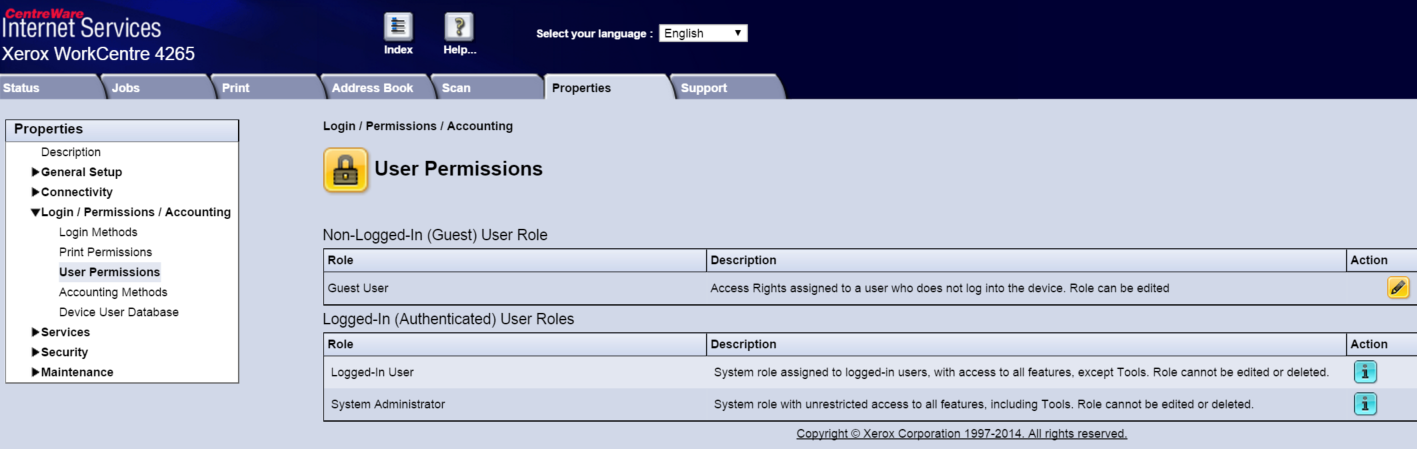
In Manage Permissions, set the permissions so that all Services Pathway options are set to Not Allowed.
![]() Go ahead and finish the installation as described in Installing Dispatcher Paragon Embedded Terminal for Xerox EIP, then return to do the next settings.
Go ahead and finish the installation as described in Installing Dispatcher Paragon Embedded Terminal for Xerox EIP, then return to do the next settings.
After Installation – Access Checking
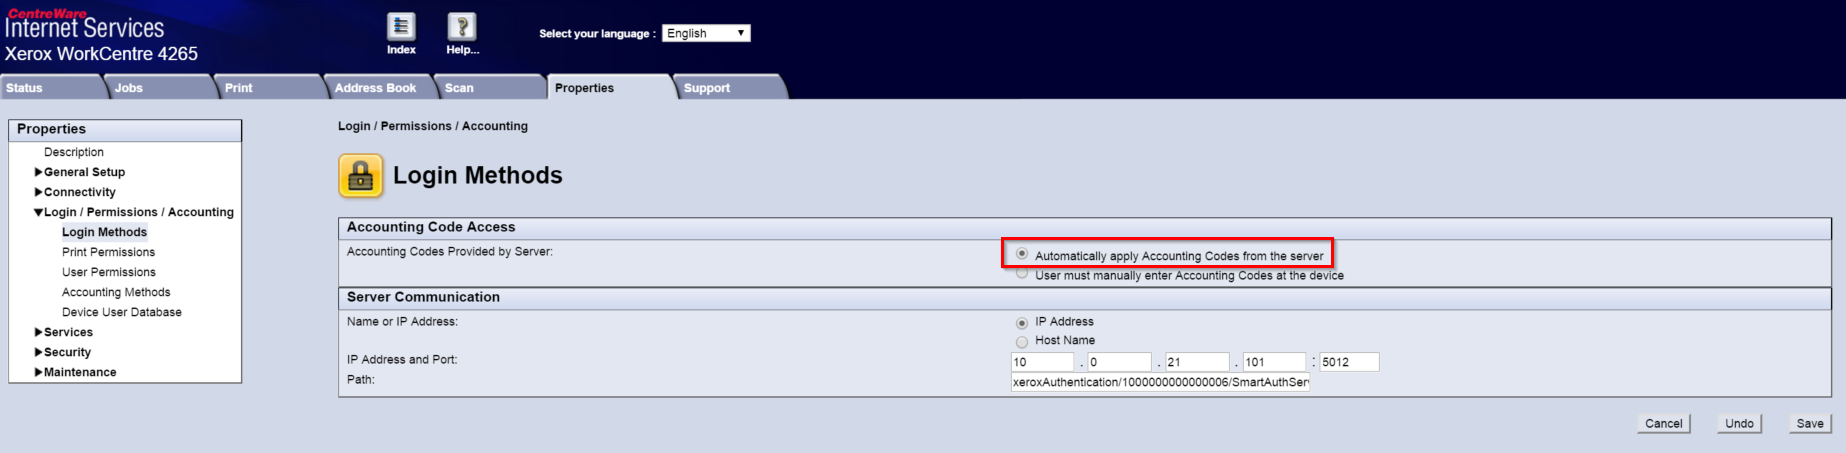
Go to the Properties tab > Login/Permissions/Accounting > Login Methods.
Then click the yellow pen Edit icon next to Convenience Authorization Setup.
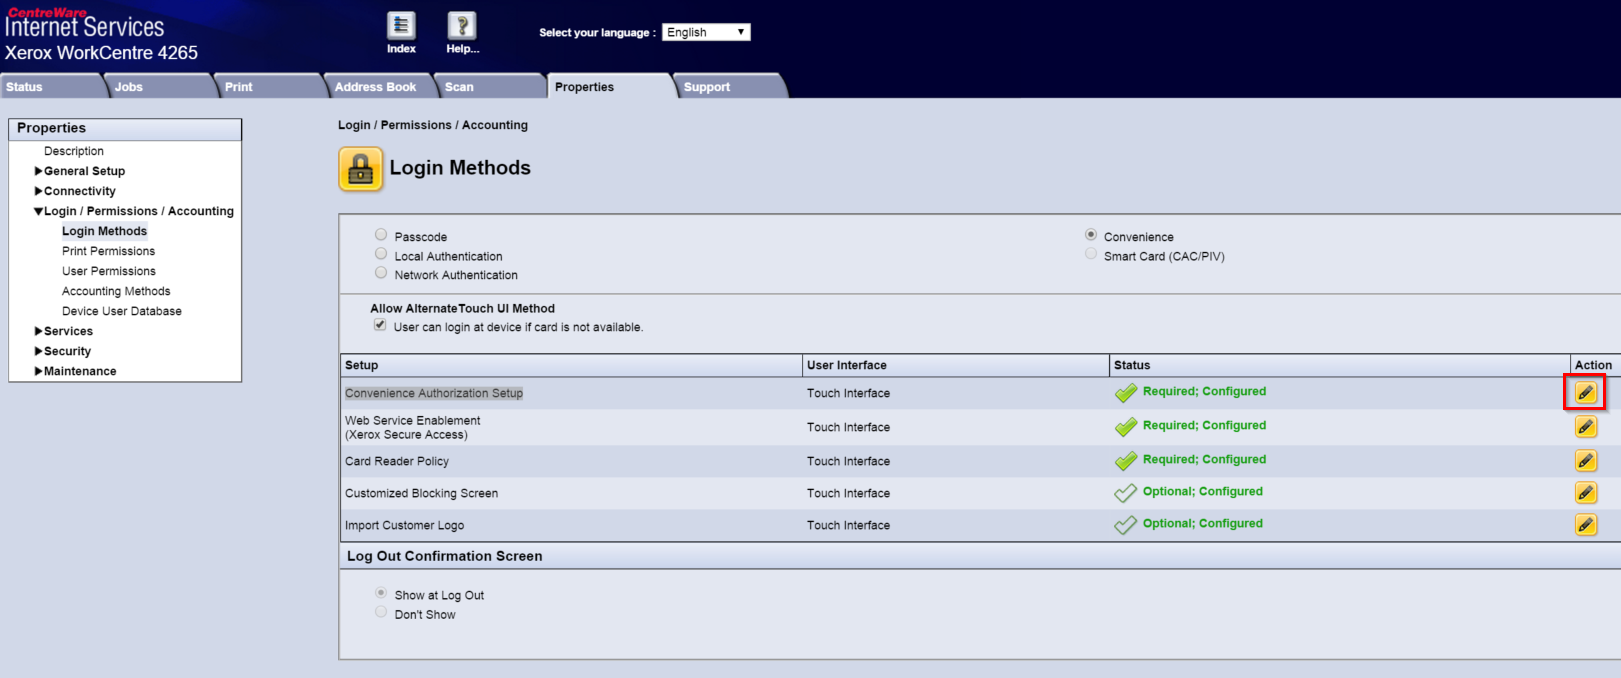
On the Convenience Authentication Setup page, check that Accounting Codes are applied automatically. It can be modified by selecting Automatically apply Accounting Codes from the server.