Payment Machines use deprecated protocol TLSv1 for secured connection, which must be implicitly allowed. This can be done by adding following line into <install_dir>\YPS\ps-conf\environment-configuration.properties
spm.deprecated.protocol.support=trueSelecting the communication protocol
Change of the communication protocol may erase charging logs, which can cause loss of unfinished recharges. Perform this configuration only when you are sure that there are no unfinished items.
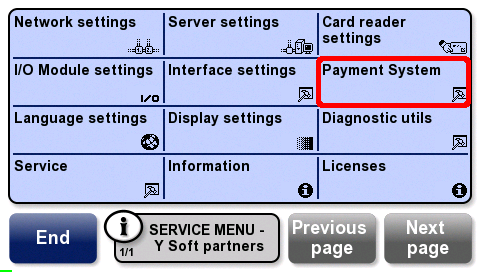
- Display the Service menu and tap Payment System.
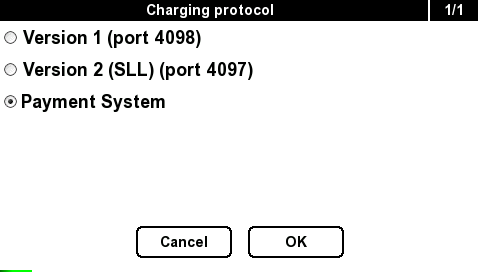
- Tap Charging protocol.

Select Payment System then tap OK.
Protocol version 1 is intended only for interconnection with a version of Dispatcher Paragon server prior to version 3.6
Protocol version 2 is intended only for interconnection with Dispatcher Paragon server version 3.6
The protocol Payment System is intended only for interconnection with Payment System server and YSoft SafeQ 5
Configuring the Payment System server address
- Display the Service menu and tap Payment System
- Tap PS Server address.
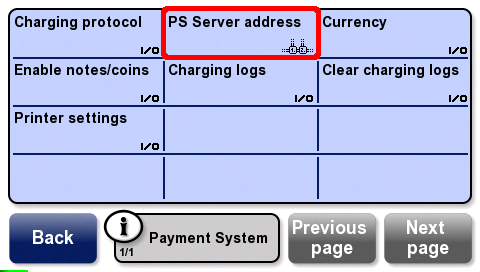
Enter host name or IP address of Payment System server; then tap
 .
.The Payment System server address may be different from the Dispatcher Paragon server address.

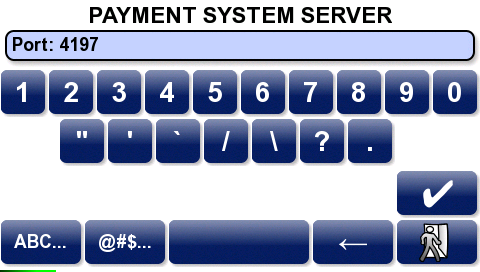
Enter Payment System server port; then tap
. After confirming the configuration, leave the menu and save your changes.Default Payment System port is 4197.
Connecting YSoft Payment Machine to Dispatcher Paragon Payment System
If YSoft Payment Machine has been configured correctly, connection to Dispatcher Paragon Payment System will be possible. To make YSoft Payment Machine fully functional with Payment System, please follow these steps:
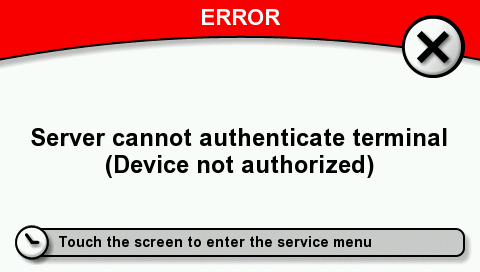
- If the correct server address is configured in service menu, YSoft Payment Machine will display a "Server cannot authenticate terminal (Device not authorized)" message.
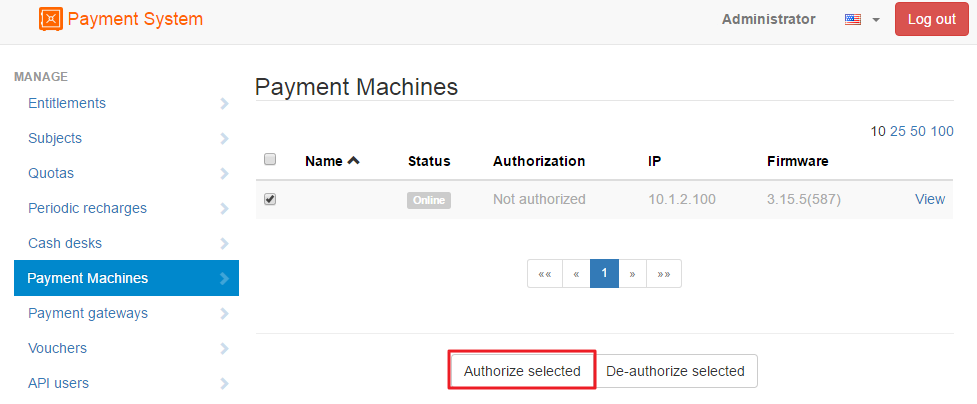
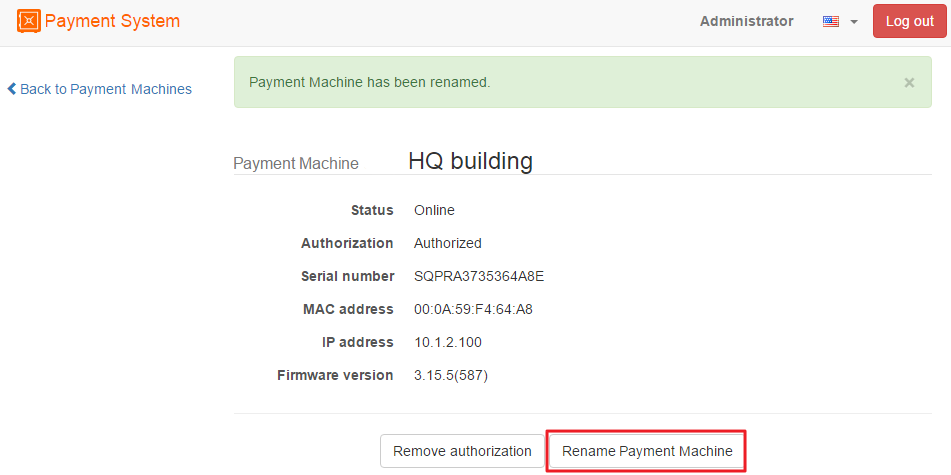
- Log into Payment System administration and go to YSoft Payment Machines tab. If configuration on YSoft Payment Machine is set correctly, you will be able to see the machine on the list. Select YSoft Payment Machine, which you want to authorize and click on Authorize selected button.
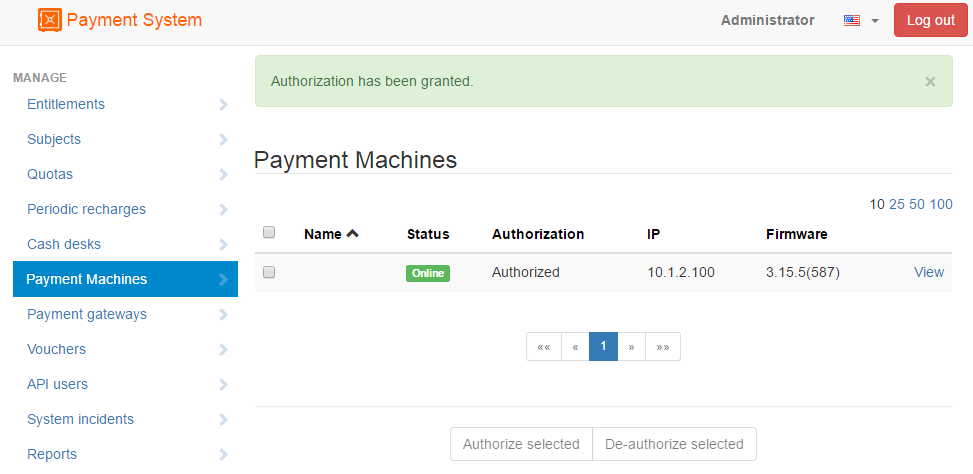
- The YSoft Payment Machine's status will change to Authorized.
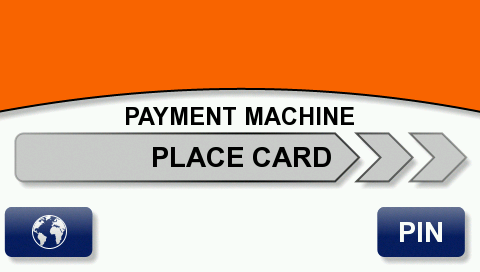
- Users are now able to log into YSoft Payment Machine
- You can also change the name of the YSoft Payment Machine by clicking View to display details and then Rename payment machine . New name will be visible after saving in Payment System administration; every YSoft Payment Machine can be now easily identified.
Resetting the system date
System date reset is not necessary in normal situations.
It is useful only when the device date is accidentally the past and the certificates for encrypted communication could not be verified.
- Display the Service menu and tap Service
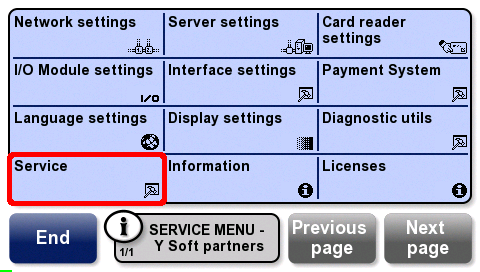
- Tap Reset date.

Tap YES.
It is recommended to perform a date reset without network connection to prevent date synchronization over the network.
- The date is restored to the build date of the firmware and the device will reboot.