Service Menu Overview
Service Menu Access
An administrator can access a service menu login screen via tapping alternately the top left-hand and bottom left-hand corners of the user login screen or error screen. Four taps in sequence are needed to access the service menu. The administrator must start at the top left-hand corner. If the administrator succeeds taps successfully, they access the Terminal Pro 4 service menu login screen. If the administrator fails to access the Terminal Pro 4 service menu login screen, then they must wait a while before another attempt.
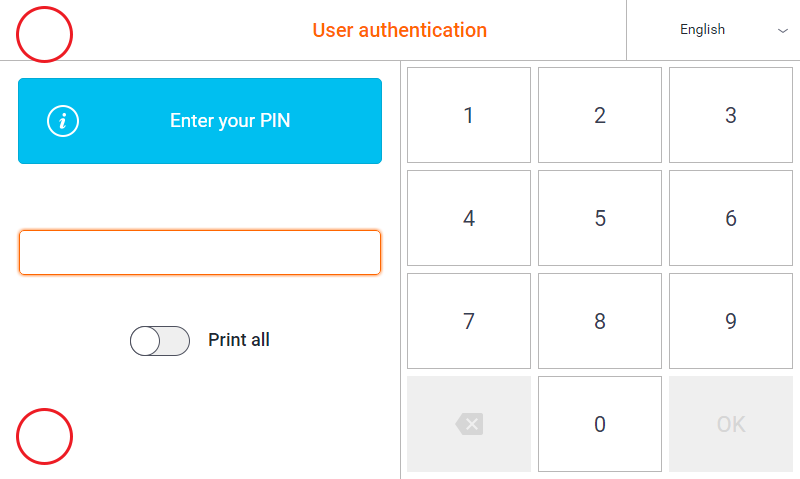
Picture: The User authentication screen with marked corners (red circles). By tapping the corners, an administrator can access the service menu.
To proceed to service menu, an administrator must enter the service menu PIN. The default service menu PIN is 7777. The service menu PIN can be changed.
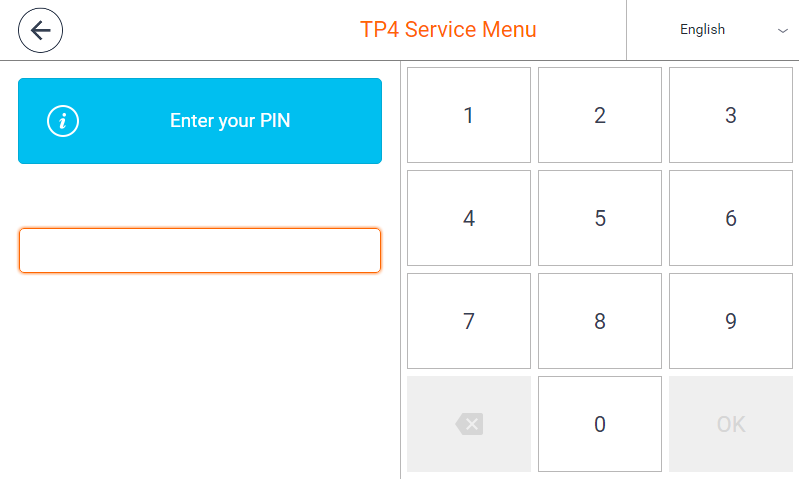
Picture: The Terminal Pro 4 Service Menu login screen
Using the back button (left arrow), the administrator returns to the user login screen (or an error screen if the URL has not been configured yet and the device cannot connect to Dispatcher Paragon).
Service Menu
An administrator can set up the basic device configuration in the service menu. Additionally, the administrator can manipulate the Terminal Pro 4 device. The administrator can open device doors, park the print bed, insert or remove filament, pause or stop the current job, etc.
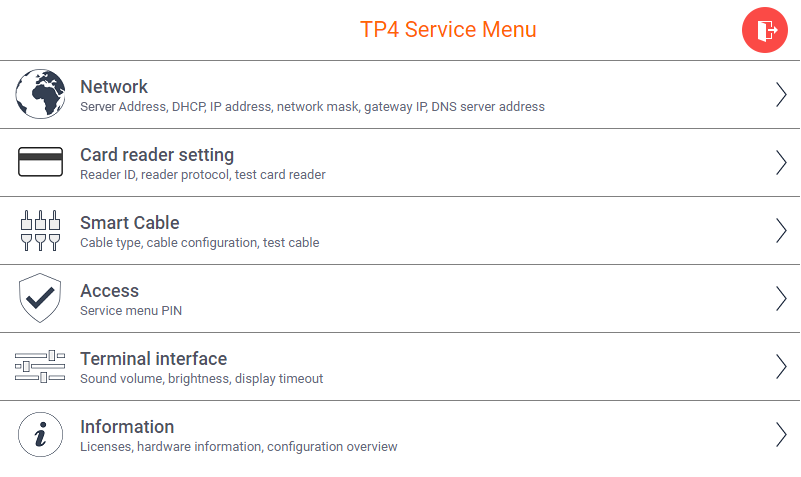
Picture: The main Terminal Pro 4 service menu screen with the configuration items.
When the red exit button in the top right-hand corner of the screen is tapped, the service menu closes, configuration changes are saved and applied, and the user authentication screen displays.
When an administrator selects a configuration item (e.g., network), then the back button is available on the left side. By tapping the back button, the administrator returns to the main Terminal Pro 4 service menu screen. Some configuration changes are not applied immediately (e.g., network setting). Some changes, however, take immediate effect (e.g., display brightness or door opening). Behavior is described case by case.

Picture: The back (in the left) and exit buttons.
Items in the Service Menu
Network
The administrator can configure the network settings by tapping the network configuration item:

Picture: The network configuration item in the service menu.
SafeQ Address
The SafeQ Address can be configured manually via the service menu.
The address must consist of the IP address of SafeQ, port (5021 for HTTP or 5022 for HTTPS), and terminal ID (the last number).
An example of a SafeQ Address setting: https://10.0.13.121:5022/et/v1/1/
To enter network values, a keyboard displays when an administrator clicks inside the edit box.
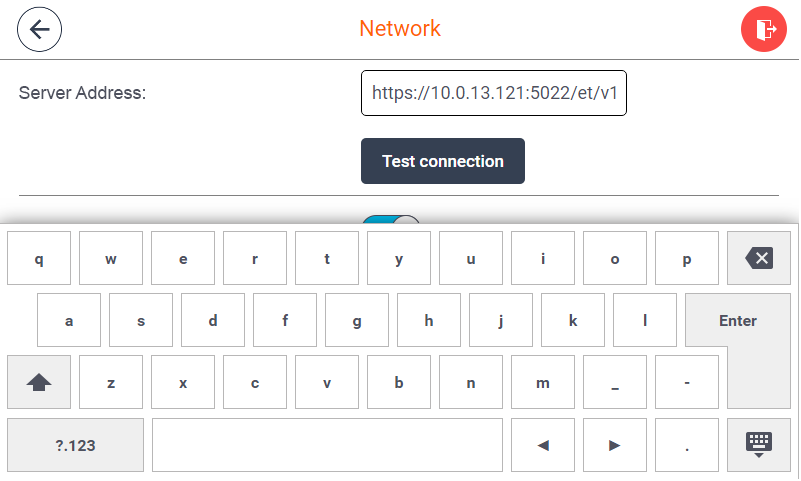
Picture: The keyboard displayed to insert SafeQ Address
To test the connection with Dispatcher Paragon, the administrator can use the Test connection button.
If the Terminal Pro 4 device is able to connect to Dispatcher Paragon, then the administrator will see a green tick. If the connection does not work, the administrator will see a red cross.


Picture: A green tick confirming the Terminal Pro 4 device is able to connect to Dispatcher Paragon, and a red cross indicating a problem with the connection with Dispatcher Paragon.
DHCP setting
An administrator can use DHCP to configure networking. If DHCP is enabled, then the IP address of the Terminal Pro 4 device, network mask, gateway IP, and DNS server IP will be set automatically. Network fields are disabled for editing.

Picture: An enabled DHCP switch.
If the administrator disables DHCP, then the IP address of the Terminal Pro 4 device, network mask, gateway IP, and DNS server IPs must be configured manually.

Picture: A disabled DHCP switch.
If DHCP is disabled, then the network fields are editable.
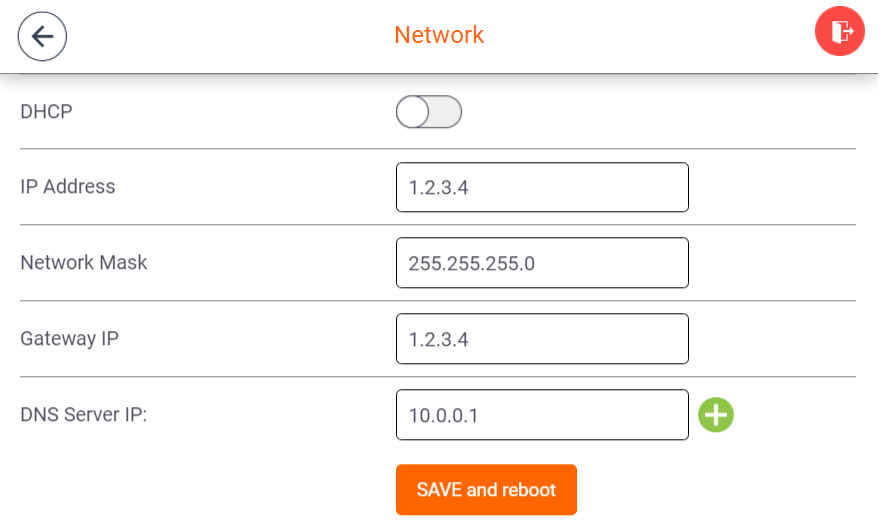
Picture: When DHCP is disabled, the network fields are enabled for editing.
Note that an administrator can add more DNS Server IP addresses. It is similar to adding another SafeQ address. A green plus button is used for adding and a red minus button for removing a DNS address.
If DHCP is disabled and the administrator configures networking manually, then the administrator can press the SAVE and reboot button to force an OS reboot. Therefore network changes take effect once the OS boots.
Card reader setting
An administrator is able to check and configure a protocol that is used by the hardware terminal for communication with a card reader.
On the Card reader setting screen an administrator can see the card reader ID and the current card reader protocol.
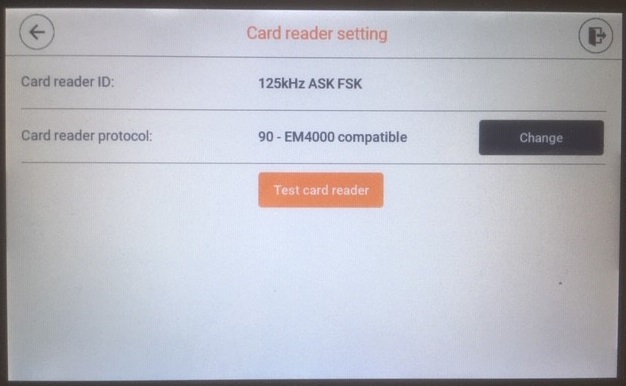
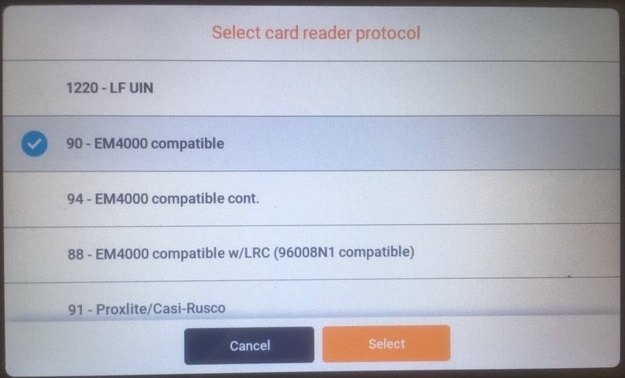
By pressing the button Change an administrator can select another protocol from the list:
By pressing the button Test card reader on the Card reader setting screen an administrator can swipe by a card over the card reader to see how it is interpreted:
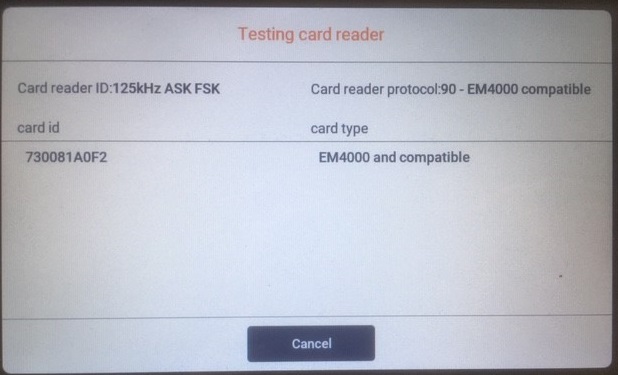
After the swipe an administrator can see the card ID and the card type as seen on the picture above. It is possible to swipe more times in a row. If card reading does not work as expected, for example the card ID is not interpreted correctly, then an administrator can change the protocol as described above or configure the card reader.
Smart Cable
An administrator accesses Smart cable configuration by clicking the Change button .
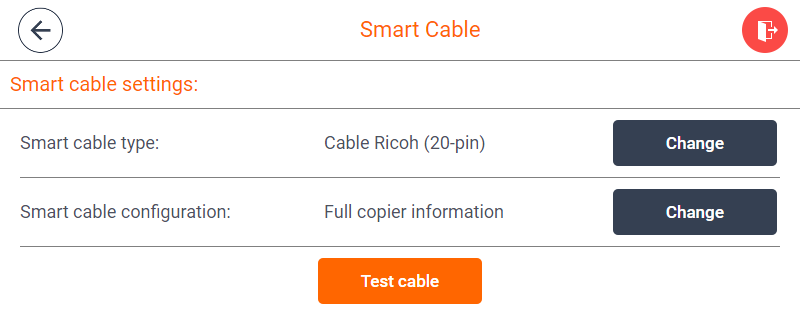
Usually many smart cable types can be used for MFD blocking. The smart cable type can be changed by clicking the Change button.
When a different smart cable type is selected, it is recommended to test it. You can start a smart cable test by clicking the Test cable button.
When the following screen displays, the administrator can start unlocking the MFD by tapping buttons.

MFD blocking instructions can be found in the Hardware Compatibility List (HCL) section.
Access

The Access screen offers the possibility to change the default PIN.
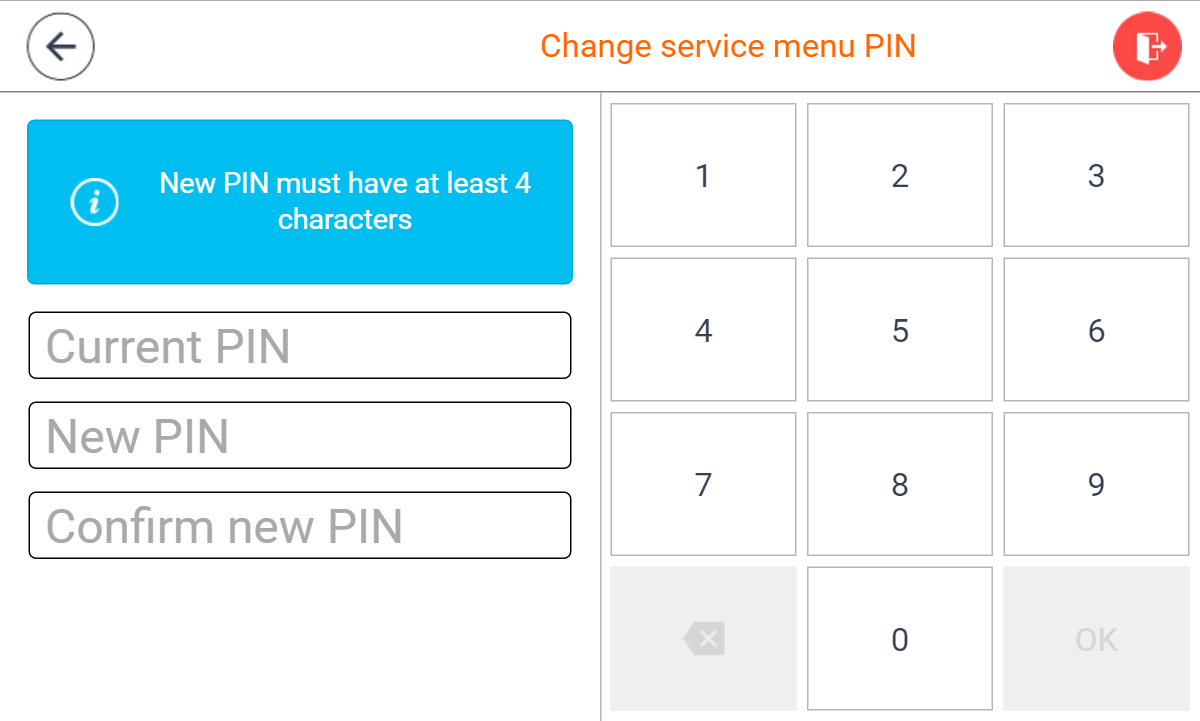
The user should enter the current PIN followed by the new PIN and new PIN confirmation.
Terminal Interface
An administrator can configure the volume, display brightness, display timeout, and default language in the Terminal interface settings.
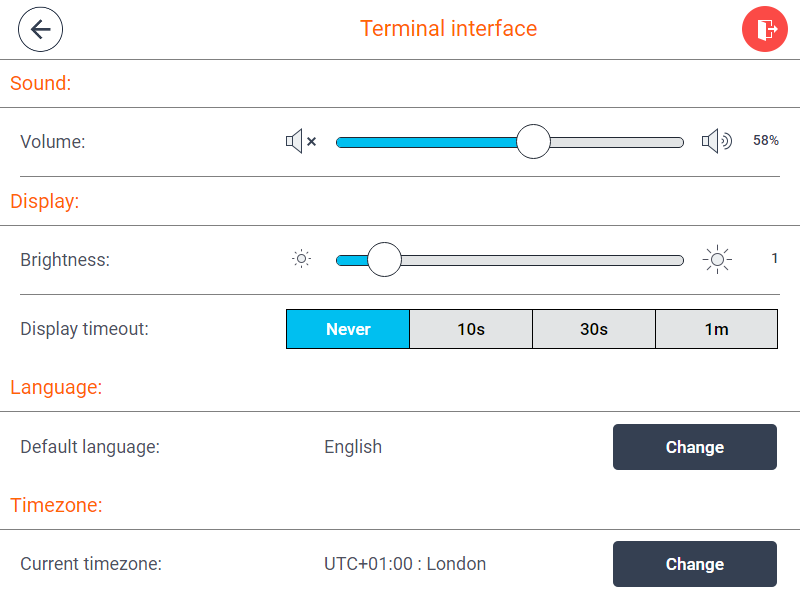
Picture: The Terminal interface settings.
Sound: Volume
Sound configuration sets the volume from 0 (off) to 100%. This configuration change takes immediate effect.
Display: Brightness
Display brightness can be set from 1 (the darkest) to 10 (the brightest). This configuration change takes immediate effect.
Display: Display timeout
To prevent unnecessary energy consumption and display wear, the display can be set to fade after some time. It is strongly recommended to set the display timeout to 10, 30 or 60 seconds (one minute). The configuration change takes effect once the user login screen displays.
Default language
Default language is the language which is preselected at the login screen. Therefore, the language that is most used in a given environment can be preselected, and most users do not bother to set it. When a user changes the language, logins and logouts, then the language resets to the default one.
For example, when English is set as the default language and a French speaker switches the language to French, then at the terminal, all screens are in French. Once the user log outs, the language resets to English.
The default language can be changed by clicking the Change button. A list of available languages displays, and the administrator can select one language as the default one.
If there is no string resource translation for a given language, then there is the fallback to English.
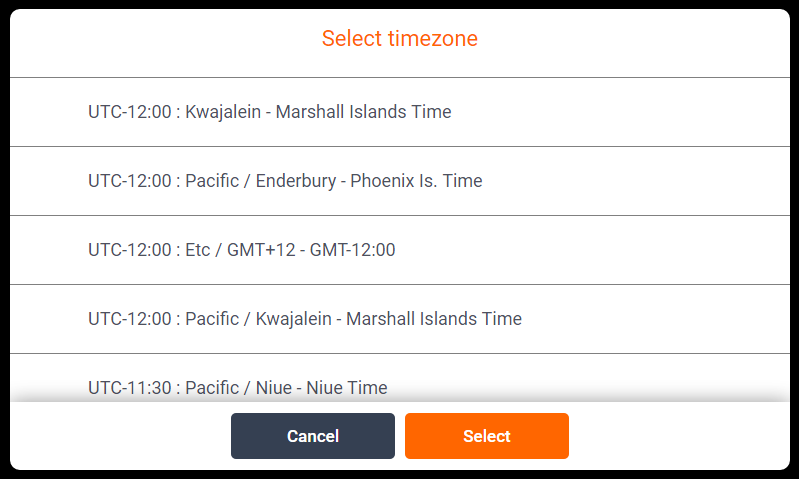
Current timezone
A time zone is a region where the same standard time is used.
The current timezone can be changed by clicking the Change button. A list of available time zones displays, and the administrator can select one suitable for the current location.
Information
In the Information screen, the administrator can read all licenses that are used for the terminal. Each license can be read by clicking the Read license button.
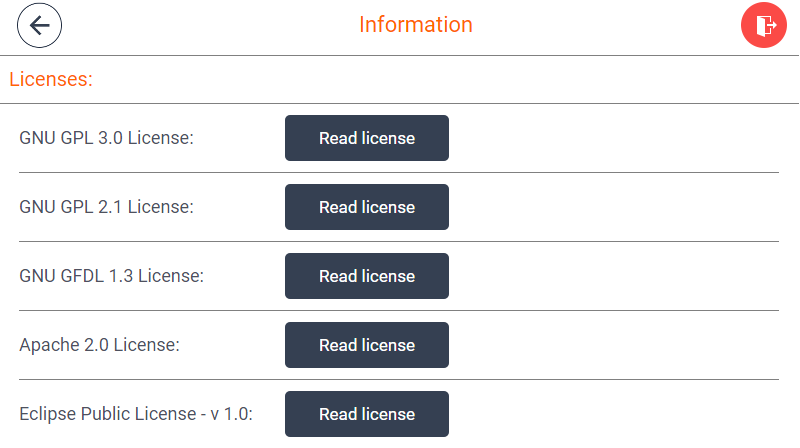
Picture: The Information screen with a list of used licenses.
Limitations
Changing print options at the terminal is not supported on vast majority of devices.