When you want to integrate YSoft centralized scan processing with an environment using YSoft SafeQube 2, you need to meet the following requirements and follow the installation guide.
Typical environment
- Management node
- Management Server
- Spooler Controller
- Workflow Processing System
- YSoft SafeQube 2 branch node(s)
- Spooler Controller
- Terminal Server
Configuring WebDAV to Enable Scanning on YSoft SafeQube 2
The default configuration of Document Store (local) is not suitable for YSoft SafeQube 2, please follow the instructions in (6.0.105) Configuring Document Store to set up a WebDAV document store instead.
If you want to use unsecure channel, you must set property to Disabled and in SafeQube terminal server configuration set property TS_workflowStorageRoot to use http, not https.
Configuring Spooler Controllers
- Install the YSoft SafeQube 2 node in the environment:
- Configure YSoft SafeQube 2 (follow the YSoft SafeQube 2 Deployment).
- Stop the YSoft SafeQube 2 applications: Spooler Controller and Terminal Server.
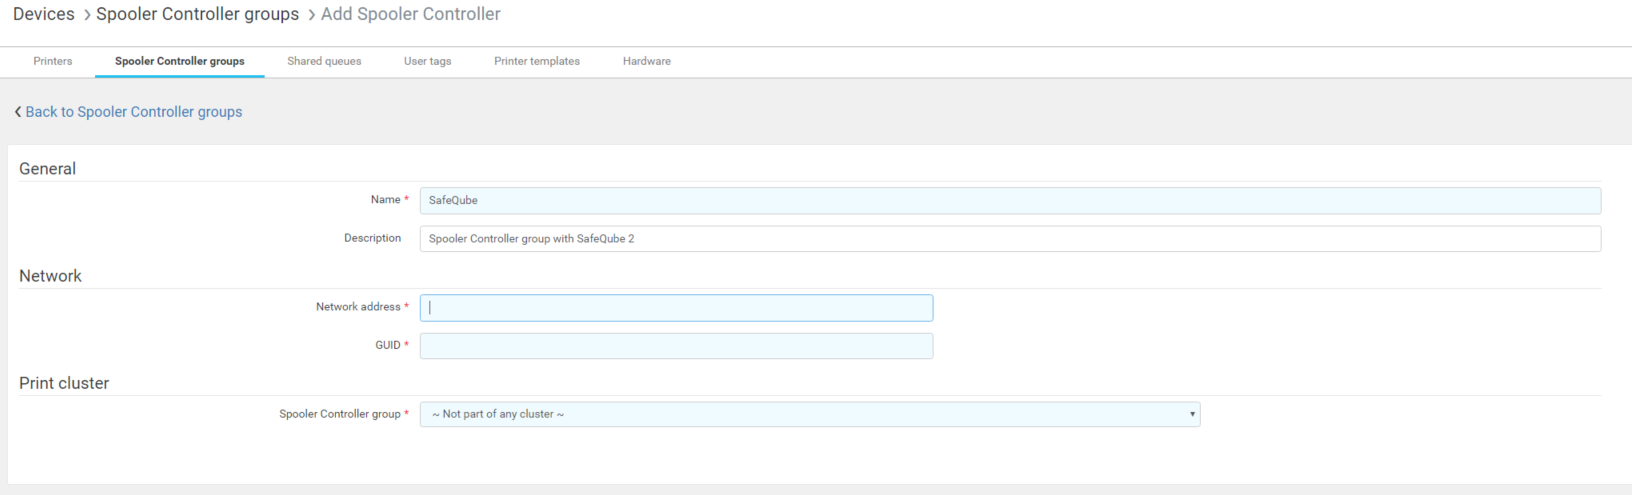
- Add a Spooler Controller for the YSoft SafeQube 2 node Devices > Spooler Controller Groups > Add Spooler Controller.
- Fill in a name (e.g., Dispatcher Paragonube).
- Enter the Dispatcher Paragonube IP address in the Network address property.
- Enter the YSoft SafeQube 2 spoc.localGUID value in the GUID property.
- Start the YSoft SafeQube 2 applications (Spooler Controller and Terminal Server), and wait until they are ready.
- Install all terminals.
- Do not use Central Spooler Controller, the terminals must be installed from YSoft SafeQube 2 Spooler Controller.