Prerequisites
- Dispatcher Paragon Management Service installed and running.
- YSoft SafeQube 2 with installed Dispatcher Paragon Spoler Controller (SPOC), Terminal Server and IMS proxy application.
Deployment steps:
Start the device
- Plug in the network cable to any of its available Ethernet ports.
- Plug in the power cable and wait until the device is up.
Login to SafeQube 2 web management
Go to https://<device IP address>:8083
the IP address is displayed on the OLED display
Username: manager
Default password: oCfpB112g5bZpOcywAp7
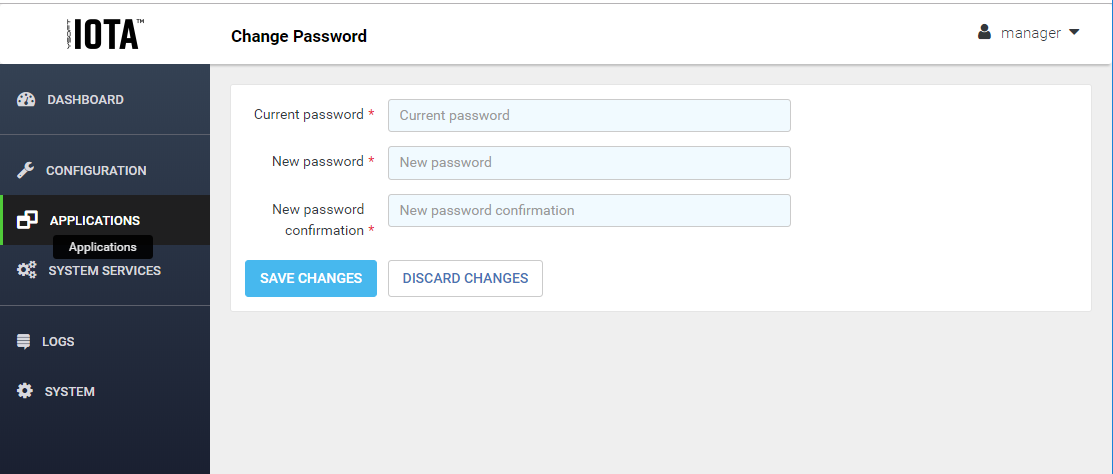
Change manager password
The password is the same for all devices. Therefore, it is highly recommended to change it.
- Click on manager > Change password
- Fill the Current password and type new password twice for confirmation
- Press Save changes button.
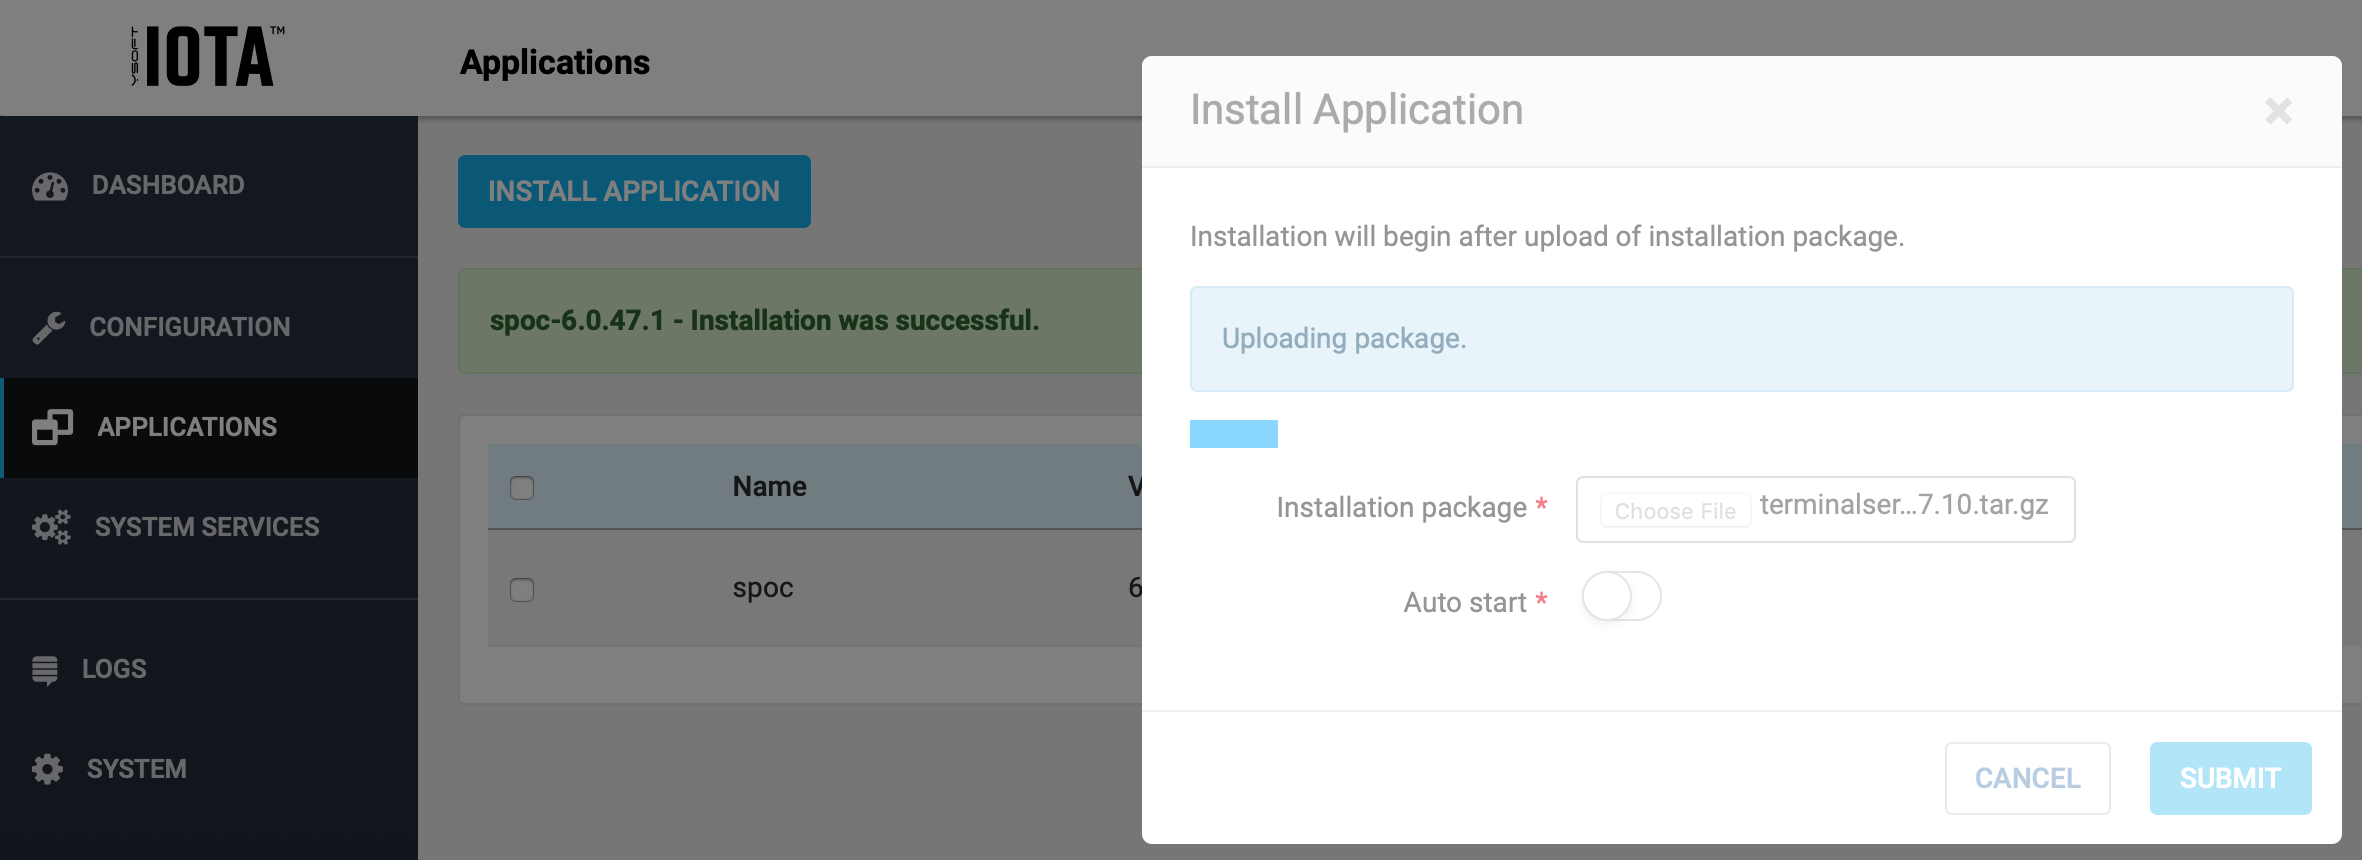
Install/update your applications
- Go to Applications section in the left panel
- Check versions of the applications that are already installed on the device. If there are none, or they don't match the version of Management, continue with the next steps.
- Download the "Complete Pack" installation archive from the Partner portal and unpack the UA update package archive (you will find it under
Complementary Solutions\Hardware Packages) - In the UA update package archive, find the packages of the applications you want to install/update (with the .tar.gz extension)
- For each application, click INSTALL APPLICATION button in the Applications section of the SafeQube web interface and select the application package and click SUBMIT
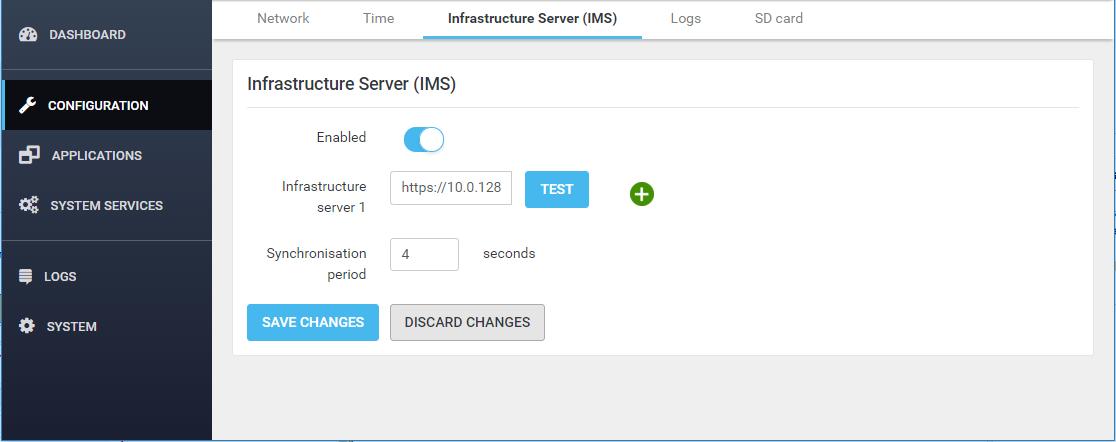
Connect SafeQube 2 to Infrastructure Server (IMS)
- Make sure the IP address of the SafeQube is stable. Either set a static IP address or create a reservation in DHCP server.
- Fill in the Infrastructure server 1 with its valid address an Infrastructure Server (IMS) running on a Management Server. The default format is
https://<management_server_address>:7348(HTTPS is mandatory, 7348 is the default IMS port number). Using DNS records instead of IP addresses is possible. - Test the connection by pressing Test button
- Press Save button.
After changing the IP address of the SafeQube, it is necessary to re-login to web management with the new IP address.
Configure Spooler Controller and Terminal Server
Go to https://<device IP address>:8083
Go to Applications section in the left panel
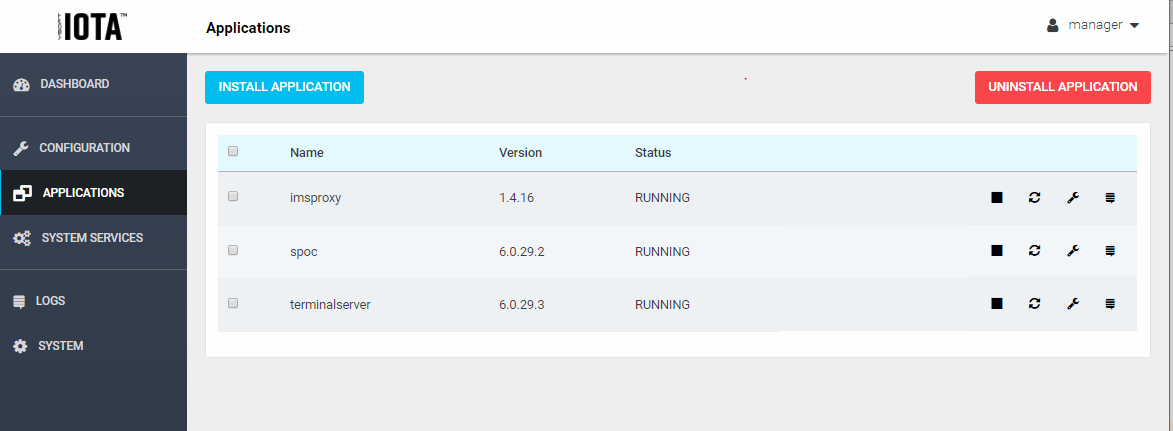
- Click on configure icon for terminalserver application, fill in all fields and press Save and Restart Application.
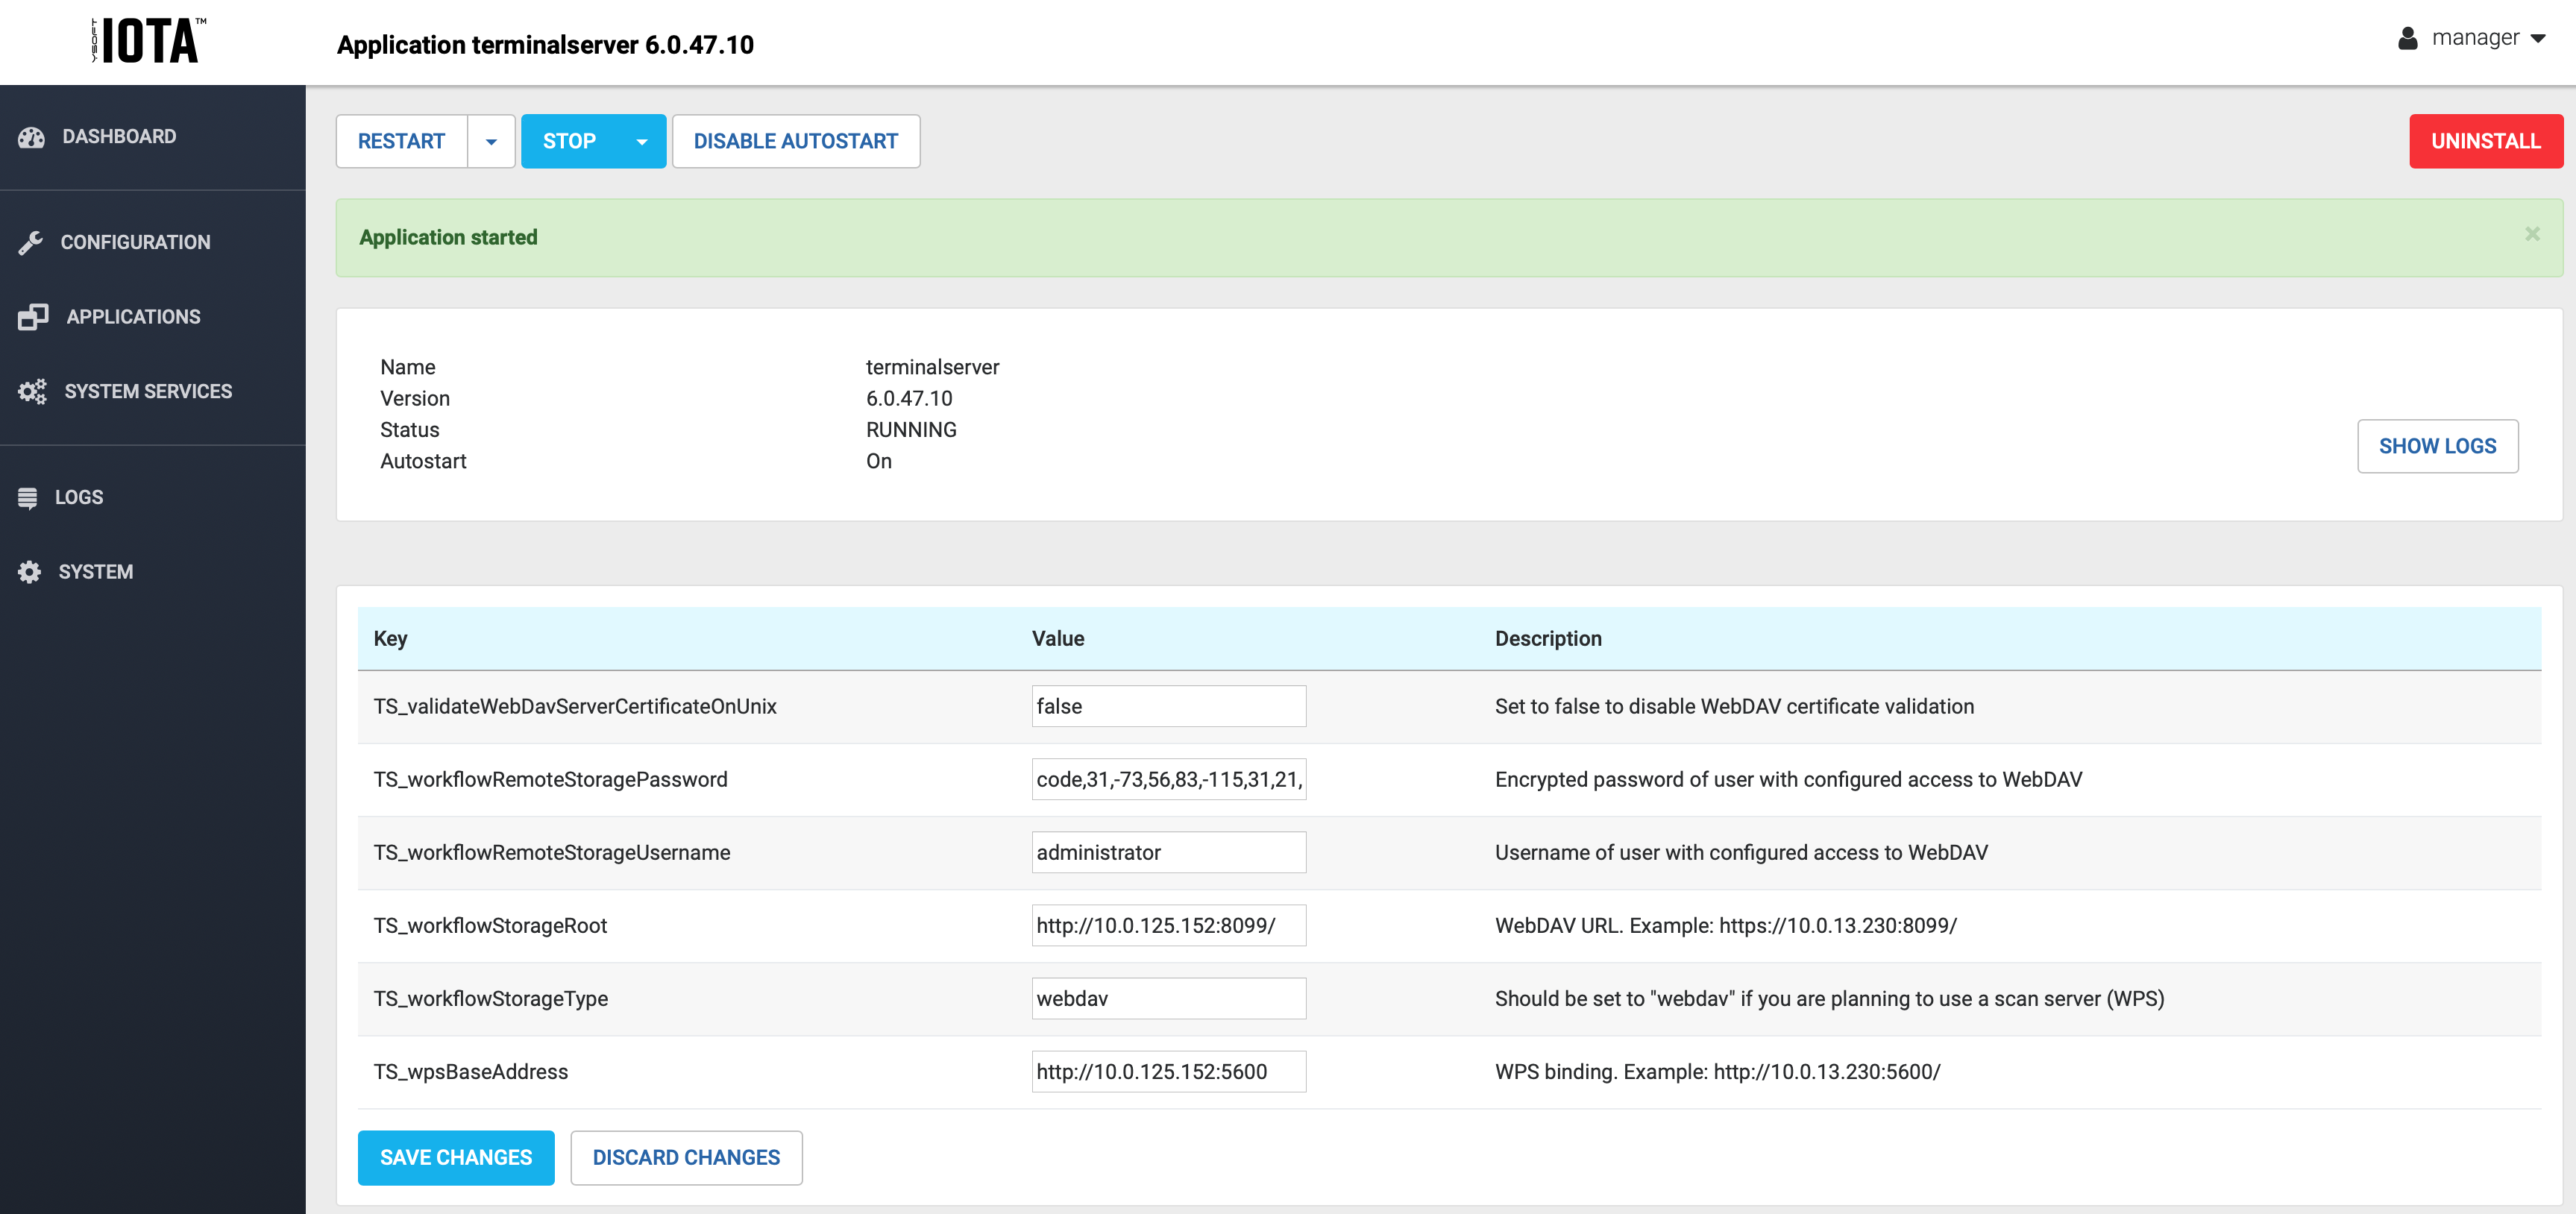
- for terminalserver the following parameters must be set if a WPS scan server is to be used:
- TS_wpsBaseAddress – WPS server API endpoint URL (e.g. http://10.0.13.230:5600/). Please make sure the URL ends with a forward slash character as in the example.
- TS_workflowStorageType – set to
webdavif you will use a scan server (WPS), or leave asnone. - TS_workflowStorageRoot – central WebDAV server for scanned data (e.g. http://10.0.13.55:8099/). Please make sure the URL ends with a forward slash character as in the example.
- TS_workflowRemoteStorageUsername – the username for an account with WebDAV permissions.
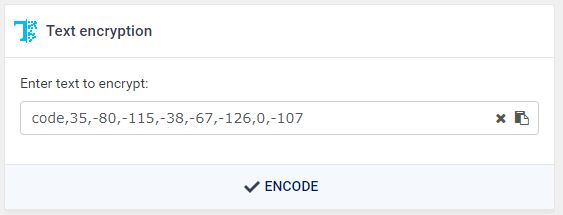
- TS_workflowRemoteStoragePassword – the password for an account with WebDAV permissions in encrypted form.
- Login to Management Server as administrator
- Go to Dashboard, enter text to encrypt to Text encryption widget and click on Encode
- TS_validateWebDavServerCertificateOnUnix – set to false if you will use a scan server.
- for terminalserver the following parameters must be set if a WPS scan server is to be used:
- Click on configure icon for spoc application, fill in all fields and press Save and Restart Application.
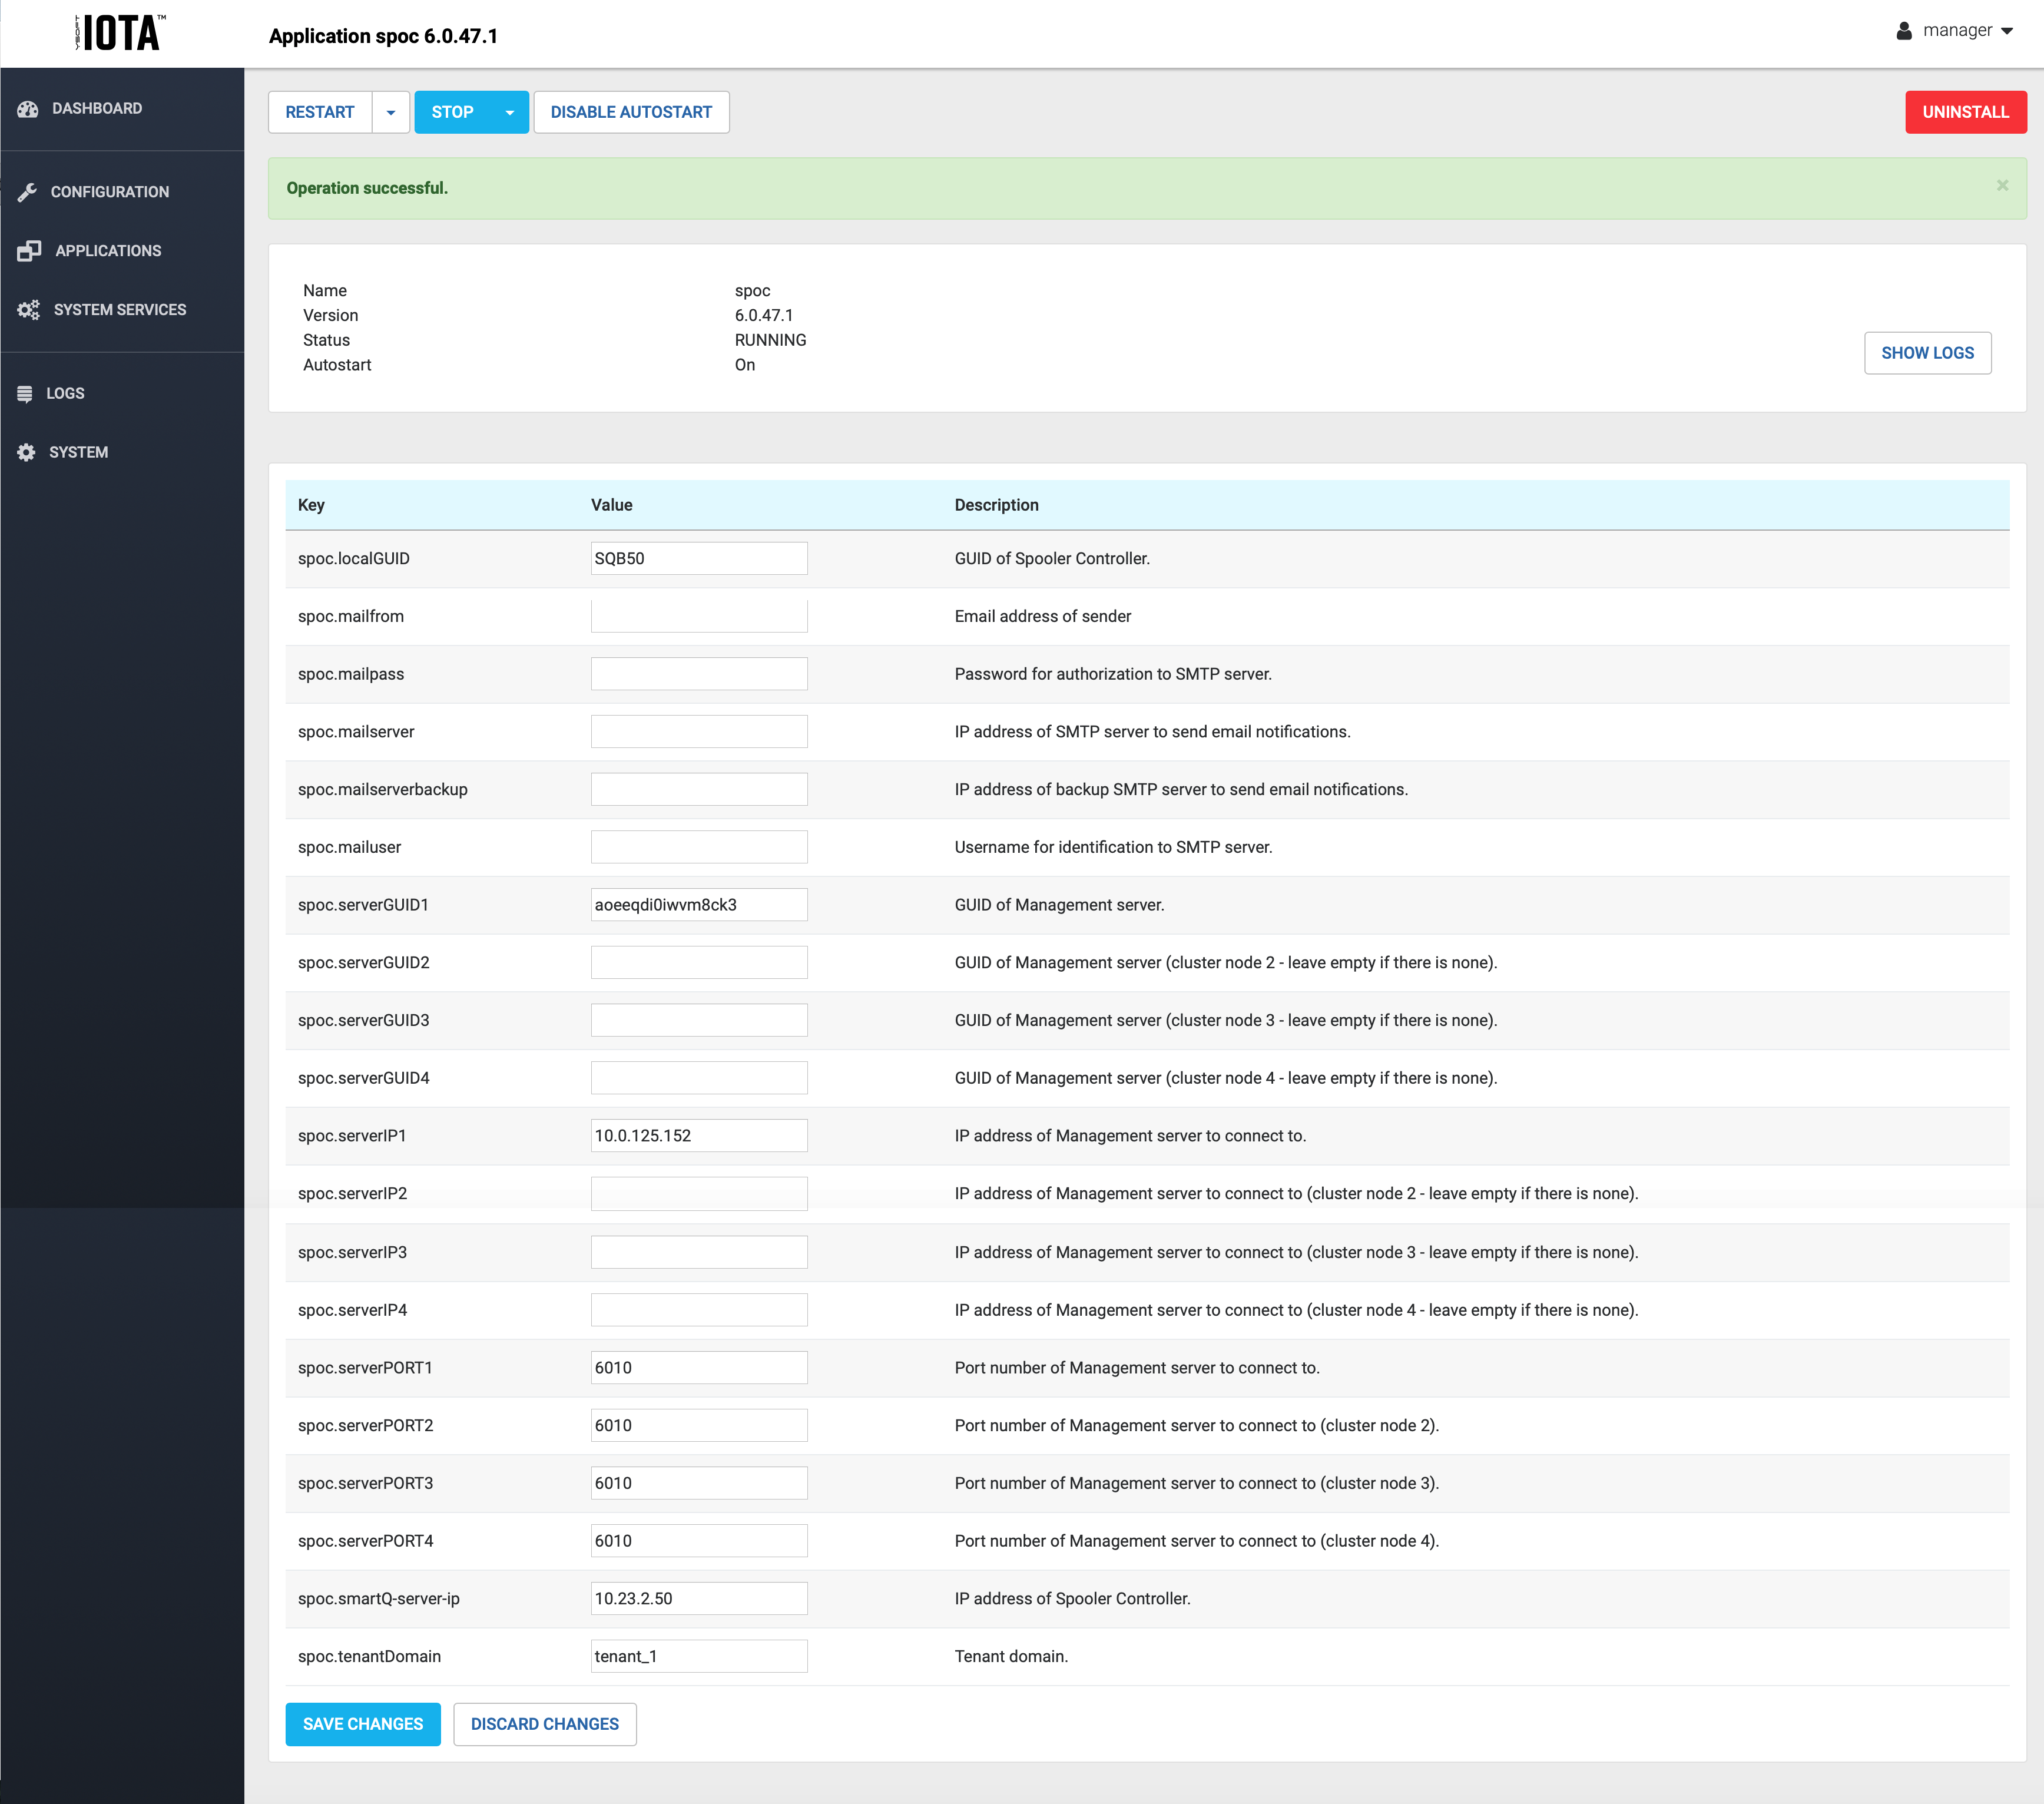
- for Spooler Controller following parameters must be set:
- spoc.localGUID - SPOC GUID (e.g. local_GUID )
- spoc.serverGUID1 - GUID of Management server (e.g. Management_GUID)
- spoc.serverIP1 - IP address of Management server (e.g. 10.0.13.230)
- spoc.serverPORT1 - communicator port of Management server (usually 6010)
- spoc.smartQ-server-ip - Spooler Controller IP address (e.g. 10.0.5.145)
- spoc.tenantDomain - tenant name on Management server (e.g. tenant_1)
Verify configuration
- Connect to SafeQube's management console (SSH connection using the IP address of SafeQube and the same credentials as are used for web management) and run console command "server test". It should return OK for configured IMS address.
- For terminalserver application check logs on https://<device IP address>:8083/logs. Look for message "TS fully started".
- For spoc application, check if Spooler Controller is registered and has status "Online" on the management interface (Devices > Spooler Controller groups).
- Check that imsproxy application is running.
All settings can also be performed from YSoft hardware management console. See YSoft hardware administrator guide for more details.
Troubleshooting
Spooler Controller
Spooler Controller reconnected to the different Dispatcher Paragon Management Service does not register
Scenario
- Spooler Controller has successfully registered to the first Dispatcher Paragon Management Service
- You changed value of parameter spoc.serverIP1 and restarted Spooler Controller application
Spooler Controller does not register to the second Dispatcher Paragon Management Service because of SQ error:
Sender GUID '<spoc.localGUID>' is not known to the tenant resolver service!"
Solution
After changing spoc.serverIP1, delete the Spooler Controller cache by rebooting the SafeQube.
Ricoh SOP Device
Installation of Ricoh SOP device takes too long and fails to configure the device
(This was observer mainly on Safe Qube 2 with Terminal Server MU59 and older)
Scenario
- When adding a device of type Ricoh SOP (Management - Devices - New Device), the installation takes quite long (cause of multiple restarts)
- The installation fails while sending the configuration to the MFD and the device is stacked with the "Installation in progress" on the screen of the MFD.
In the LOG of Terminal Server we can see the error:
WPS server certificate is invalid ...
Solution
- For Terminal Server on Safe Qube 2 check the TS_wpsBaseAddress parameter to be filled in.
- Comment: It sets the Terminal Server property wpsBaseAddress in terminalserver.exe.config.
The empty/null value in wpsBaseAddress causes that the WPS certificate validation is used event if the WPS address is not set.