Multiple Management nodes can form a cluster. This document describes the procedure how to add a clustered Management Server to an existing environment with First Server.
Make sure to use an external high-available SQL server during installation of First Server - embedded database is deployed on one Management Server only and thus there is no failure resiliency and recovery procedures may take a long time to finish.
Installation of additional Management Server
Mandatory subsystems: Management Service, Spooler Controller, Workflow Processing System, FlexiSpooler.
Optional subsystems: Mobile print Server, Dispatcher Paragon Payment System.
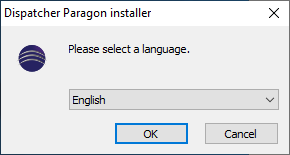
Select a language
- The installer uses the selected language to communicate with the user with the exception of texts coming directly from the OS which is dependent on the OS language. Typically the YES, NO, and OK buttons.
- A number of languages depend on the localization scope for each installer.
- The default language is English.
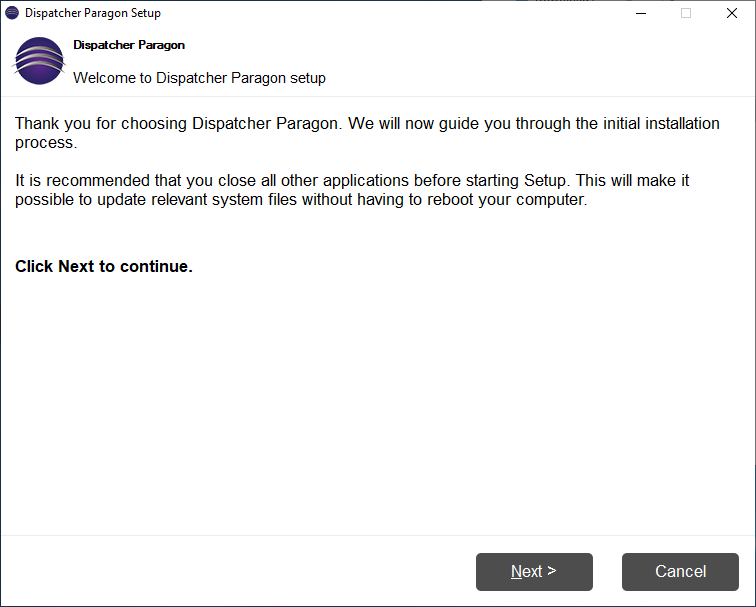
Welcome page
The user is notified that a wizard-like setup will guide him through the installation process.
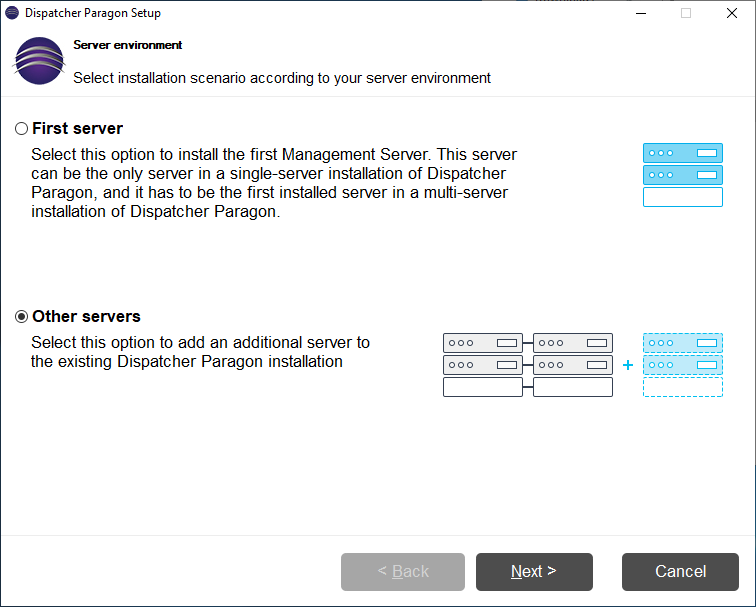
Server environment
- A Management server cluster is formed by connecting one or more Management servers to an existing Management server.
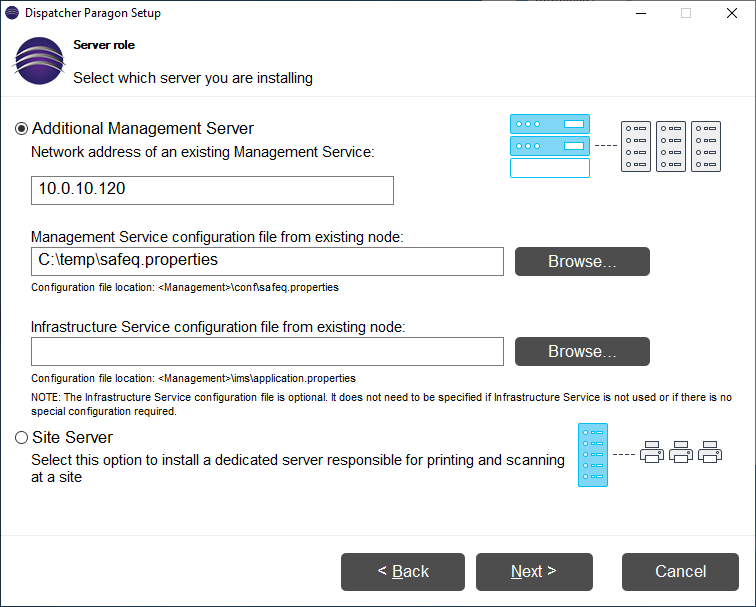
Server environment
- Select the Additional Management server option.
- All Management servers in a cluster share the same data and configuration.
- Provide the network address of any other Management server in order to form a connection.
- Provide the Management Service configuration file taken from any other existing Management Service. Management servers share configuration like database backend.
- Optionally, provide the Infrastructure System configuration file taken from any other existing Infrastructure Service.
- It is highly recommended to install or update one Management node at a time. Installation or update of multiple nodes at the same time could result in an installation or update failure.
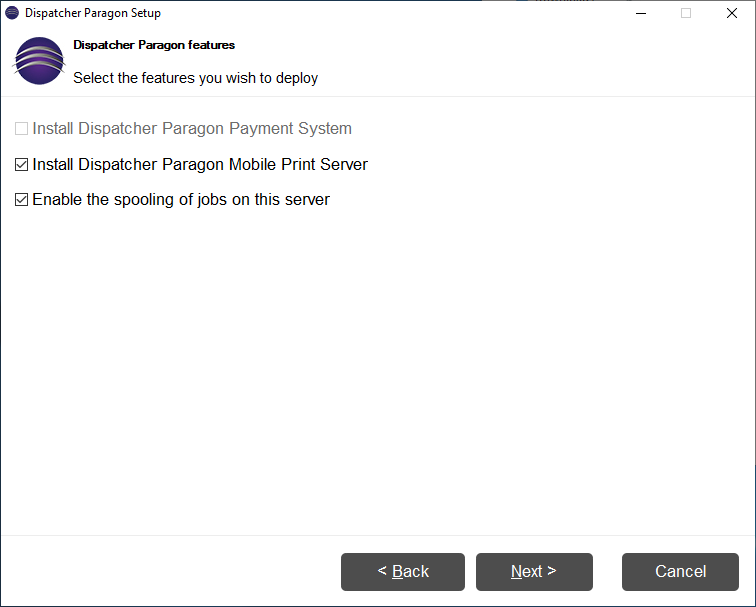
Optional features
- Select which optional features shall be installed.
- Spooling features - print jobs will be spooled directly on this server.
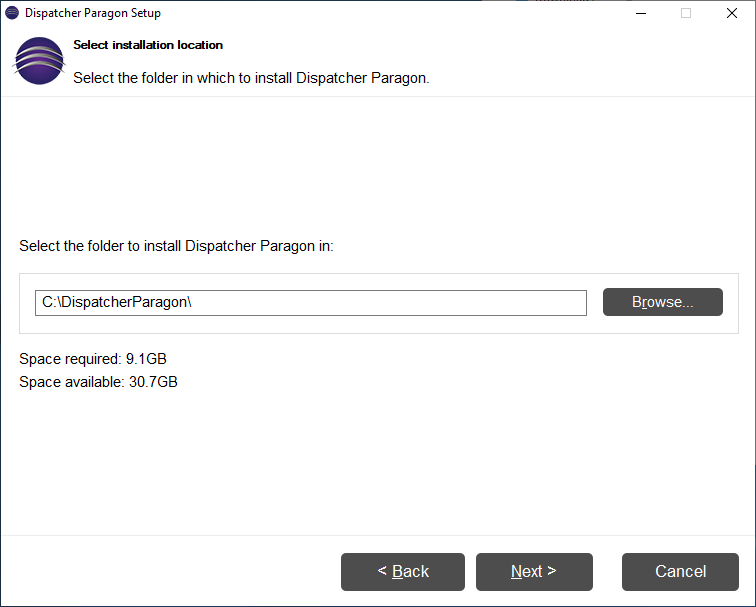
Installation folder
- Provide a path to the installation folder.
- Each subsystem will be installed in its dedicated subfolder.
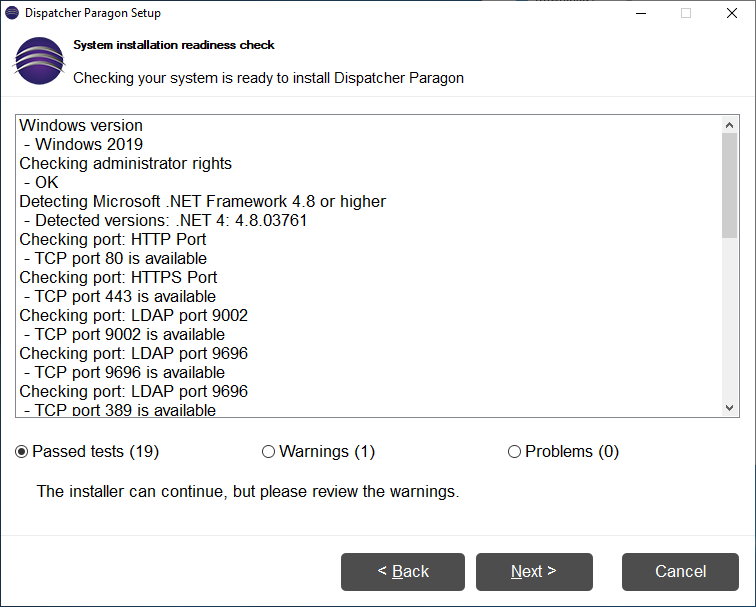
Pre-installation check
- The pre-installation check performs a series test in order to verify if the server environment is suitable for installation. Currently, only basic tests are not being performed, but the list will grow in the future.
- The installer process has Administrator rights.
- Server OS is intended for servers (no Windows 7,8,10 etc).
- .Net framework availability - If not found the installer will deploy a suitable .Net framework automatically.
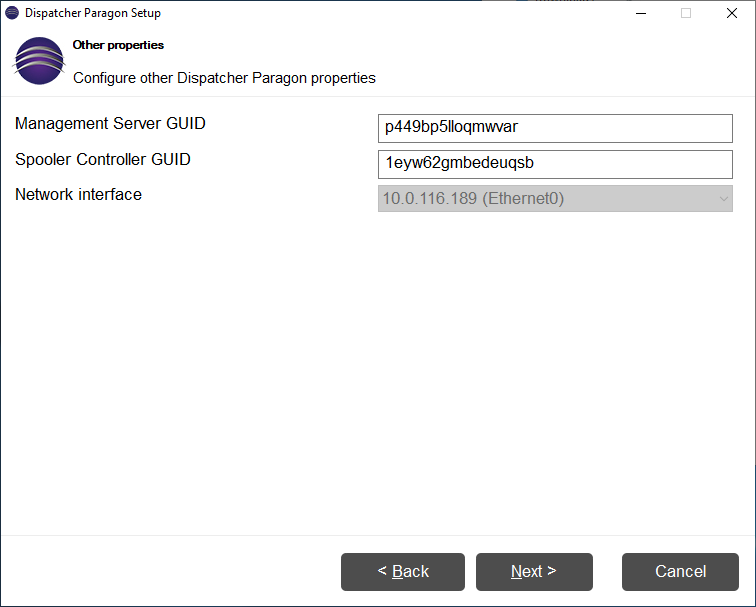
Other properties
- Each Management Service is identified by a GUID, this GUID is automatically generated, however, you can also provide a GUID manually.
- Each Spooler Controller is identified by a GUID, this GUID is automatically generated, however, you can also provide a GUID manually.
- A drop-down list of all available IPv4 network interfaces is available for the user to choose a network interface Dispatcher Paragon services will bind to. This drop-down is disabled in case only a single network interface is available.
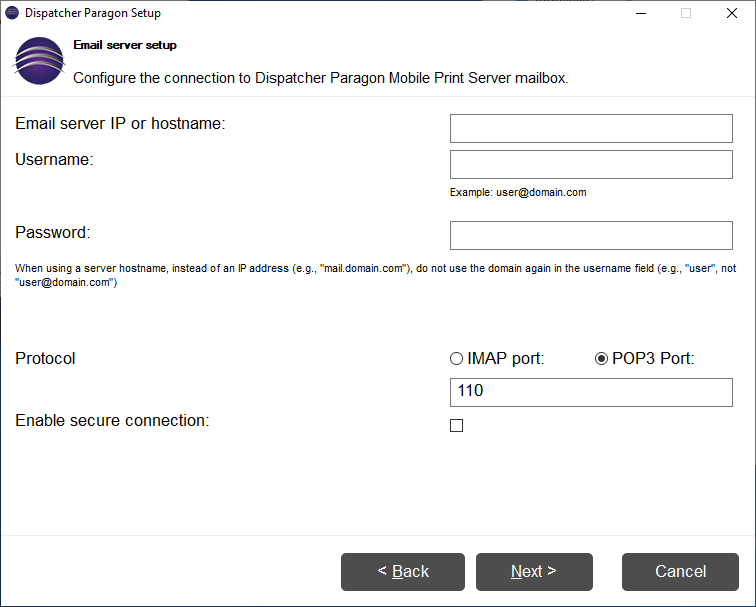
MobilePrint mailbox
- This configuration is required only when MobilePrint features were selected.
- On this page, a connection to an incoming mailbox must be configured.
Additional reconfiguration on all Dispatcher Paragon Management Servers
Infrastructure Service cluster (responsible for the update of hardware devices such as Terminal Pro 4) require shared storage for all its uploaded packages and related resources. It is used when uploading new hardware packages via the Management interface.
- Edit <install_dir>\Management\ims\application.properties and add the following parameter:
# path to repository directory. Example: repository.path =//clusteredstorage/imsreporepository.path = <dir shared allforIMSes>
Change the owner of the "Dispatcher Paragon Infrastructure Service" to the service account that has full administrative rights on the local server and to the shared directory.
Reconfiguration of Dispatcher Paragon Site Servers to connect to all Dispatcher Paragon Management Servers
All Dispatcher Paragon Spooler Controllers must be always aware of all Dispatcher Paragon Management Servers, else various failures in the environment will occur.
It is necessary to inform all Dispatcher Paragon Spooler Controllers that a new Dispatcher Paragon Management Server is available. Make sure to perform this task on all Dispatcher Paragon Site Servers and Dispatcher Paragon Management Servers where Dispatcher Paragon Spooler Controller is present.
- Find out the IP address and GUID of the newly installed Dispatcher Paragon Management Server.
- Management Server GUID can be obtained from the web interface of the newly installed node at Management interface > Dashboard > System info widget.
Edit <install_dir>\SPOC\conf\modules\spoc.conf and add information about the newly installed Dispatcher Paragon Management Server to the bottom of the file into the Connections to CML server nodes: GUID, IP and PORT section. If you added a second Dispatcher Paragon Management Server, each parameter will have suffix 2, the third server will have suffix 3 and the fourth server will have suffix 4. Example of added configuration:
serverGUID2=GUID_of_second_Management_ServerserverPORT2=6010serverIP2=10.0.20.30- Restart the Dispatcher Paragon Spooler Controller service to apply the changes.
- Edit <install_dir>\SPOC\ims\application.properties and add the address of every management server to the parameter infrastructureServiceAddresses (comma separated list).
- Restart the Dispatcher Paragon Infrastructure Service Proxy service to apply the changes.
