This page describes how to use the interactive installer to perform deployment of Dispatcher Paragon Payment System.
New installation or update of Dispatcher Paragon Payment System
- Run the installation file ysf-ps-install.exe on the target server.
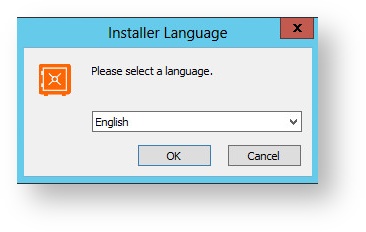
- Select a language of installation process.
- Click Next and proceed through welcome screen.

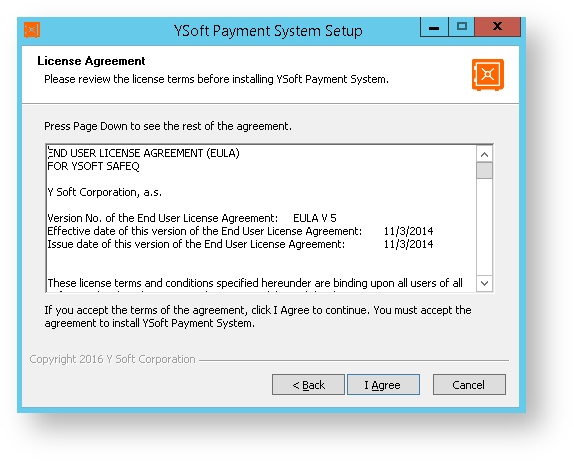
- Click I Agree to accept the license agreement. Clicking on Cancel will decline the license agreement and stop the installation.
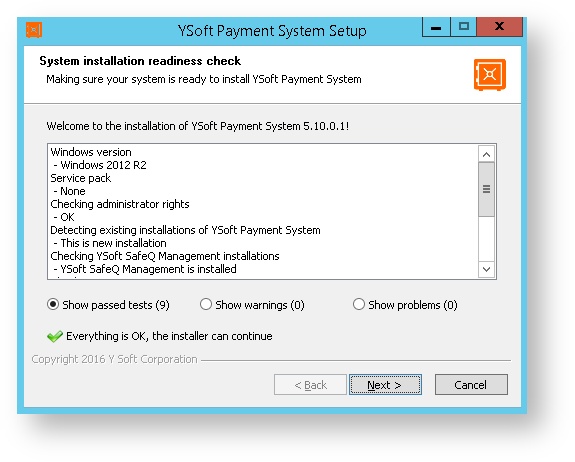
After you accept the license agreement, the installer runs a preinstallation check. This procedure checks several conditions and determines if the server meets all requirements for Dispatcher Paragon Payment System installation.
If any of these conditions are not met, they will be displayed in either the Show warnings or Show problems area. Installation can continue with warnings. If there are problems, installation cannot continue. If any warnings or problems are indicated, review the warnings and resolve the problems before proceeding in installation.
Installer checks these conditions:
- Version of Microsoft Windows
- Administrator rights of the user installing Dispatcher Paragon Payment System
- Existence of Dispatcher Paragon installation
- Existence of previous Dispatcher Paragon Payment System installation
- Required ports must be open and free
- Available disk space
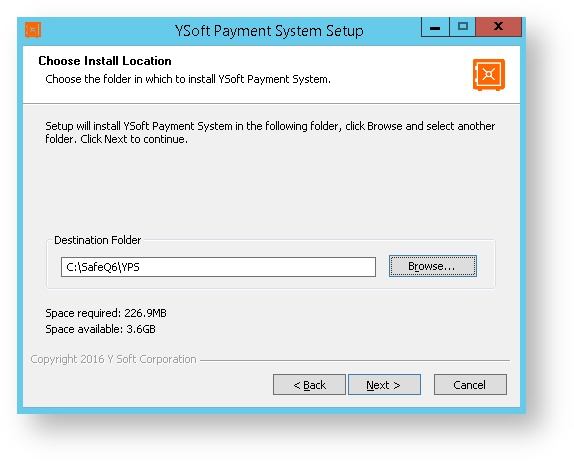
Select your destination folder for Dispatcher Paragon Payment System installation.
It is not possible to change the destination folder during update from previous installation. In this case, click on Next will immediately start installation process from step 10.
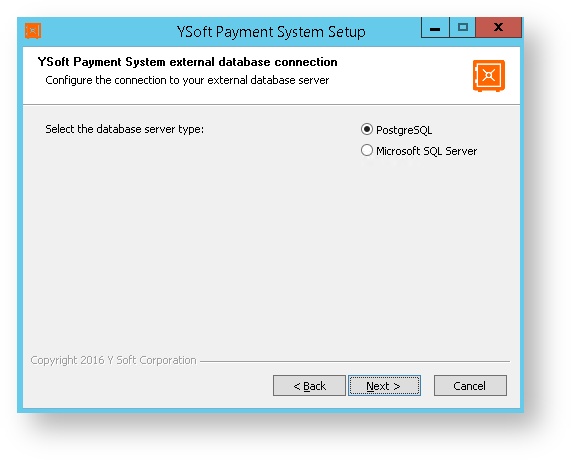
- Select database server type you want to use for Dispatcher Paragon Payment System.
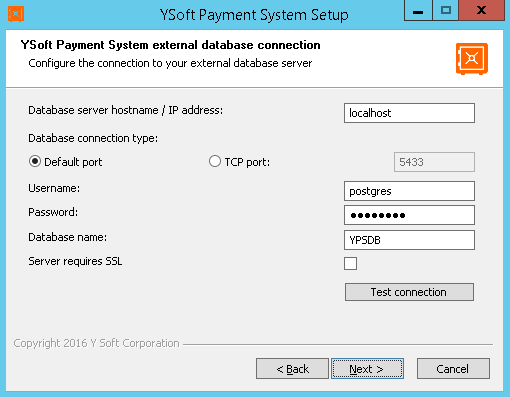
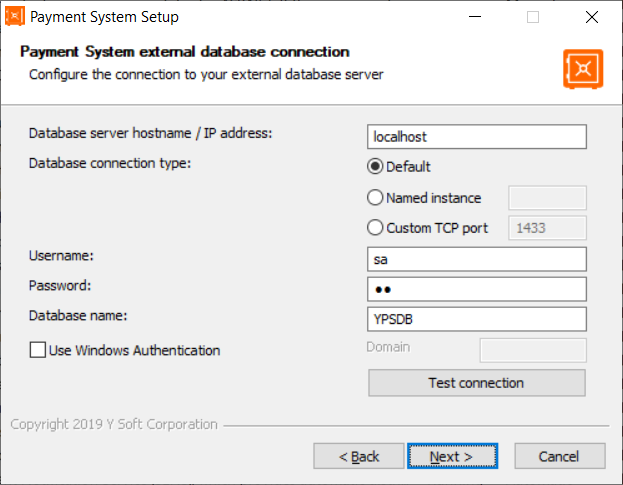
Provide database connection details for Dispatcher Paragon Payment System.
Database server hostname or IP address
IP address or hostname of server where database engine is running (you can use for example Dispatcher Paragon embedded database).
TCP port
Specify TCP port for database connection.
Use port 5433 for connecting to embedded PostgreSQL database installed with Dispatcher Paragon.
Named instance
Instance used for connection to MSSQL database.
Username
Database user name.
Password
Database user's password.
Database name
Dispatcher Paragon Payment System database name (e.g. YPSDB). The installer will attempt to create a new database using the specified credentials if a database of the given name does not exist.
Server requires SSL (PostgreSQL only)
Check if database server requires SSL.
Domain (MSSQL only)
Database user's domain. Used in Windows Authentication. If Windows Authentication is used, the Dispatcher Paragon Payment System service logs on as a domain user.
If you want to use Windows Authentication later on, you need to change the Dispatcher Paragon Payment System service's Log On As user to a correct domain user, since the service is by default installed to log on as Local System Account.
Test connection
Test your database connection.
PostgresSQL configuration
Microsoft SQL server configuration
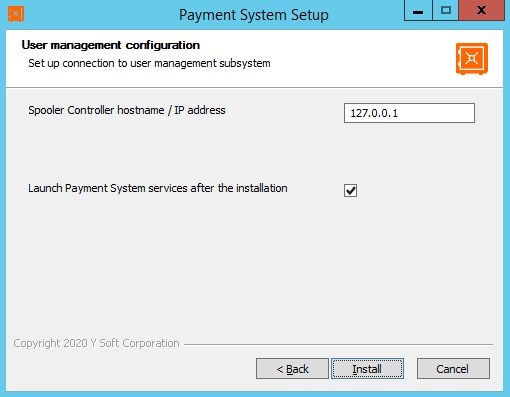
Enter the hostname or IP address of YSoft Spooler Controler used for user management of your Dispatcher Paragon tenant. Click Install to start installation.
In former version of YSoft SafeQ 5 suite, the Dispatcher Paragon Payment System used to be connected directly to Dispatcher Paragon. In Dispatcher Paragon suite, you should always connect Dispatcher Paragon Payment System to YSoft Spooler Controler.
Default IP address of YSoft Spooler Controller
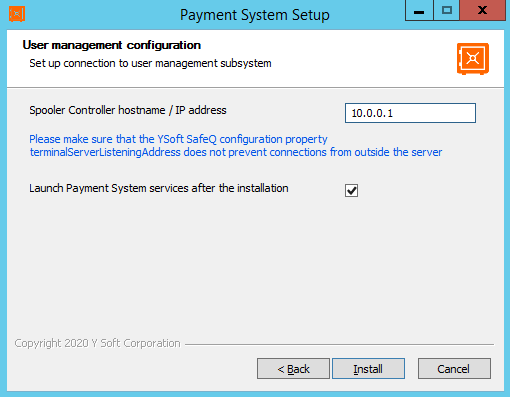
When the IP address of YSoft Spooler Controller does not point to 127.0.0.1, the following hint is shown.
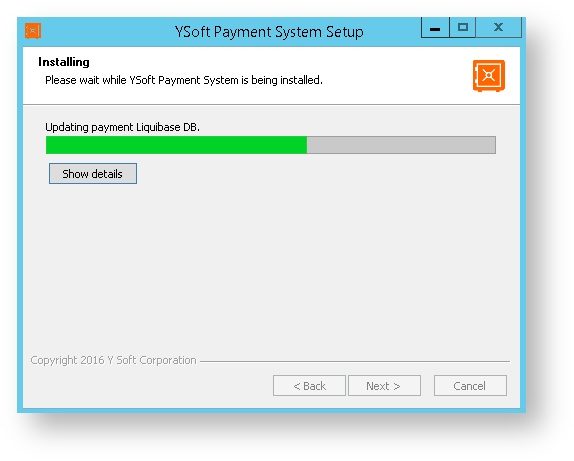
- The installer begins to copy required files. In case you wish to see detailed installation progress, press Show details button (or D key).
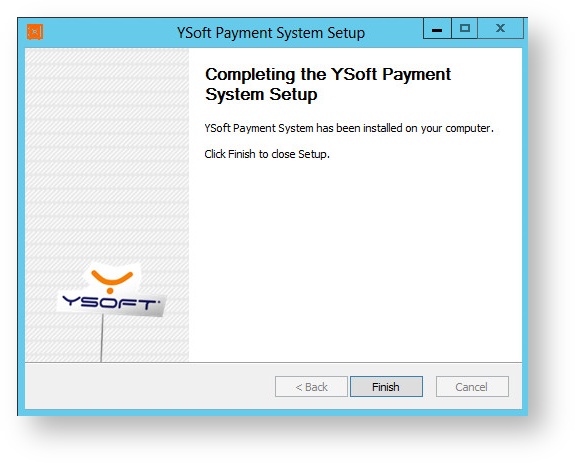
- Once installation is complete, click Finish. Proceed with Configuring Payment System.