When I need to do that?
When integrating with Azure AD it is necessary to ensure that all print jobs delivered to Dispatcher Paragon are received under the correct user login. Customers using Azure AD are using two different approaches:
- Azure AD DS with secure LDAP available.
- Pure Azure AD with Azure AD joined workstation.
Tip: if unsure which one is your case, think about your logon screen: if you are using your full email address, you are most likely on option 2.
Scenario 1: Azure AD DS with secure LDAP
Those customers are using managed domain and should follow standard LDAP integration documentation (LDAP Integration).
Reference: https://docs.microsoft.com/en-us/azure/active-directory-domain-services/tutorial-configure-ldaps
Scenario 2: Azure AD
Customers who abandoned traditional managed domain and are running pure Azure AD would be logging into their workstations using their Office 365 credentials (email address). Those are "Azure AD joined" workstations where user logins are treated differently than in standard managed domain environments. In this case there is LDAP Proxy for Azure AD (SWC-100) extension available via Extension Store.
The Secure LDAP Proxy for Azure AD extension has a number of limitations, stated in the extension documentation. Please, read through them carefully to find out if it is applicable for your deployment.
Troubleshooting tips
In case customer doesn't have LDAP replication he can manually assign print job to an existing/new user in the management interface.
Customer should follow these steps:
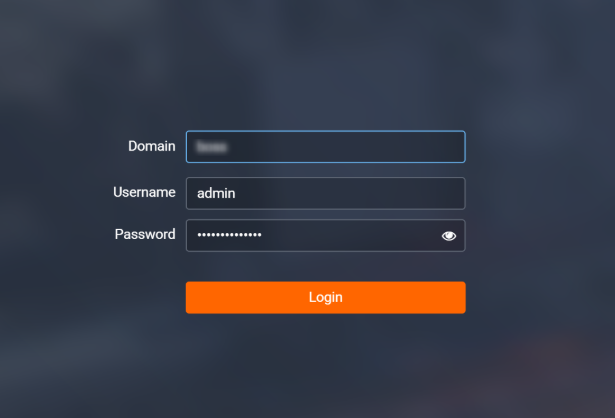
- Open the management interface login window and log in.
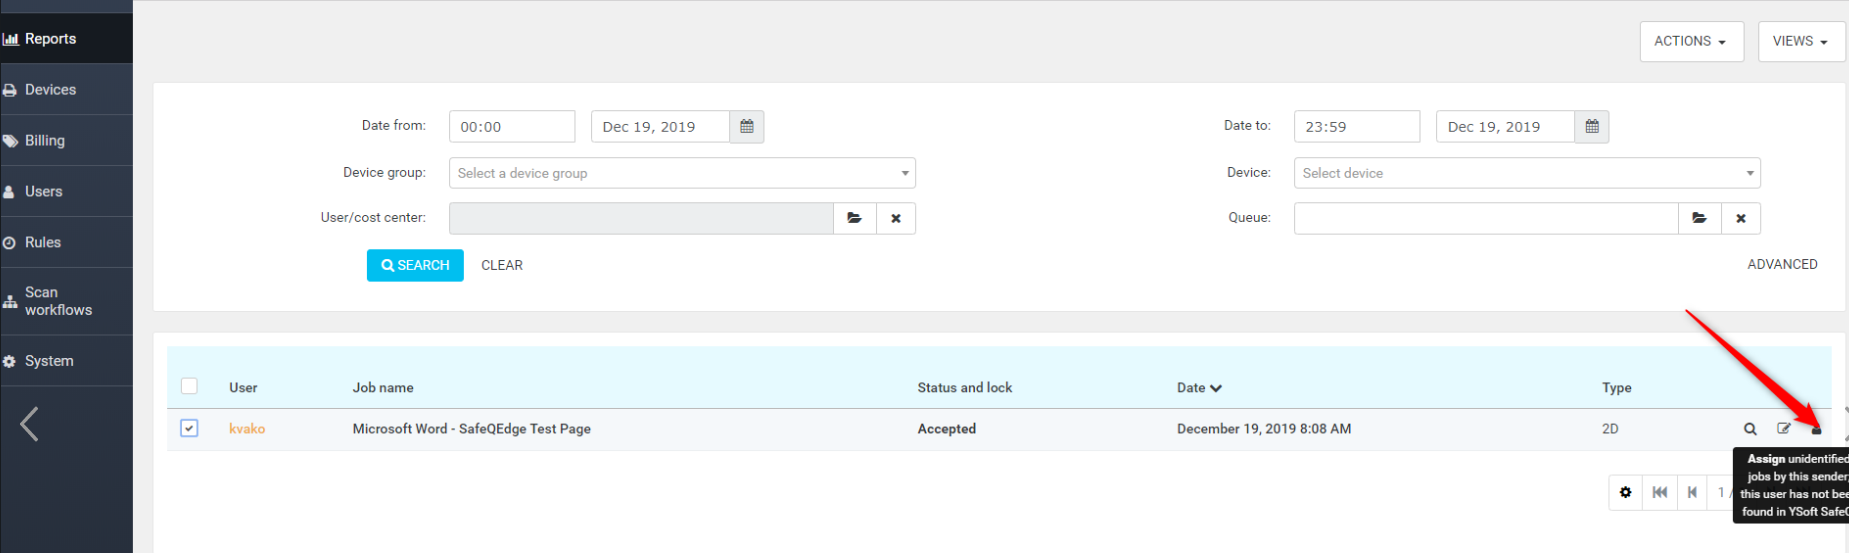
On the Dashboard page click Reports.
- On the Reports page, find the unassigned job. Select this job and click on the Assign icon.
- In the dialog window, select Create a new user or Choose user from list.
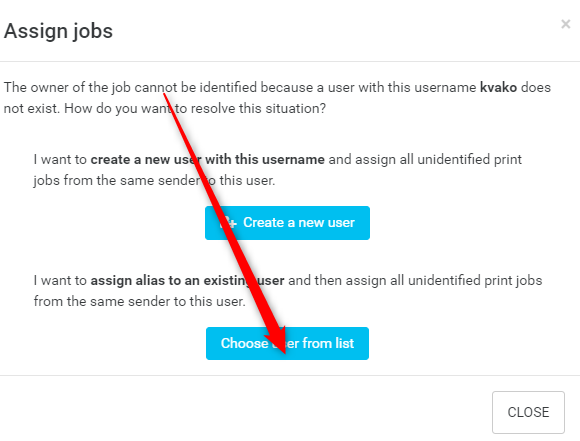
- Find and select user which you want to use to assign print job.
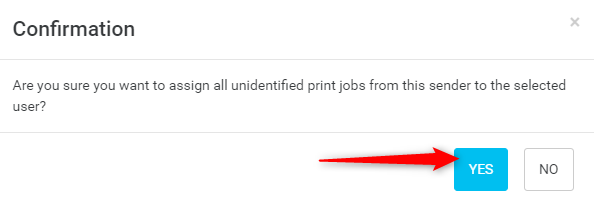
- Confirm job assigning to the selected user by clicking YES.
- On the Reports page, you should see the print job assigned to the selected user.
- Selected user can print the job on printer.