Overview
Dispatcher Paragon requires an identity database to provide access control and/or accounting functions. The identity database can be an internal or an external database synchronized from an LDAP, SQL DB or a third-party system.
Displaying the Users List
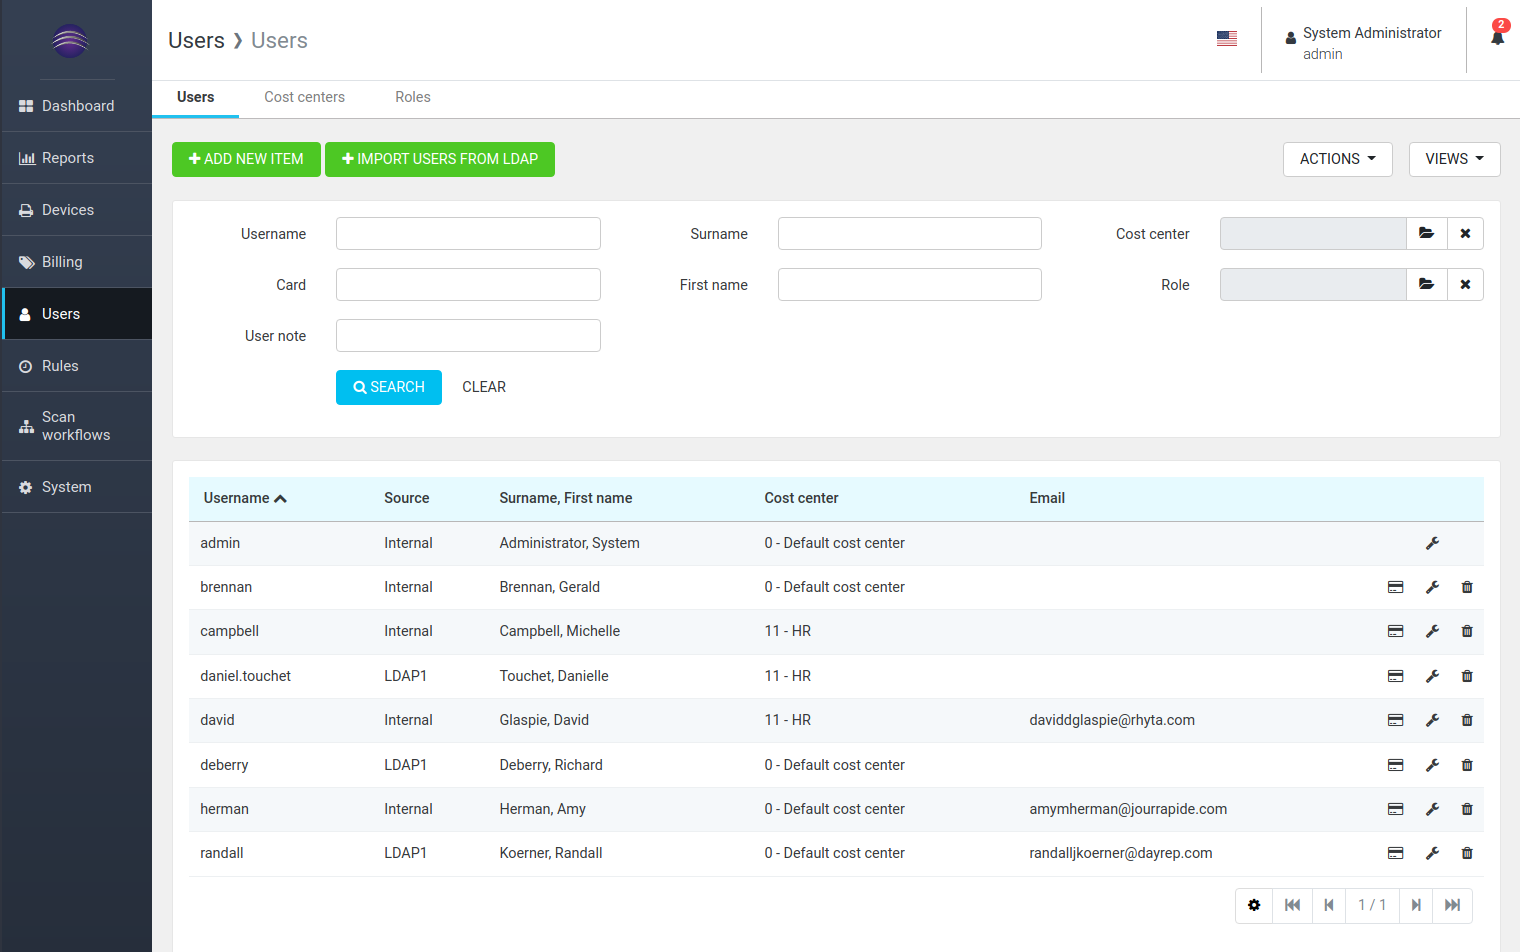
In the Dispatcher Paragon management interface, select Users > Users to see the users list.
On the Users page, users can be added or edited.
Working with Users
Add new item | Create a new user in the Dispatcher Paragon database |
Edit icon | Edit an existing user's settings (see Create and Edit) |
Delete icon | Delete a user from the database. The user will be marked as deleted, but will still be included in reports. You can later restore a deleted user There are two limitations when deleting a user in Dispatcher Paragon.
|
Access rights icon | Assign access rights for the selected user |
Managing User Access Rights
Access rights determine what a user can see and do once they are logged into the web interface. Administrators have full access and others can be assigned any subset of access rights. There are rules governing the addition or modification of the user’s existing access rights.
Terminology:
- Editor – User who is modifying the access rights of another user
- User – User who’s access rights are being modified
To manage User’s individual access rights:
- The Editor may assign and unassign only those access rights that are assigned to themselves.
To manage User’s role(s):
- The Editor must have the access rights of a particular role before they can assign or unassign that role to a User.
To change a user’s username and/or password:
- The Editor must have all the user’s access rights assigned to themselves.
Example:
- The Editor has the access rights "View list of users" and "Add, edit, and delete users".
- The User has access right "Reports - view all data".
- The Editor can edit User’s cards, pins, email and other information.
- The Editor is not able to edit User's username and password, because the Editor doesn't have the access right "Reports – view all data". This prevents the Editor from logging in as the User and seeing User's reports.
Filtering the Information to Display in the Users List
The Users list includes filters for searching and displaying only specific data in the list.

Filter name | Restrict to... |
|---|---|
Username | Users with the entered username (Login) |
First name | Users with the entered first name |
Surname | Users with the entered surname |
Card | Users with the entered card only |
User note | Users with the entered user note |
Active users | List only active users (default option) via the page's view action (top right-hand corner) |
Deleted users | List only deleted users via the page's view action (top right-hand corner) |
Role | Users with the selected role |
Cost center | Users with the selected cost center |
Updating, Importing and Exporting User Data
To access the update, import, and export options, use the Actions menu.
Action | Description |
|---|---|
Data import | Import user data from a CSV file |
Data export | Export user data to a CSV file |
To access LDAP integration settings, click the Import Users from LDAP button or go to the System menu > LDAP integration. Find details in LDAP Integration.
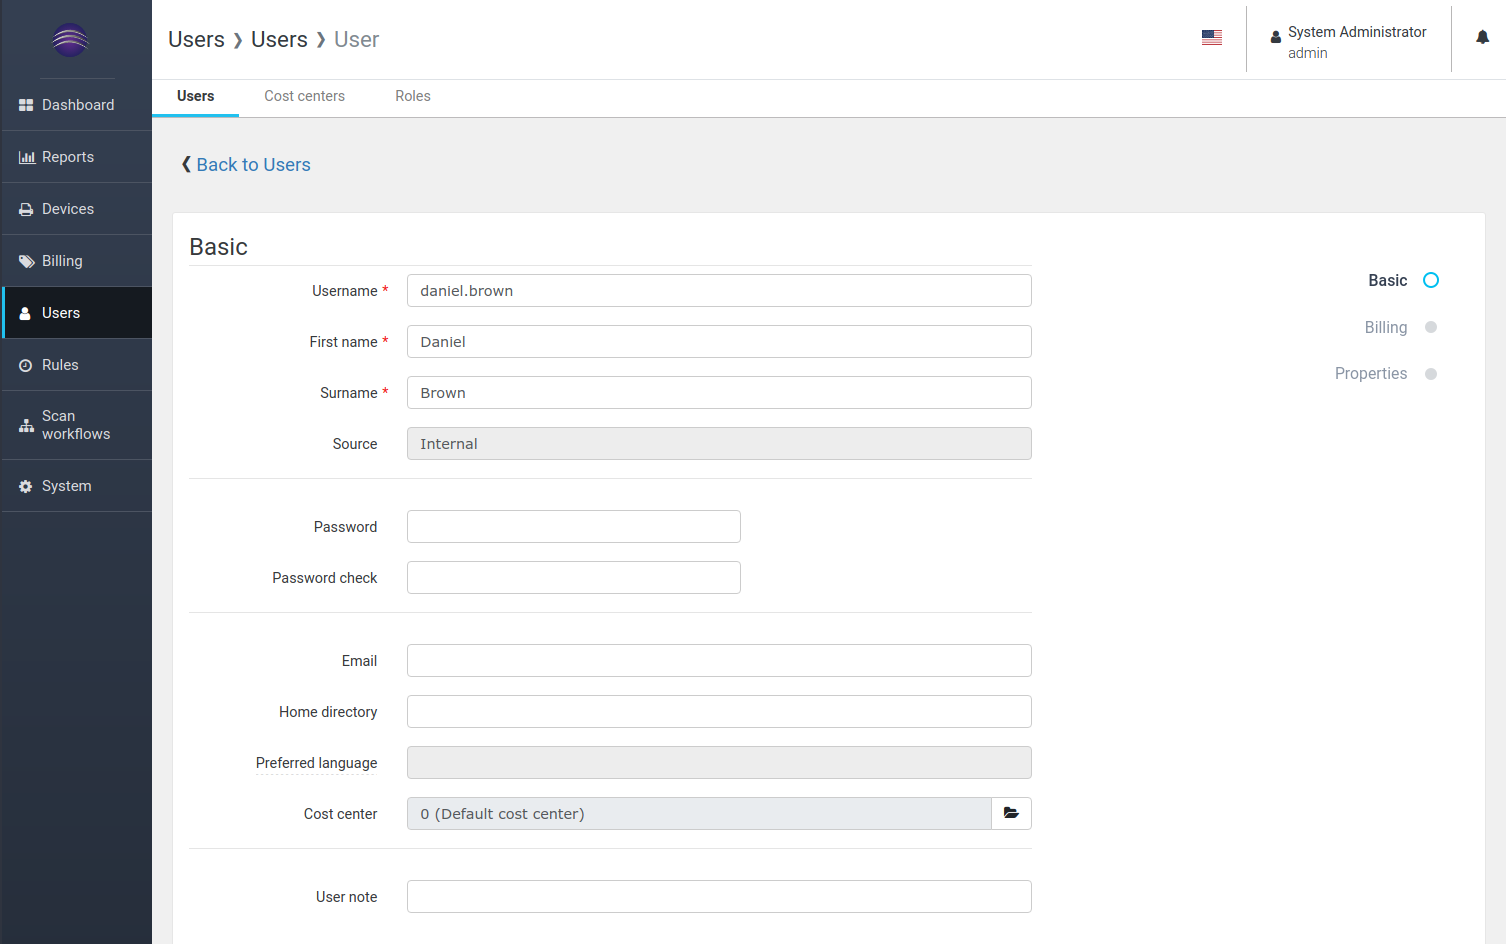
Create and Edit
Attributes:
Attribute | Description |
|---|---|
Username | The unique login (username) that identifies the user in the system for access rights to the Dispatcher Paragon interfaces. The user's login has to be unique within a single tenant – it is not allowed to create two (or more) users with an identical login (username) within a single tenant. |
First name and Surname | The user's first name and surname. |
Password | The password is securely saved in the database. The text of the password cannot be displayed. If a user forgets their password, a new password must be generated. Password complexity is affected by two system settings properties: Minimum password length: minimumPasswordLength This property enforces a minimum password length for passwords entered by system users via this web interface (CSV imports and other external tools are not covered intentionally). If a password has fewer characters than the value of this property, the password will be rejected and the user is informed about the proper password length. Set the value to 0 to allow passwords of any length. Enforce strong passwords: enforceStrongPasswords This property enforces certain rules for passwords entered by system users via this web interface (CSV imports and other external tools are not covered intentionally) must comply with otherwise the password will be rejected and the user is informed about the necessary requirements for a new password. Strong passwords must match three of the following criteria:
Editing of password depends on user rights. Principles are described in section Managing User Access Rights above. |
Card ID/PIN | A list of ID cards and PINs. Each user can have one or more ID card. ID cards and PINs are used for user authentication at Dispatcher Paragon terminals. |
Mobile Terminals | A list of activated Mobile Terminals. Mobile Terminals are used for authentication with the YSoft SafeQ Mobile Terminal. |
Enter an email that will be used for sending messages to the user from the Dispatcher Paragon system. | |
Home directory | The user's home directory (used for scanning to the home folder). To support network scanning, the home directory must contain the complete path on the Dispatcher Paragon server or the complete UNC path. The home folder must be accessible by Dispatcher Paragon. If the user's home directory is not defined, then the workflows which scan to the home folder are not visible to given user. |
Cost center | A number that identifies the cost center assigned to the user. Each user must only be assigned one cost center. |
Default billing code | The default billing code for the user |
Note
If a user is imported from an LDAP, you will not be able to edit these attributes as the LDAP is the place where they must be edited.
Attribute | Description |
|---|---|
Terminal inactivity timeout | This figure defines a time limit after which the user is logged out of the terminal. This value is set for situations when the user forgets to log out and is therefore blocking the device for another user. This option also serves as protection against possible misuse of user accounts. |
Delete jobs after printing | To delete jobs after printing, select Yes. To keep and save jobs after printing, select No |
Assigning Roles to a User
- Scroll to the roles section.
- The user's access rights to printers and printer features are determined by the roles assigned to them.
- Assign a role (or multiple roles) to the user. For more information, see Managing Roles.
Adding an Alias to the User
Scroll to the section Aliases.
The user's aliases can be managed on this page. Aliases are a user's alternative usernames. An alias must be unique within the set of all active usernames and all aliases.
Aliases are best used when a user has several accounts and the usernames are not identical, for example in Windows or SAP. Authentication in Dispatcher Paragon is possible using an alias and the spooler recognizes aliases as well. Aliases are a good way to tell Dispatcher Paragon that two or more usernames belong to the same user.
Aliases are useful for detecting the user's identity during printing.
Please note that user aliases are not recognized in the Dispatcher Paragon Payment System if connected to Dispatcher Paragon.
Assigning Billing Codes to the User
- Scroll to the Billing codes section. Assign a billing code (or codes) to the user.
- Assigned billing codes will be available for the user on all interfaces with billing codes (Terminals and the Desktop interface).
Assigning a Price List to a User
Click Prices. Assign a price list to the user.
Attributes:
Attribute | Description |
|---|---|
Use common price list | Prices are inherited from the cost center or device |
Select price list for this user | Select this option to specify a price list for the user. See Managing assignable price lists for detailed usage instructions |
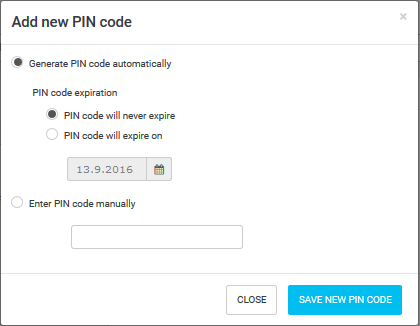
Assign a PIN to a User
Scroll to the PIN code section.
Enter a PIN code manually. Alternatively, generate a PIN for a user.
To enable the PIN generator in the system, go to System > System settings and set the following property to enabled:
- PIN-generator – This option enables the feature allowing users to generate a PIN code for themselves on the Dispatcher Paragon management interface.
If choosing to generate a new PIN, choose to generate a code with unlimited validity or with one with an expiration date.
The default expiration time is 60 days. Change the default value in system settings.
The remaining expiration of the generated PIN code is displayed next to it in the user's Card ID/PIN list.
The display of the PIN may vary based on the setting of the conversionPIN property.
Assigning a Card Activation Code to a User
Card Activation Codes cannot be added manually to the user. Users can generate a Card Activation Code for themselves from the Management interface.
Alternatively, generate a Card Activation Code for the user.
Go to System > System settings and set the following property to enabled:
- puk-enabled – If enabled, users are able to self-assign an unknown card using a generated Card Activation Code from the terminal interface
- Scroll to the Card activation code section in the user detail
- Generate a new Card Activation Code
The user will receive the new code via email if enabled in the System settings.
Assigning a Card to a User
Enter the Card ID value into the Card ID field and save.
The required form of the entered card may vary based on the settings of conversion property.
Mobile Terminals
Mobile Terminals cannot be added manually to the user. Users can activate their Mobile Terminal by requesting activation through the YSoft SafeQ Mobile Terminal application.
Once the Mobile Terminal is activated, it will be added to the list showing all activated Mobile Terminals.
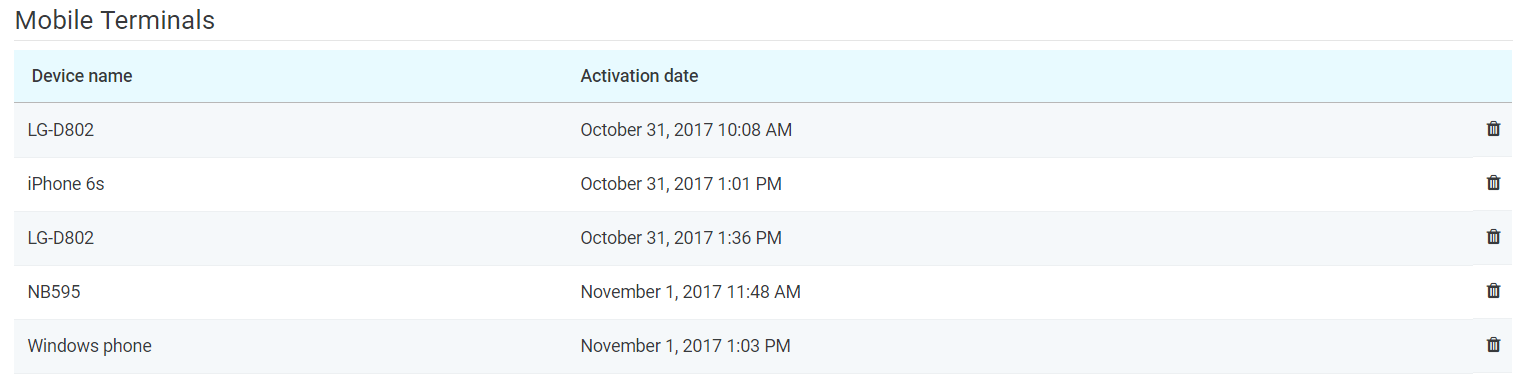
Mobile Terminal activation can be deleted by tapping the trash icon.