In order to update Universal Print Driver, you need to perform following manual steps:
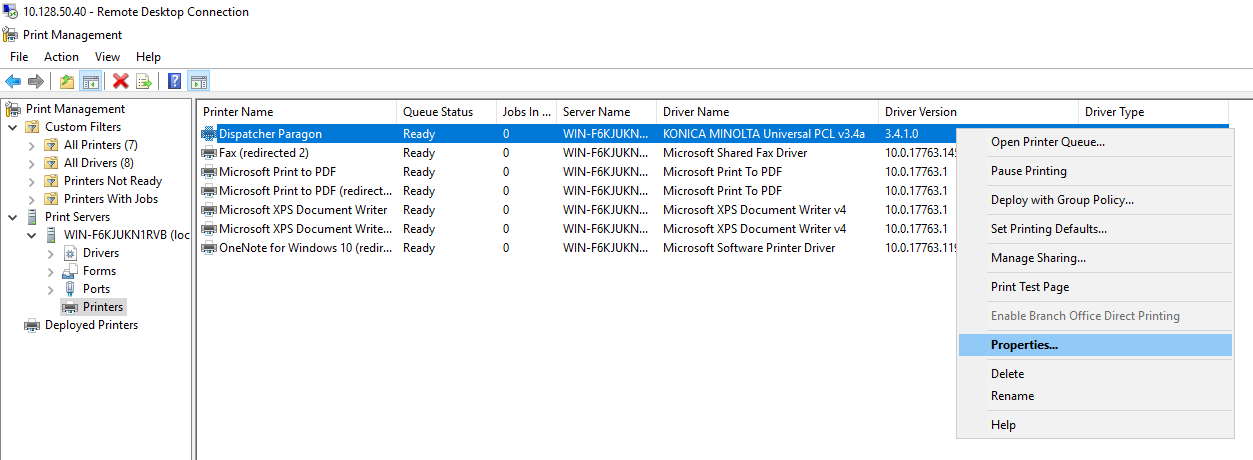
- Open Print Management application that is a part of a operating system installation.
- Display a list of print queues by clicking on Print Servers → Printers item in a tree view.
Select a print queue that has "KONICA MINOLTA Universal PCL v3.4a" listed in Driver name column. Default name of this print queue is Dispatcher Paragon.
Open properties of a selected print queue.
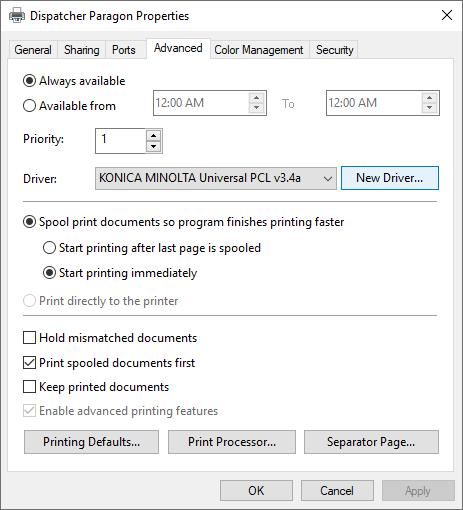
Switch to Advanced tab and click on "New Driver" button to open Add printer driver wizard.
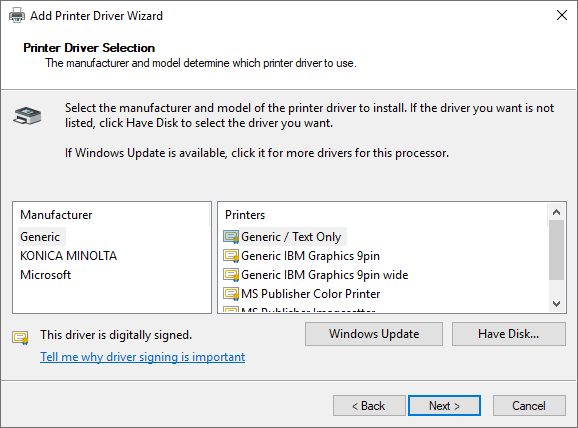
Click on Next button and after Printer Driver Selection is displayed, click on Have Disk button.
- After Install from disk dialog is displayed, click on Browse button and select <install_dir>\FSP\univeral-pcl-driver\YSoftPrinterDriverPCL.inf or <install_dir>\FSP\universal-cloud-driver\eopdrv2.inf file.
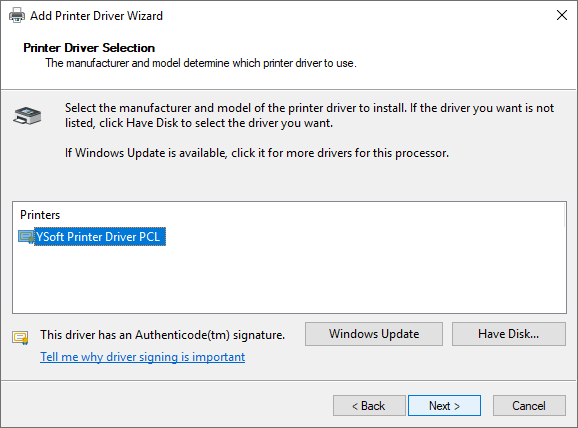
- Printer Driver Selection dialog is displayed again and either YSoft Printer Driver PCL or Universal Print Driver for Cloud should be listed in Printers list.
- After clicking on Next button and finishing a installation, new version of Universal Print Driver is installed.