With Dispatcher Paragon Embedded Terminal, you can select billing (project) codes in the application menu for copying and scanning (and possibly also printing).
Whether or not the selected billing code applies to your print jobs also depends on the configuration done by your administrator.
Select a Billing Code from the List
- In the Dispatcher Paragon application, select Billing codes from the menu.
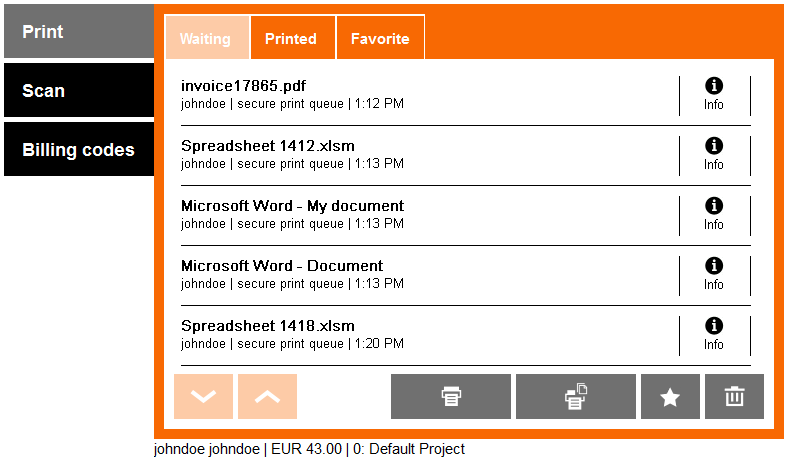
- The screen with billing codes is displayed.
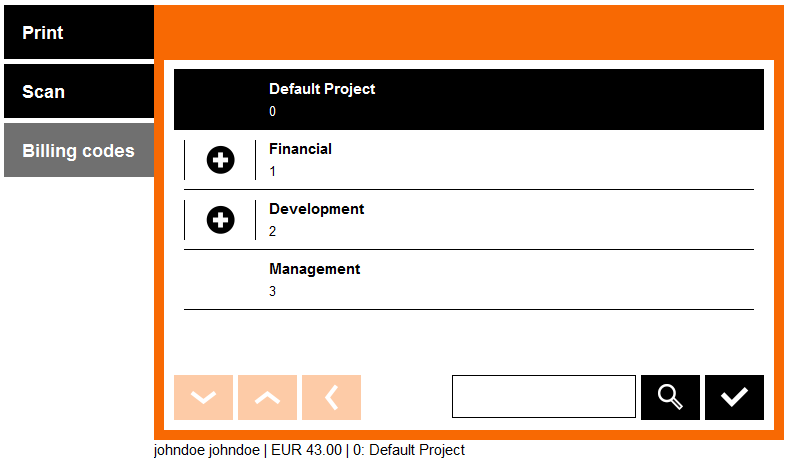
Here you can: Tap + button to see a list of children billing codes (lower level).
 Tap the Back button to see a list of parent billing codes (higher level).
 Tap the Arrow buttons to list the pages of billing codes in the current level.
 Tap the text field to enter a search phrase.
 Tap the Magnifier button to start searching.
 - When you find your billing code in the list, tap the billing code's name to select it.
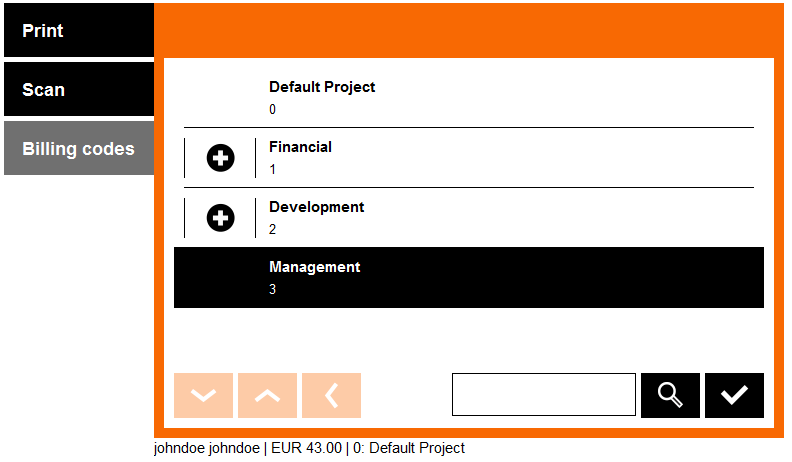
 Tap the tick button to confirm the selection.
 - You are now redirected to the screen you were previously on. The newly selected billing code can be seen at the bottom of the screen.
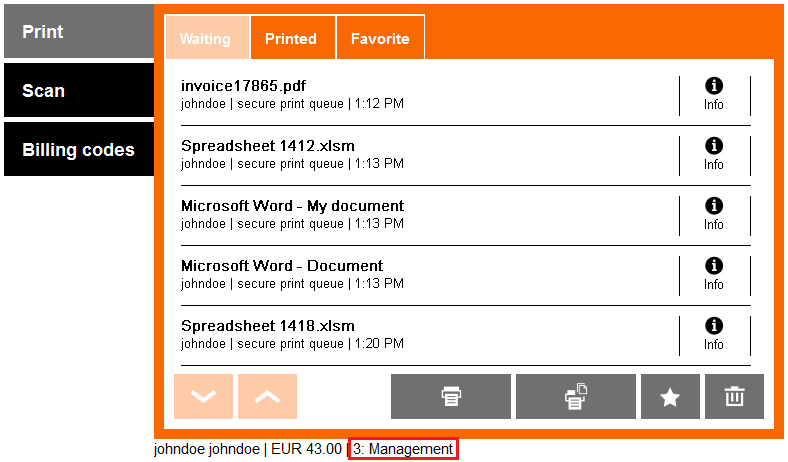
Default Billing Code
Based on the configuration, the default billing code is sometimes selected automatically immediately after login (in this case: 0: Default Project). Until you change it, all copies and scans (and prints) will be accounted to your default billing code.
Your default billing code can be changed in the Dispatcher Paragon web administration interface.
Searching for Billing Codes
- In the Dispatcher Paragon application, select Billing codes from the menu.
- A screen with billing codes is displayed. If you want to search the billing codes, tap text field to enter the search phrase.
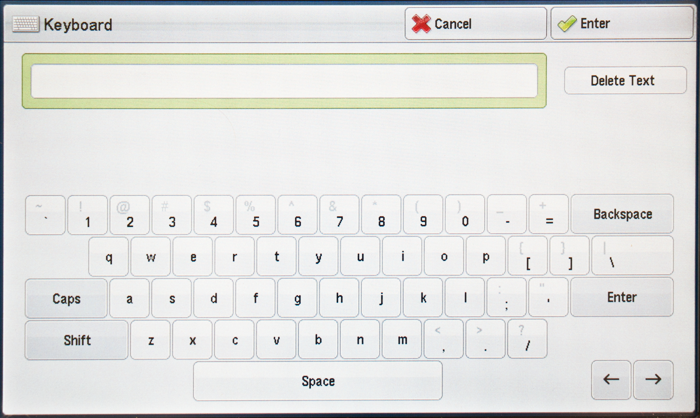
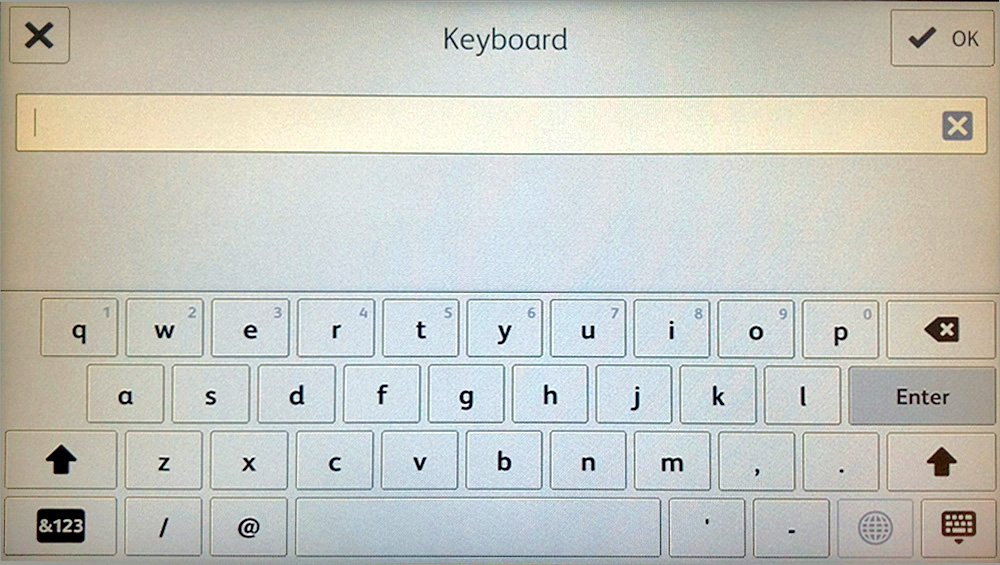
- Type the name or number or text of the billing code you want to search for and tap Enter. >>>
ApeosPOrt-VI and older
ApeosPort-VI
- A result matching your search phase is displayed.
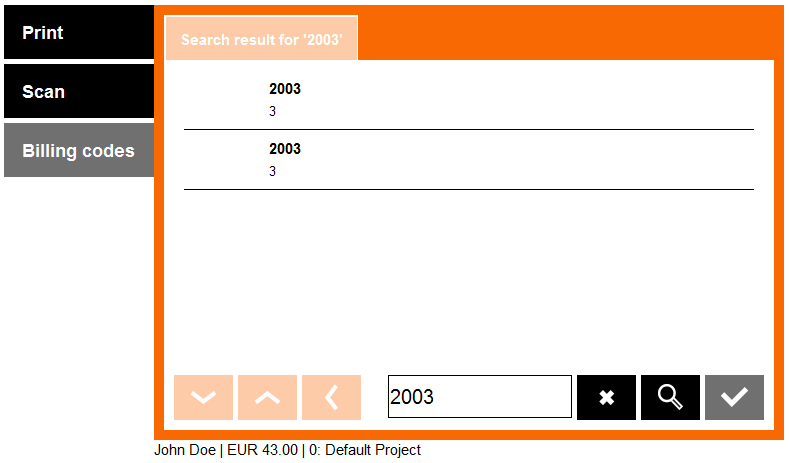 Tap the Arrow buttons to list the pages.Tap the text field if you want to change your search phrase.
 Tap the Cancel button to stop searching and return to the Billing codes list.
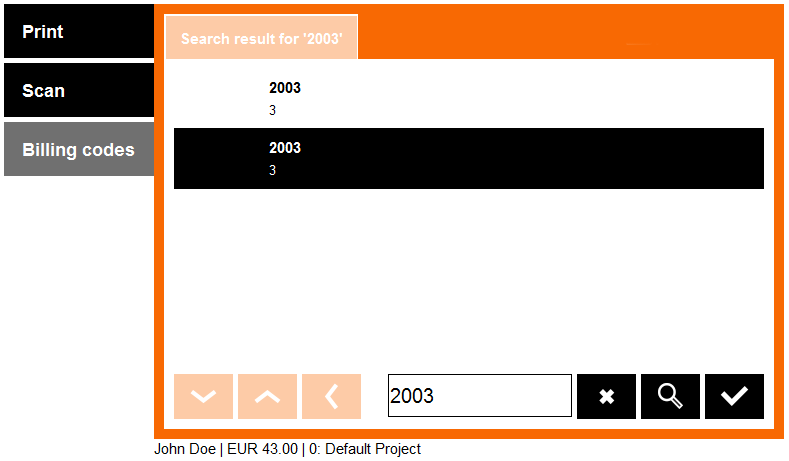
 - Select one of the billing codes and confirm by tapping the tick button.
Continue with Scanning or Copying
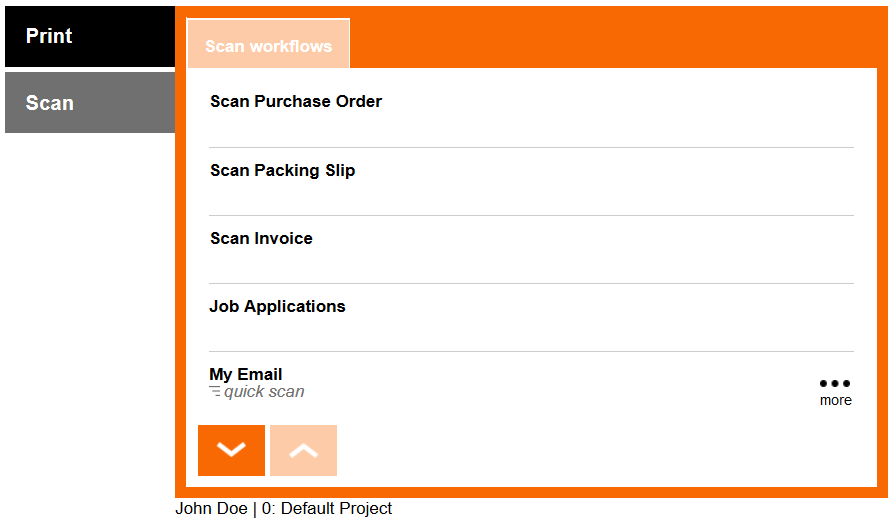
- Once a billing code is selected, you can continue to Scan menu to start scanning.
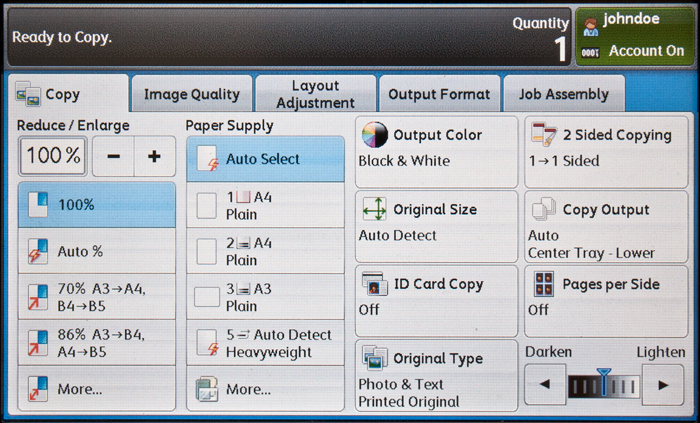
- Continue to the Copy menu to start copying. Go back to the device menu using the home screen, and enter the Copy application as shown below.