Limitations can be found on page Requirements and Known Limitations of Dispatcher Paragon Embedded Terminal for HP.
Devices based on OXPd 1.7.X and newer platform are supported so far. No special settings are required for using with Dispatcher Paragon Embedded Terminal.
Dispatcher Paragon Embedded Terminal has to be reinstalled after any change of MFP configuration (for example change of UI language, adding of a new application to home screen, etc.).
Only HP devices with FutureSmart 4 and above are supported.
Starting with Build 70, scan upload over HTTPS is supported and enabled by default for newly installed terminals. Previously installed terminals must be reinstalled after updating so that HTTPS scan upload is enabled. In case HTTPS scan upload needs to be disabled for any reason, the option hpEnableHttpScanning in TerminalServer.exe.config can be set to false. This will make HP terminals use FTP for scan upload.
Configuration of MFD
Secure HTTPS communication
For the HTTPS configuration the HP MFD always checks the certificate of the server it connects to. The following criteria must be met:
- The subject has a valid name matching the name of the page to be viewed - in this case the IP address of a server with Dispatcher Paragon Terminal Server service.
- The date is valid, certificate is not expired.
It is issued by a certification authority that is trusted by the MFD.
The default Terminal Server certificate meets all of these conditions and its certification authority is pushed to the MFD during Dispatcher Paragon Embedded Terminal installation, thus no additional changes should be needed.
In some environments load balancer may intervene in the communication and provide MFD with its own certificate, in such a case Certification Authority signing this certificate must be trusted by the MFD.
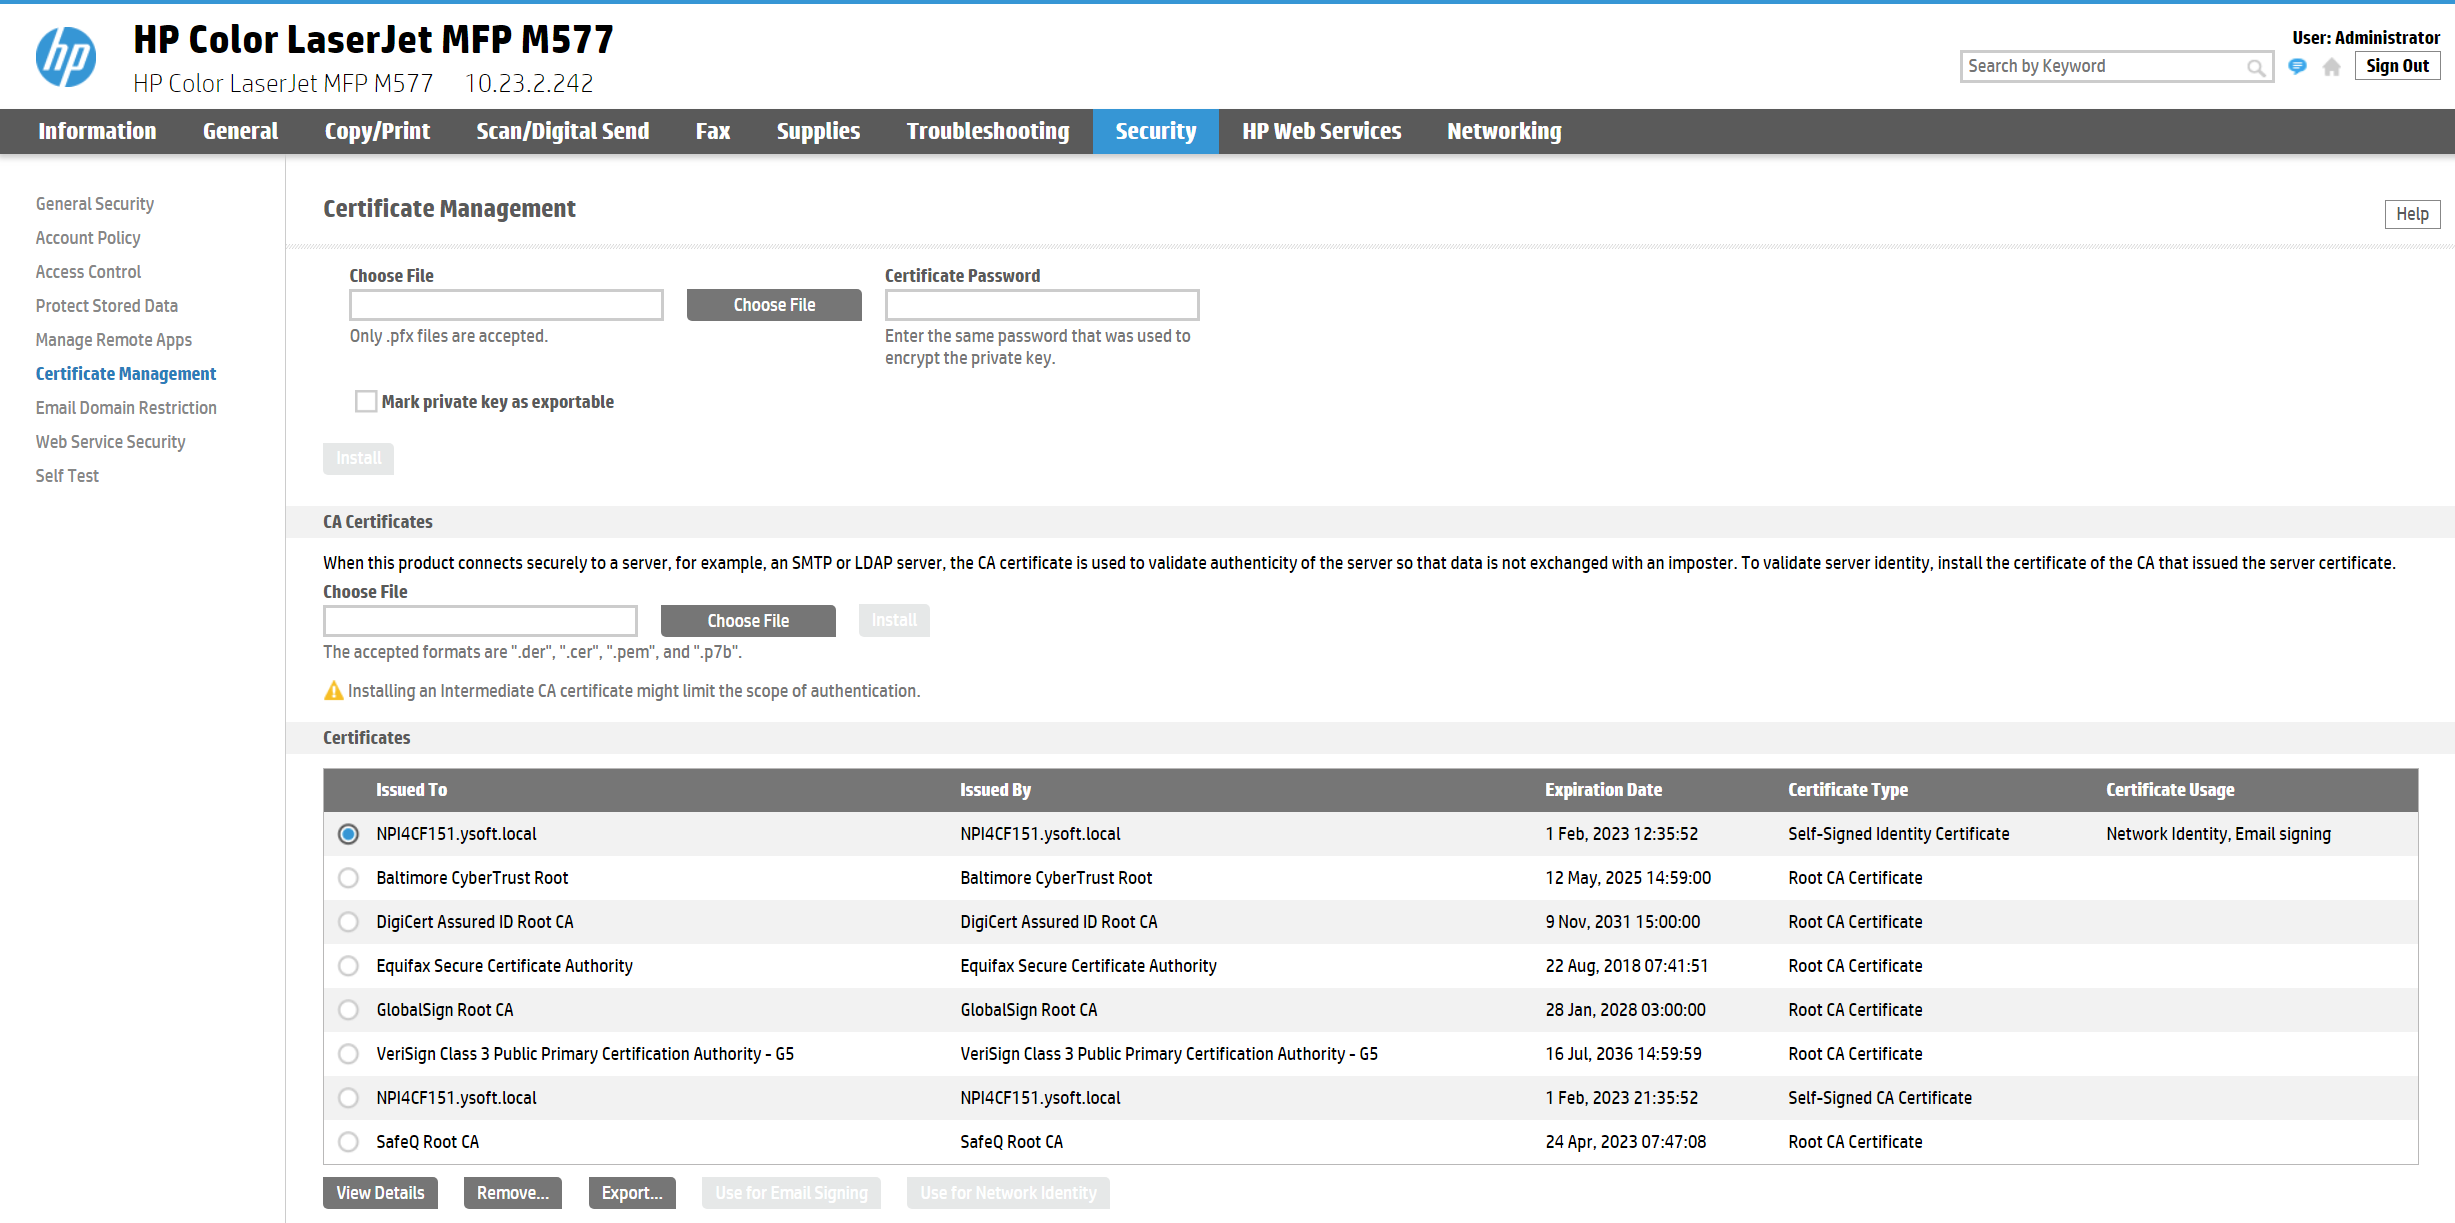
You can check the Certification Authorities trusted by your MFD in the MFD's administration web page in the tab Security > Certificate Management
In the case of updating from MU38 or lower and not having configured the custom certificates, it is necessary to create a valid certificates manually and configure the Terminal Servers to use them according to Configuring secured connection between terminals and Terminal Server guide. In order to upload it to the HP MFD, just reinstall the Dispatcher Paragon Embedded Terminal on this device after you correctly configure certificates on all your Terminal Servers.
In case you have problems with SSL/TLS communication, it can be switched off entirely. This is, however, not recommended in a production environment.
To switch off the SSL/TLS, change the Dispatcher Paragon configuration property dsSslEnabled to 'false'.
Client certificate validation
It is possible to increase security by enable client certificate validation.
To enable client certificate validation, change the Dispatcher Paragon configuration property clientCertificateValidationMethod to 'Always' and restart needed subsystems.
You can create certificate signing request and later install it or import already signed identity certificate on MFD's administration web page in tab Security > Certificate Management.
Installed or imported certificate shall be located in Certificates table and has to be marked as 'Network Identity', if not then select required identity certificate and click to 'Use for Netwok Identity' button.
Identity certificate has to be signed by trusted Certificate Authority which must be placed in the Trusted Root Certification Authorities or the Intermediate Certification Authorities.
Time Configuration
Time settings have to be configured for proper accounting of jobs and assignment of billing codes to these jobs.
Go to the MFD's administration web page to the tab General > Date and Time, and configure Product time Settings and Time Zone Settings to comply with configuration of your server, where Terminal Server is running.
Next, there are two options possible, based on availability of NTS (time) server in your network change NTS Settings accordingly.

Inactivity Timeout
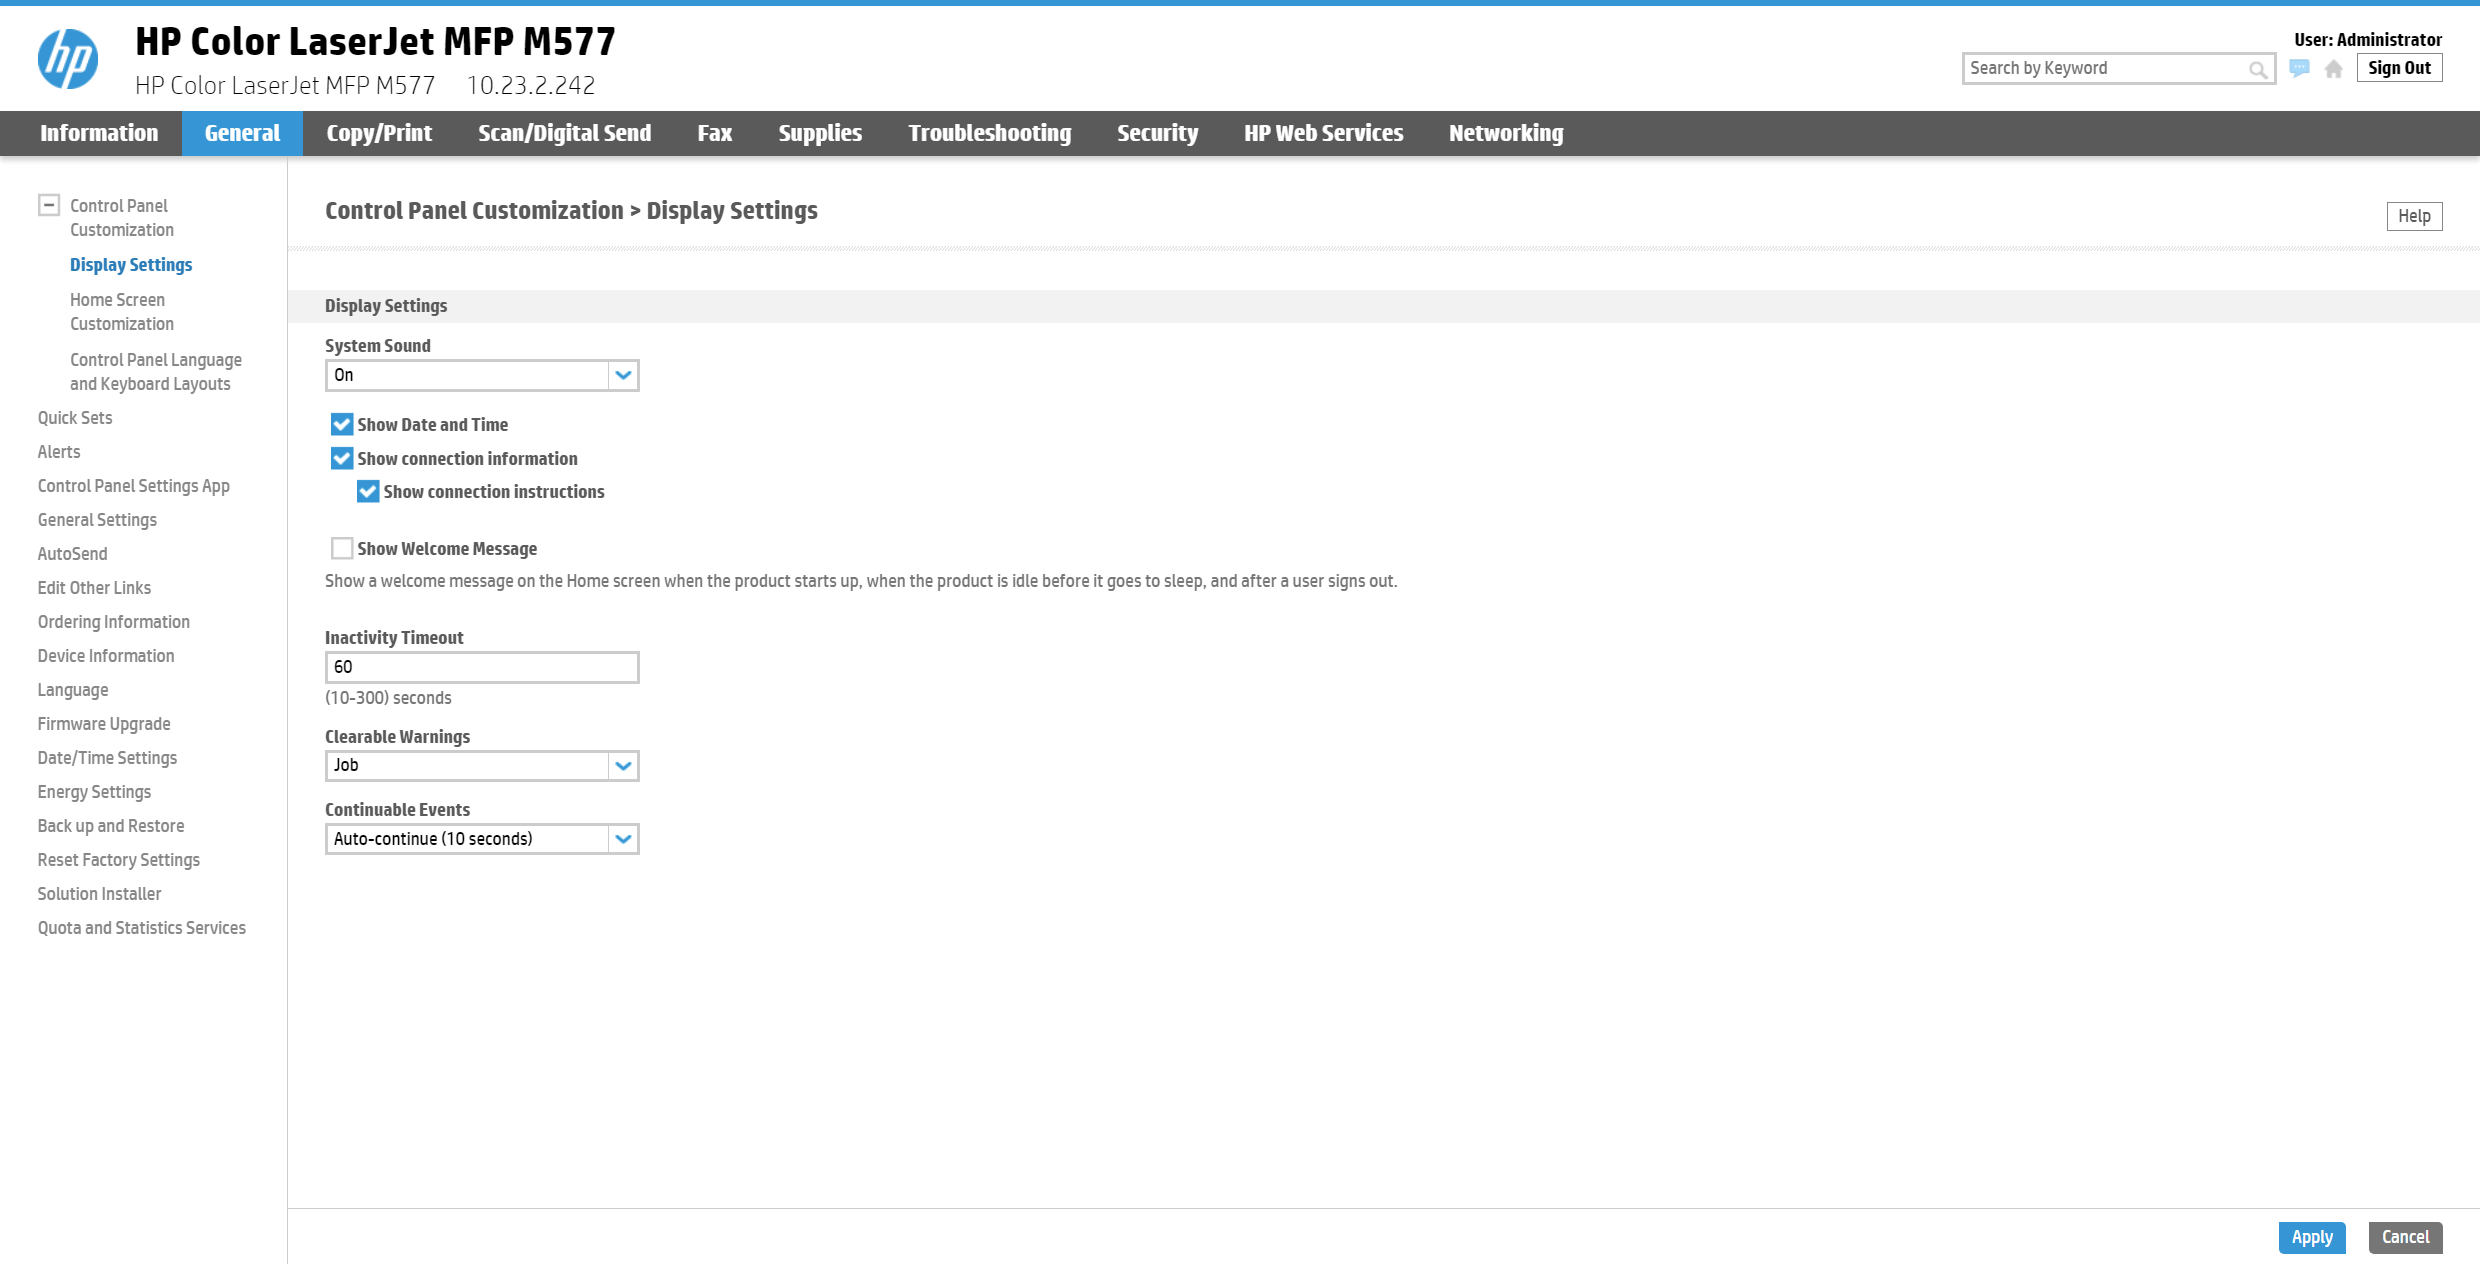
To configure timeout after which the user is logged out due to inactivity, go to the MFD's administration web page to the tab General > Control Panel Customization > Display Settings > Inactivity Timeout and set up the timeout as required. The value is in seconds.
The timeout set in Dispatcher Paragon web administration is applied only to screens of the Dispatcher Paragon Terminal Application.
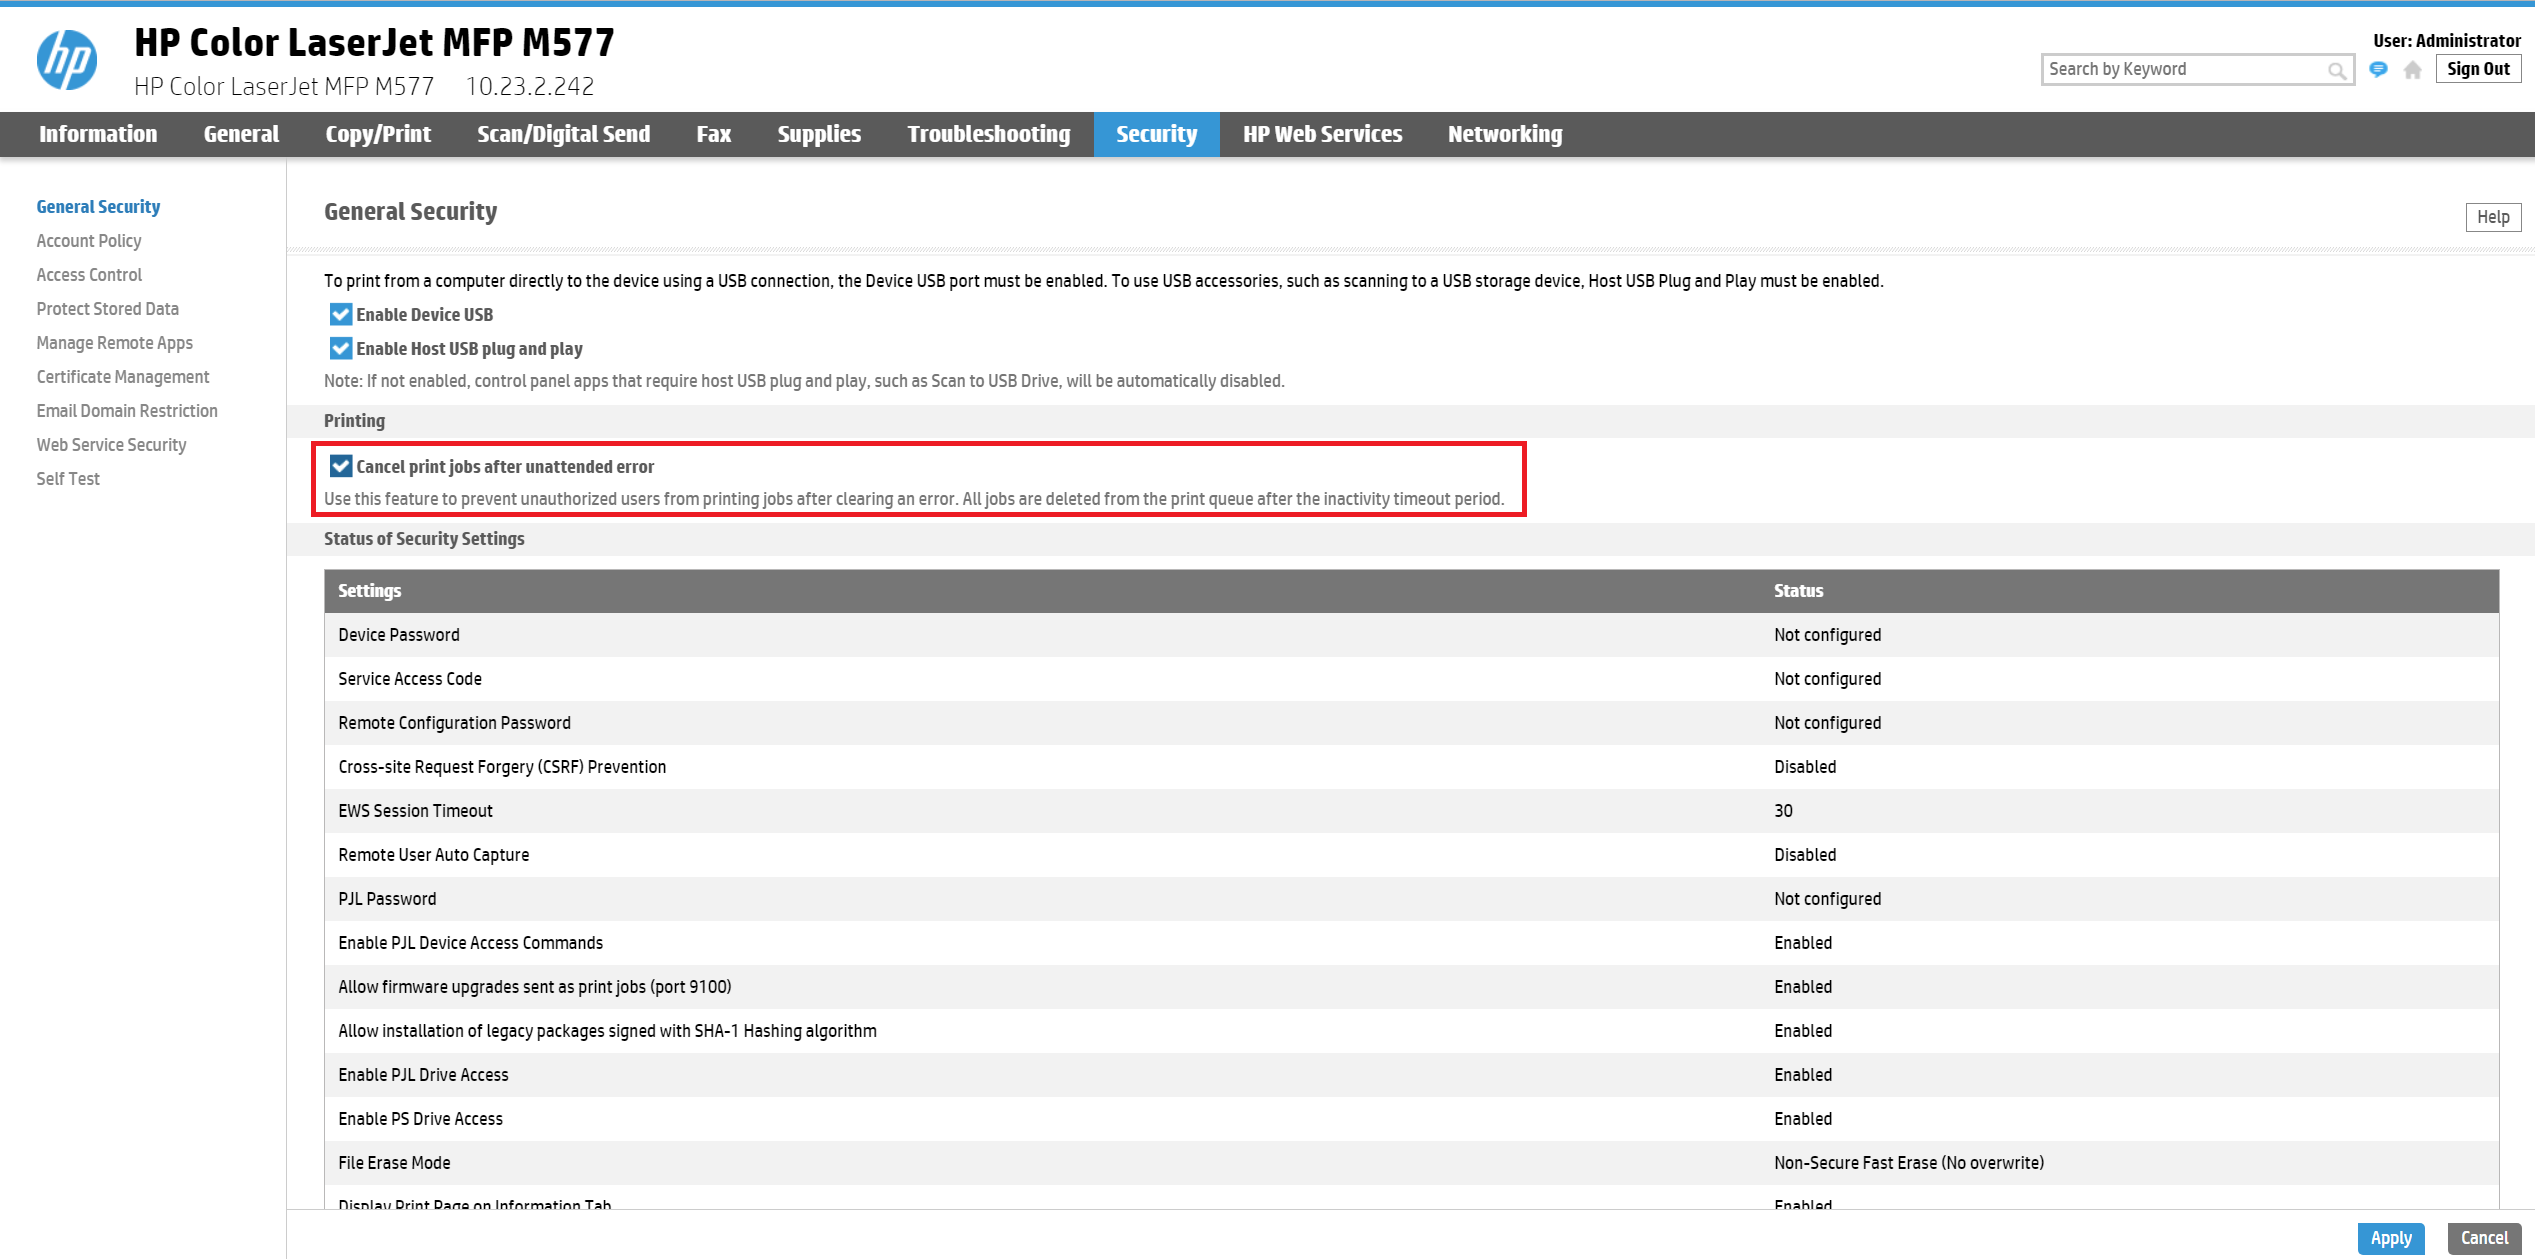
Cancel print jobs after unattended error
Enable this feature to prevent unauthorized users from printing jobs after clearing an error. All jobs are deleted from the print queue after the inactivity timeout period. To configure go to Security > General security and enable Cancel print jobs after unattended error.
USB Print
Print from USB drive needs to be enabled in the MFD's administration web page. To do that, go to Copy/Print > Retrieve from USB setup > Enable Retrieve from USB and click Apply.

To add Print from USB drive application to home screen, in the MFD's administration web page to the tab General > Control Panel Customization > Home Screen Customization and drag and drop the application icon from the Hidden Items into the Home Screen.

Position of the Dispatcher Paragon application on the home screen
When the Dispatcher Paragon Embedded Terminal is installed for the first time, the Dispatcher Paragon application is always on the 1st position on the home screen.
To change the position of the application, go to the MFD's administration web page. In the tab General > Control Panel Customization > Home Screen Customization, drag and drop the items to reorder them.
It is possible to disable some of the native application moving application icon to Hidden items. To ensure that the position of the Dispatcher Paragon application won't change after the Embedded Terminal reinstallation, do not place any disabled applications on the positions prior to the position of the Dispatcher Paragon application.
Configuration of SLP keep alive on HP Device
Some infrastructure devices, such as switches, delete devices from their device tables due to inactivity on the network.
For that HP recommends to use the slp-keep-alive which configures the time (in minutes) the print server waits to send multicast packets on the network to prevent deletion from network device tables.
If the device is not listed on the network it is not able to communicate with the terminal server and this is why it will not work properly.
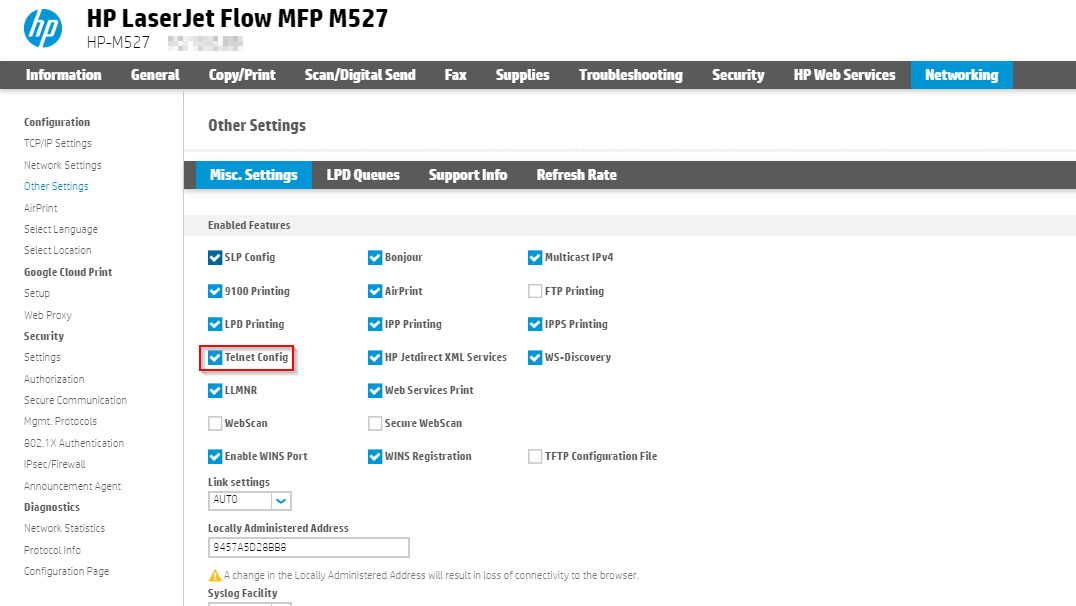
- Log in to the device web → Networking → Other Settings and enable Telnet config
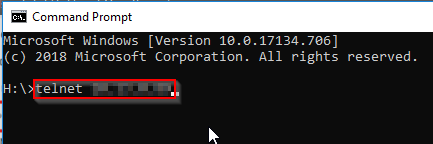
- Open CMD and connect to the device using telnet (telnet <device IP>)
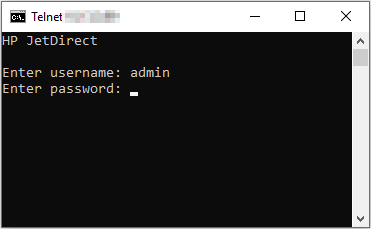
login as admin <ENTER>
Enter password <ENTER>
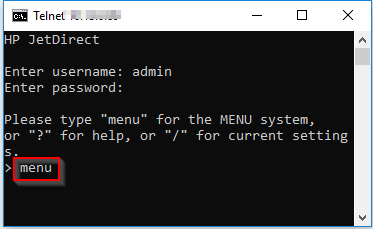
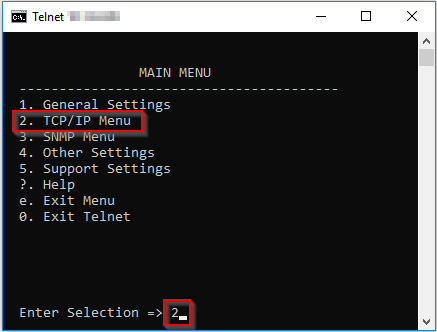
Type menu <ENTER>
Type 2 (TCP/IP Menu) <ENTER>
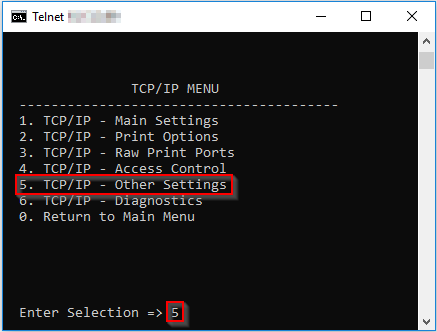
Type 5 (TCP/IP - Other Settings) <ENTER>
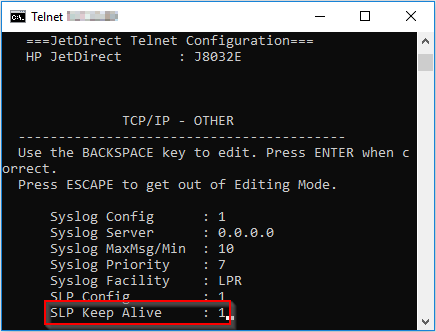
Type Y and then <ENTER> to change the settings

- Press <ENTER> until you get to SLP Keep Alive and set it to 1
Press <ENTER> until you are asked if you would like to change the settings, type N and then <ENTER>
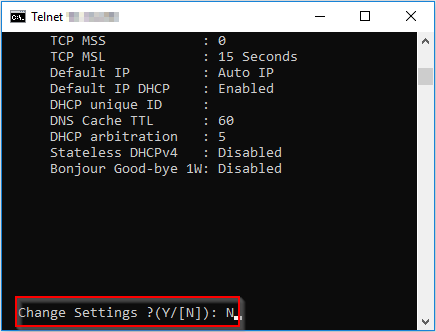
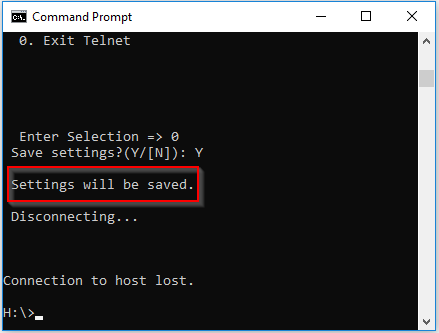
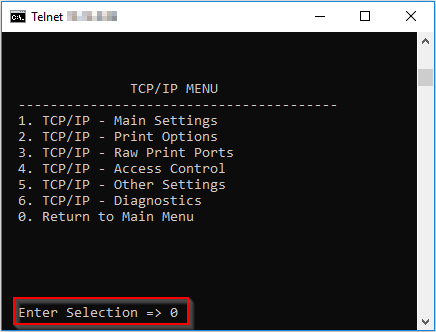
Then press 0 <ENTER>
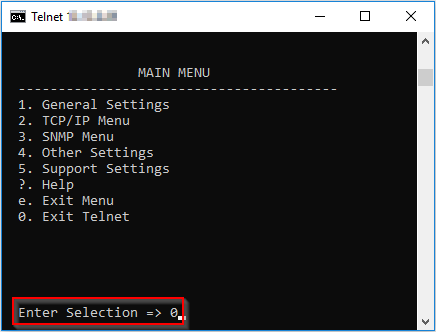
Again press 0 <ENTER>
Y to save the settings and <ENTER>
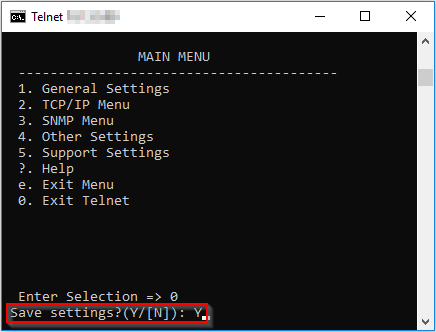
Done