This manual was created based on Xerox WorkCentre 5335 and should be applicable to most MFDs with Fuji Xerox controller, although slight differences may occur.
Before installation of Dispatcher Paragon Embedded Terminal
Network Accounting
This option may not be present on your MFD.
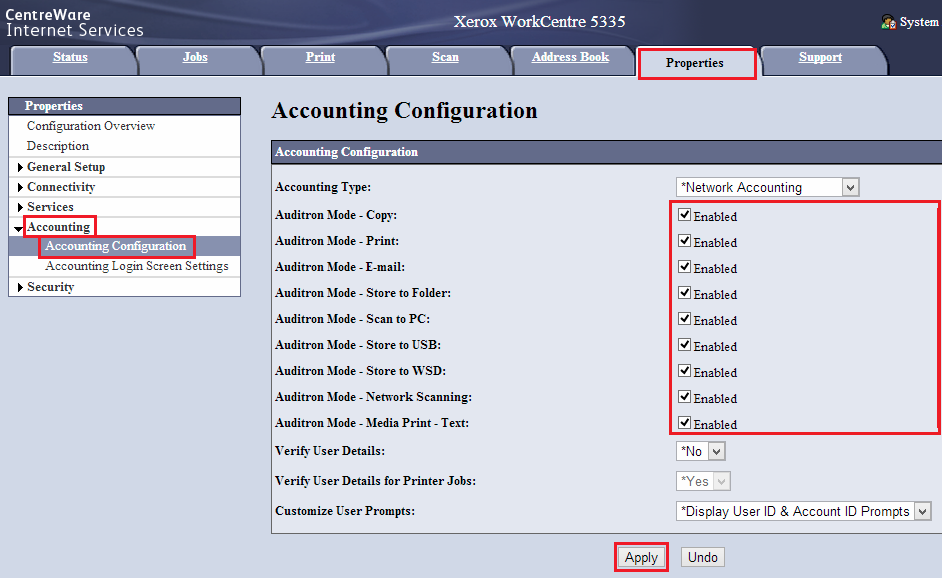
Go to the Properties tab > Accounting > Accounting Configuration and configure accounting according to the image below.

Time configuration
At the printer control panel, press the Machine Status button and switch to the Tools tab. Then touch System Settings > Common Service Settings > Machine Clock/Timers.
FTP
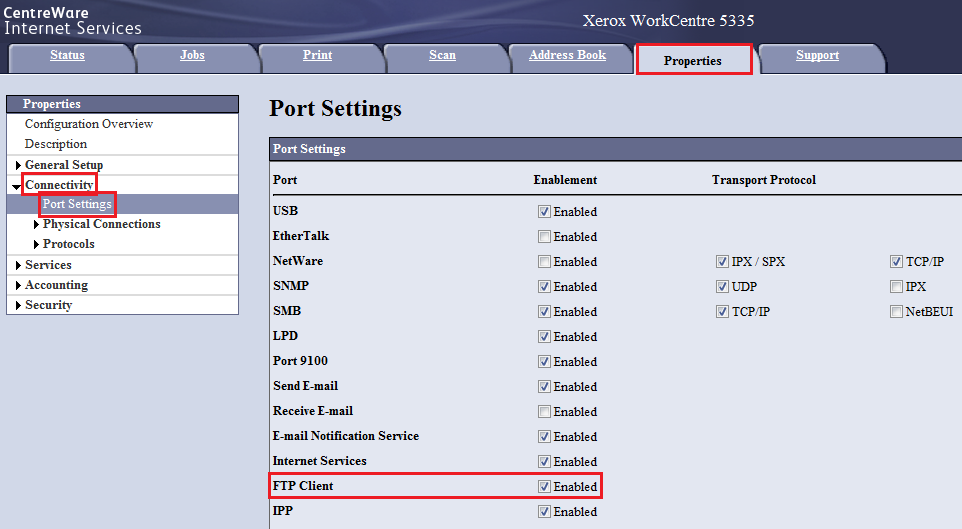
Go to the Properties tab > Connectivity > Port Settings > FTP and enable the FTP Client.
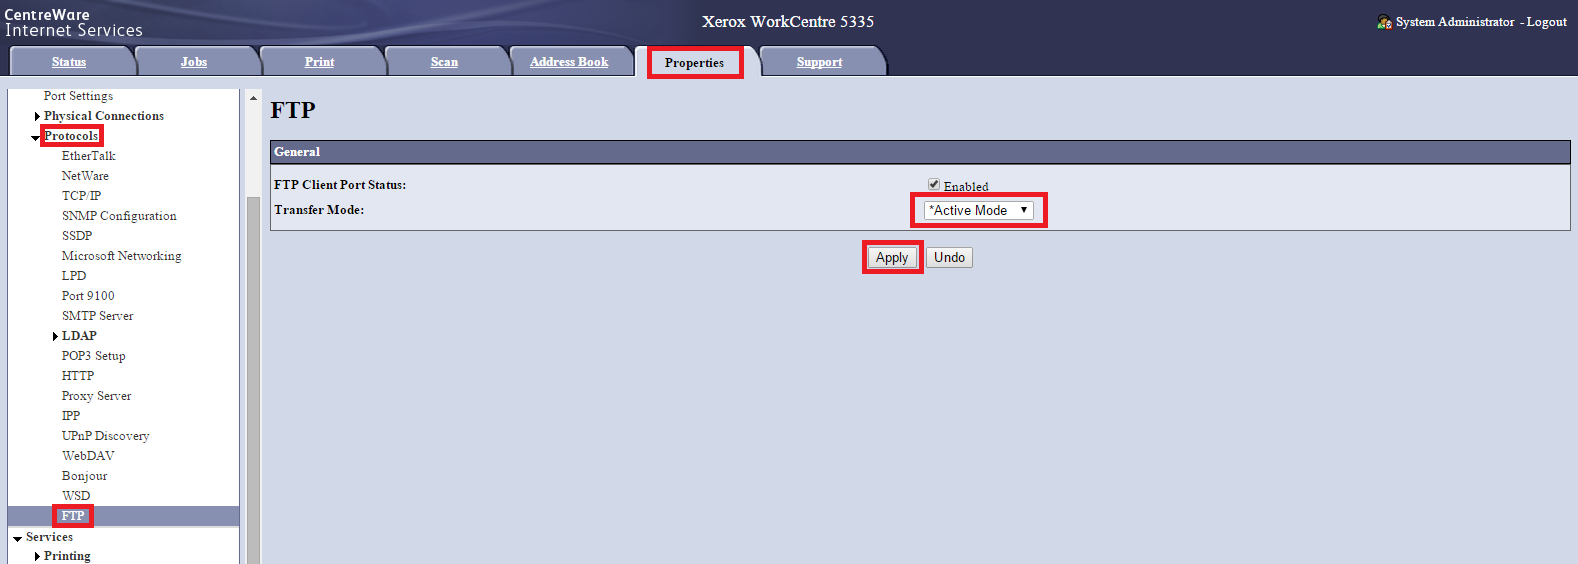
Go to the Properties tab > Connectivity > Protocols > FTP and set Transfer Mode to Active Mode. Click Apply.
Extensible Service Setup
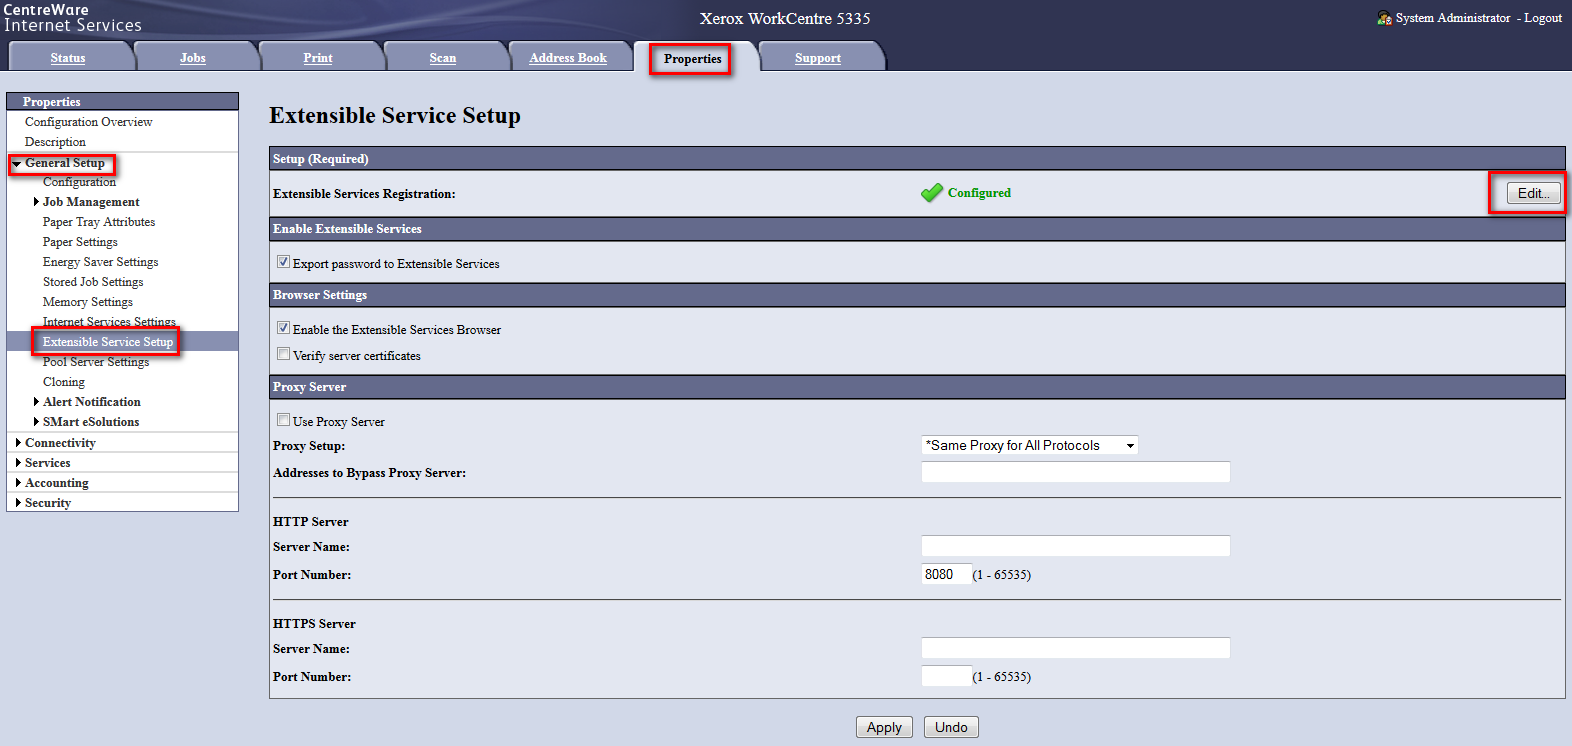
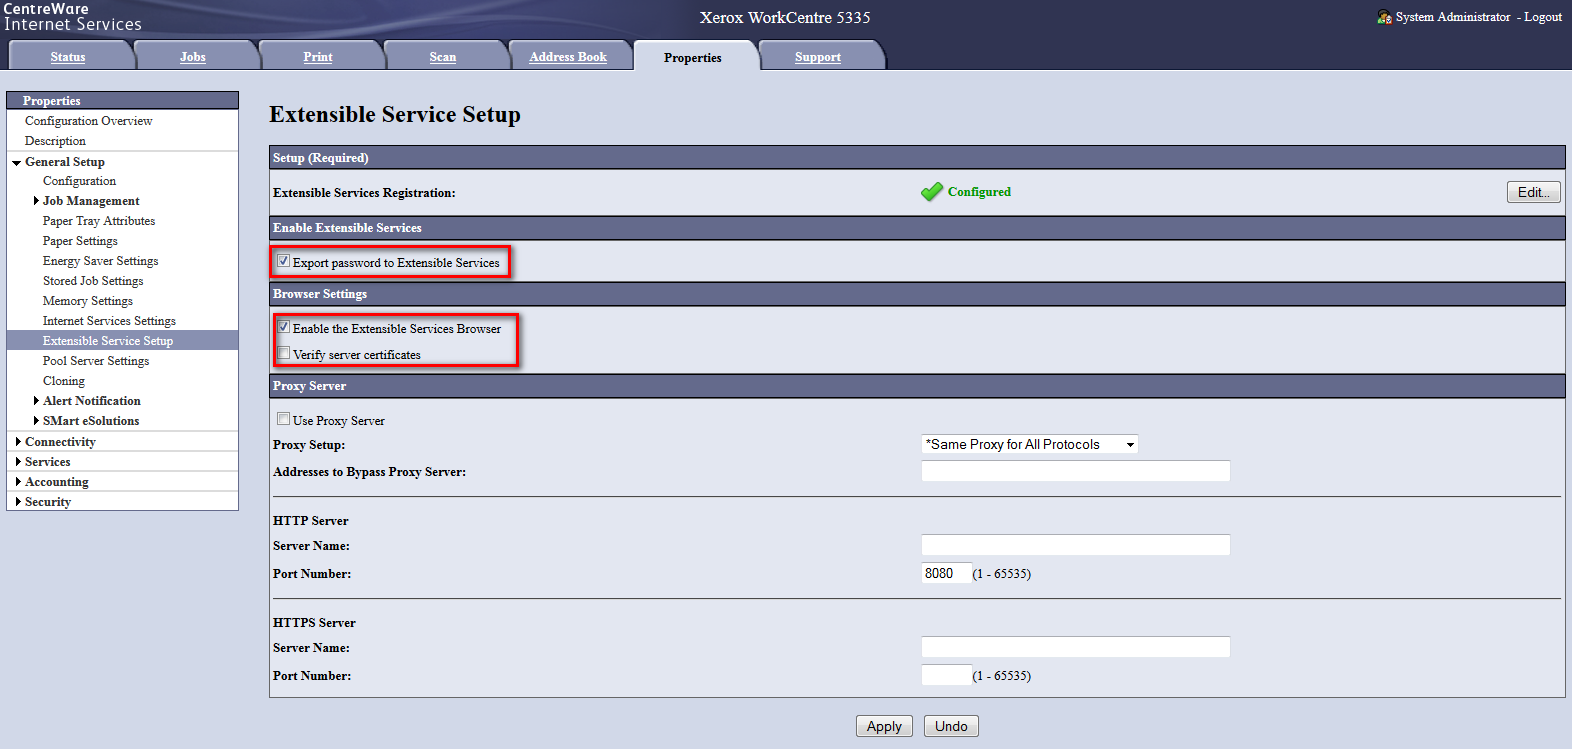
You will need to enable plug-in support in General Setup > Extensible Service Setup > Edit.
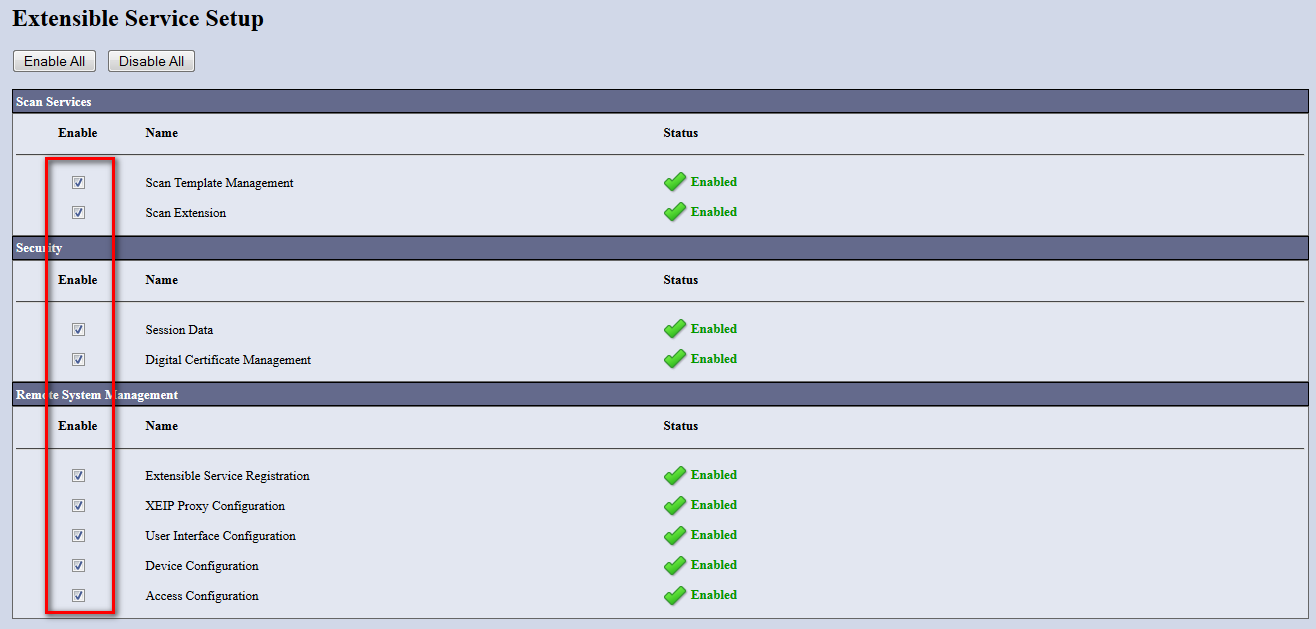
Then you can enable all extensible services: Scan Services, Security, Remote System Management.
Once you apply the changes set above, navigate back to the Extensible Service Setup page and enable Export password to Extensible Services and Enable the Extensible Services Browser. Apply the configuration changes.
SNMP
You will later need to fill proper SNMP community in device configuration. You can check current MFD setting under Properties > Connectivity > Protocols > SNMP Configuration > Edit SNMP v1/v2c Properties.
In device configuration, corresponding Community Name (Read/Write) has to be filled.
Scan Services
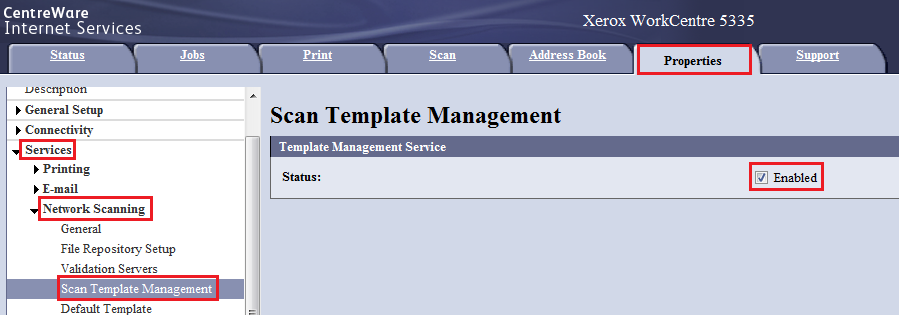
You will need to enable Scan Template management in device configuration for scanning with workflows.
Then you need to enable scan accounting in Accounting > Accounting Configuration > Auditron Mode*.
Apply accounting codes
This option may not be present on your MFD.
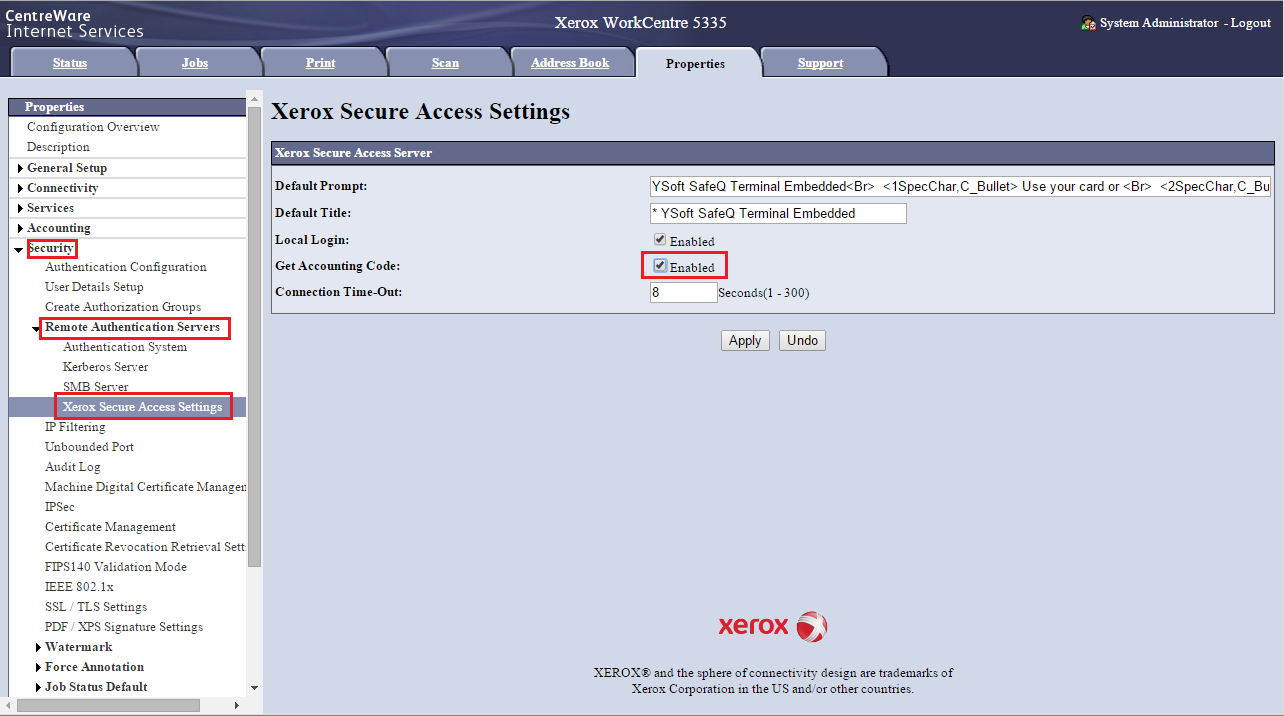
Go to the Properties tab > Security > Remote Authentication Servers > Xerox Secure Access Settings and enable Get Accounting Code. Click Apply.
USB Card Reader
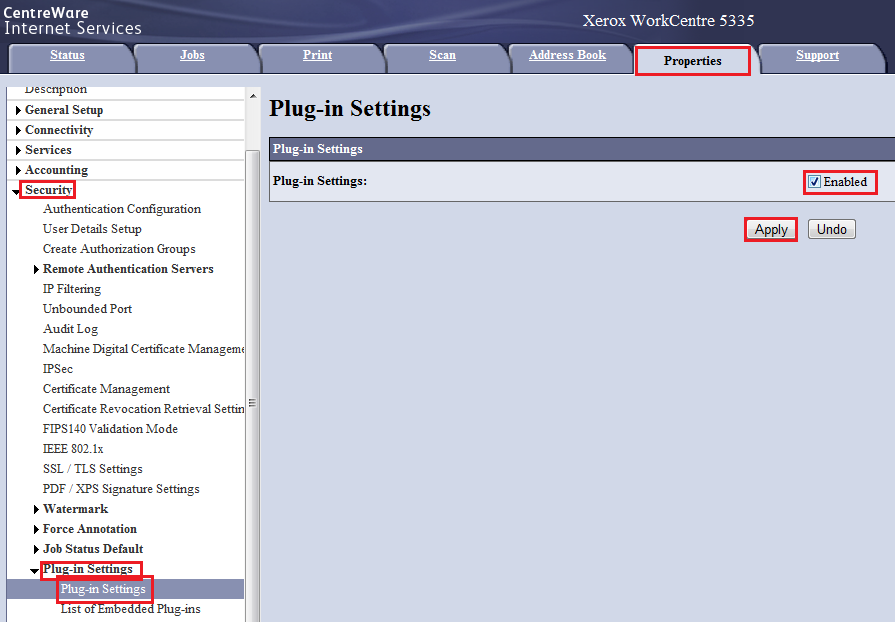
You will need to enable plug-in support in Security > Plug-in Settings > Plug-in Settings.
Please note that you can obtain the plug-in from Xerox, Konica Minolta Group has no rights for its distribution.
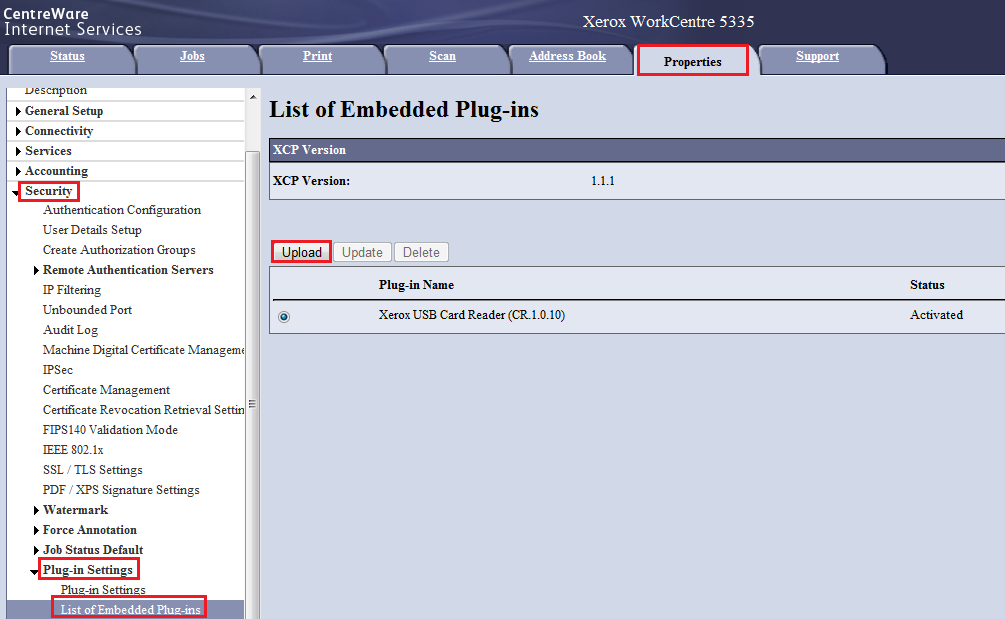
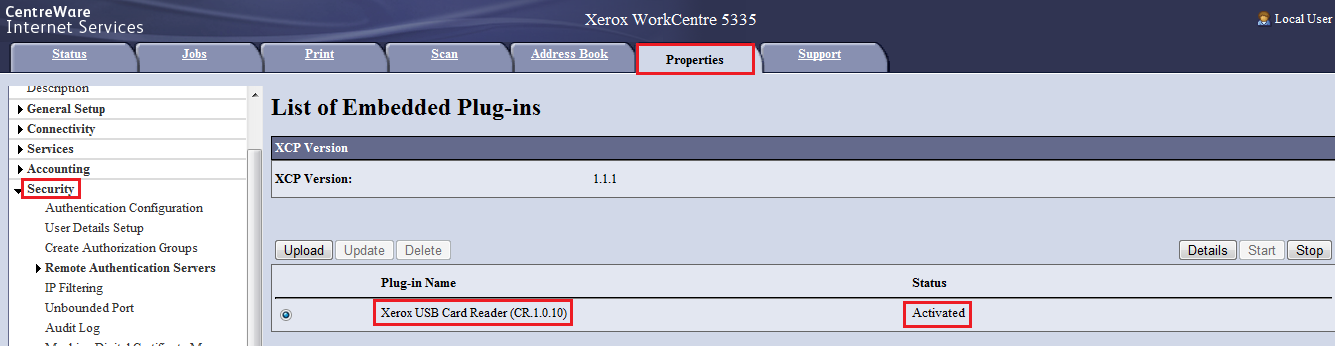
Then you can upload a new plug-in in Security > Plug-in Settings > List of Embedded Plug-ins.
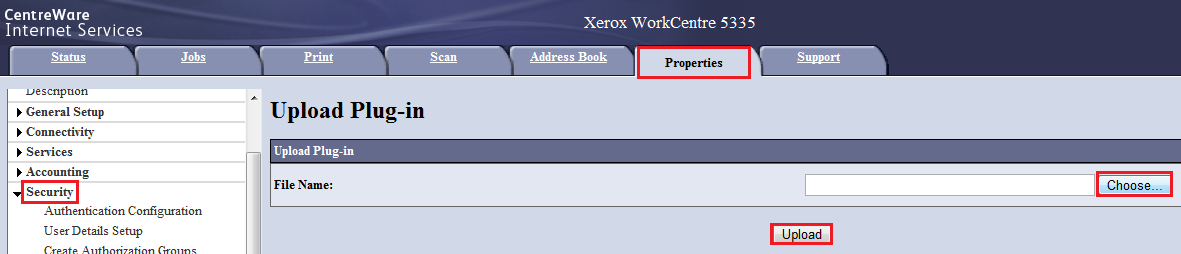
Choose path to file with the plug-in and upload it to the printer.
Successful plugin installation and activation can be verified in Security > Plug-in Settings > List of Embedded Plug-ins in Status column.
Proceed with the MFD installation in SafeQ to complete the installation of Dispatcher Paragon Embedded Terminal. Check the installation status and installation steps.
If there are some warnings present during the installation, you will need to do some further settings based on the messages.
After installation of Dispatcher Paragon Embedded Terminal
These settings are necessary only if requested by the Embedded Terminal installation or if some customization of configuration is requested.
Device and Service Access
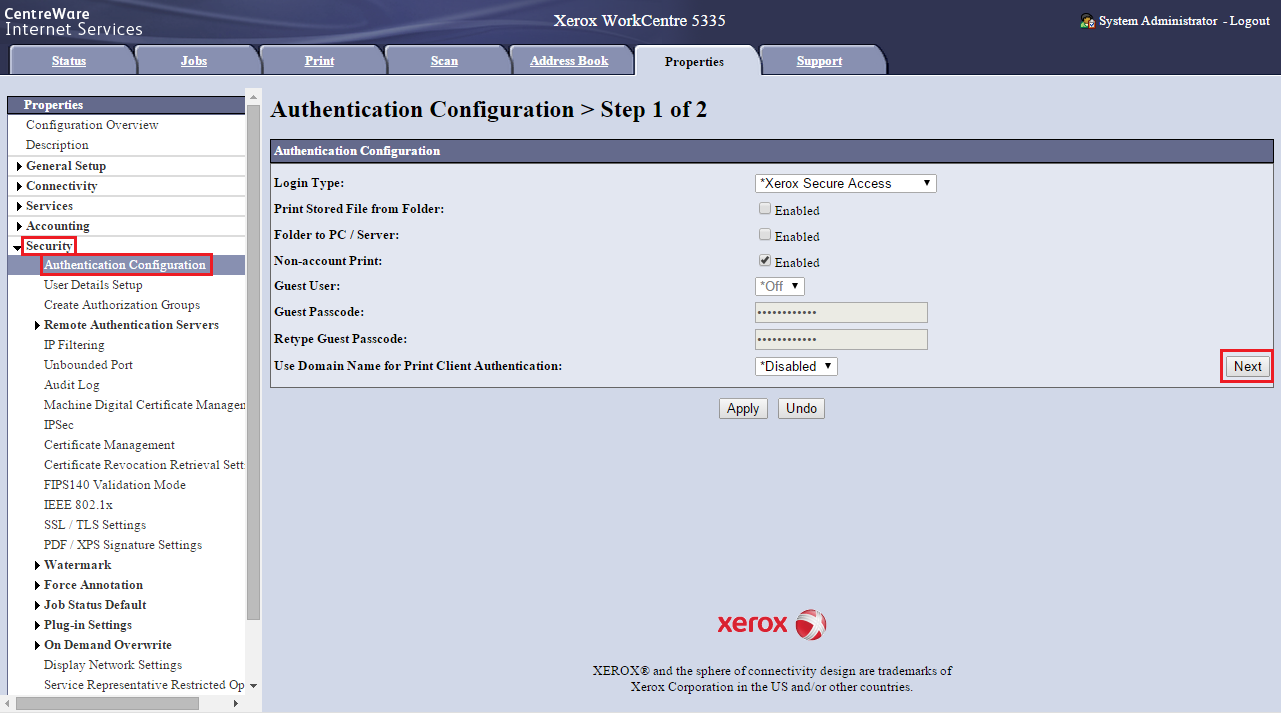
User access rights must be configured globally (only if LDAP is properly set-up, user logins/aliases can be used for per group access rights, but it still has to be configured manually per device). Go to the Properties tab > Security > Authentication Configuration and click Next.
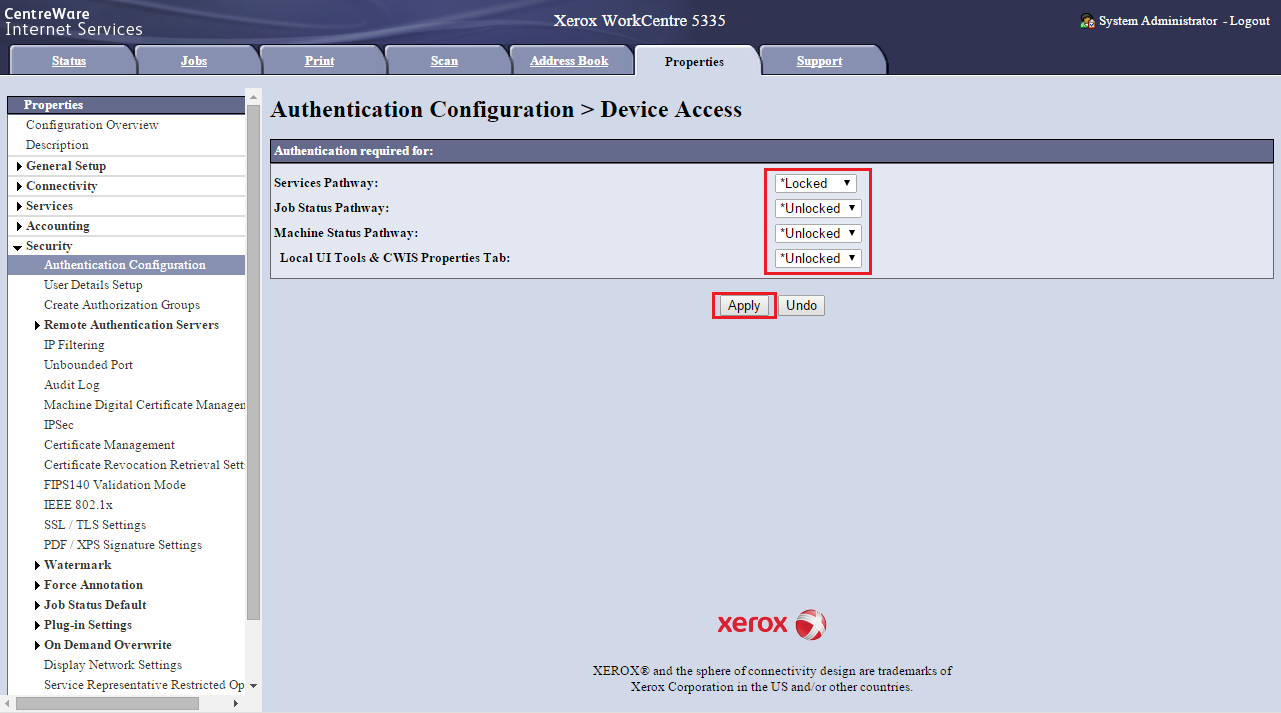
Configure the Device Access and Service Access.

For Device Access:
a) If you chose device authentication mode To device, make sure that Services Pathway is locked.
b) If you chose device authentication mode To each application, make sure that Services Pathway is unlocked.
In both cases you can configure locks on other services freely.
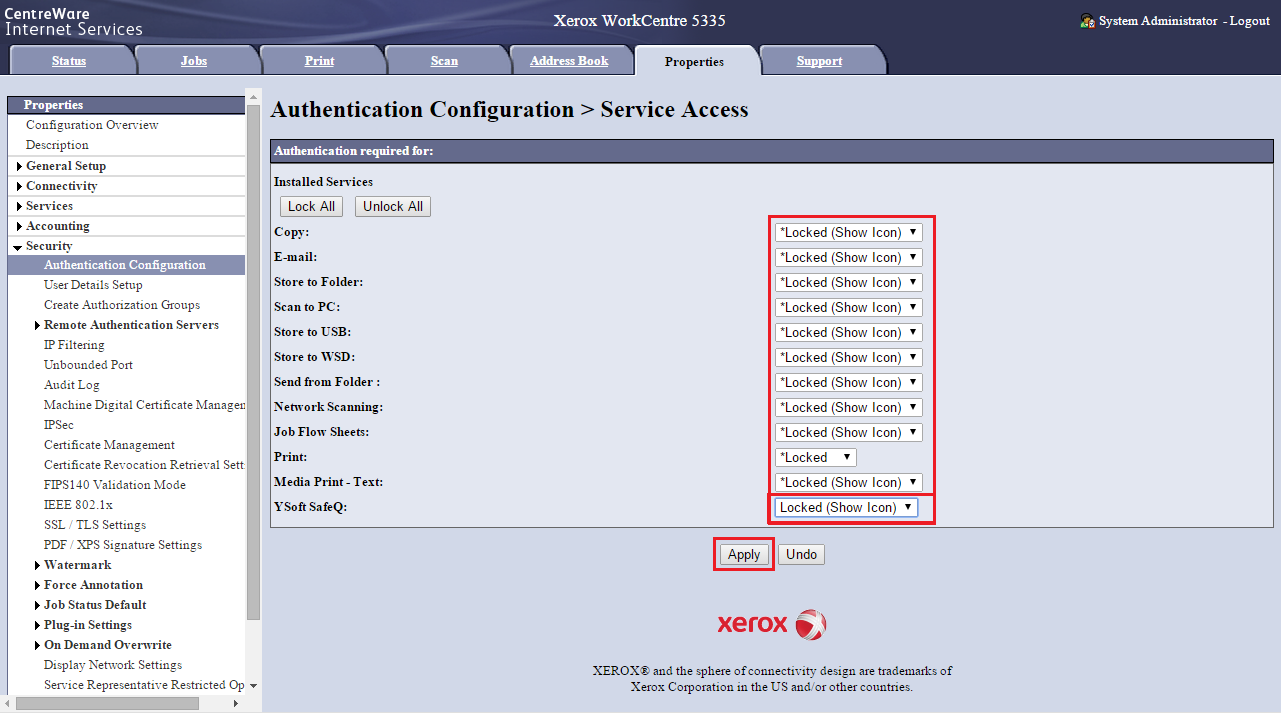
For Service Access:
a) If you chose device authentication mode To device, there are no settings to do here
b) If you chose device authentication mode To each application, make sure that Dispatcher Paragon is locked, other services may be unlocked.