Introduction
Purpose of this document is to provide end user with a full overview how to prepare a 3D print job, send it to the printer and operate the YSoft be3D eDee printer.
Sending a print job to Dispatcher Paragon
Requirements
To be able to send a print job to Dispatcher Paragon, Dispatcher Paragon must be installed in the print environment. For more information, please see the YSoft be3D eDee Installation Guide.
User has to have DeeControl 2 installed on his machine to be able to process the 3D object and send it for printing.
DeeControl 2
Follow the User guide:
User authentication on YSoft be3D eDee printer
A user can be authenticated only when eDee is connected to the Dispatcher Paragon server. The user must also have been pre-defined with access rights by an administrator.
The supported authentication methods are:
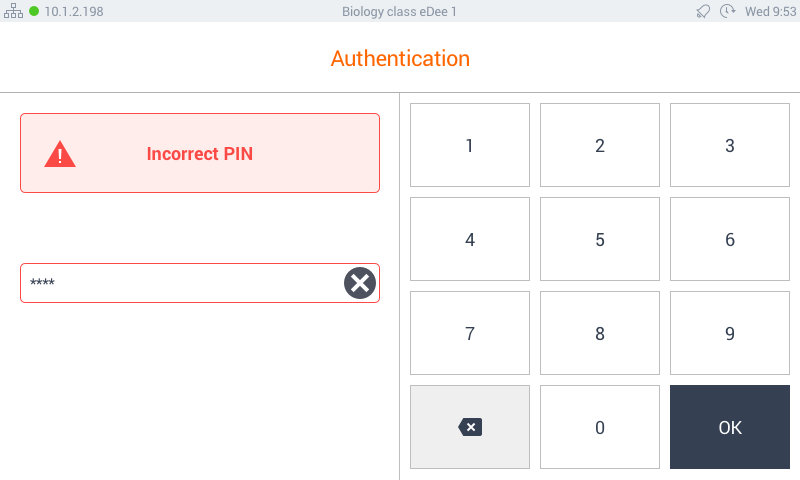
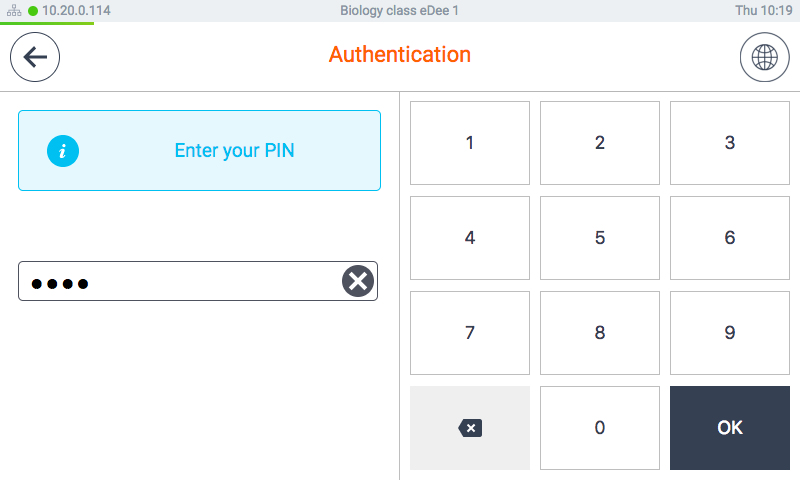
- PIN (Picture 1)
- User name and password (Picture 2)
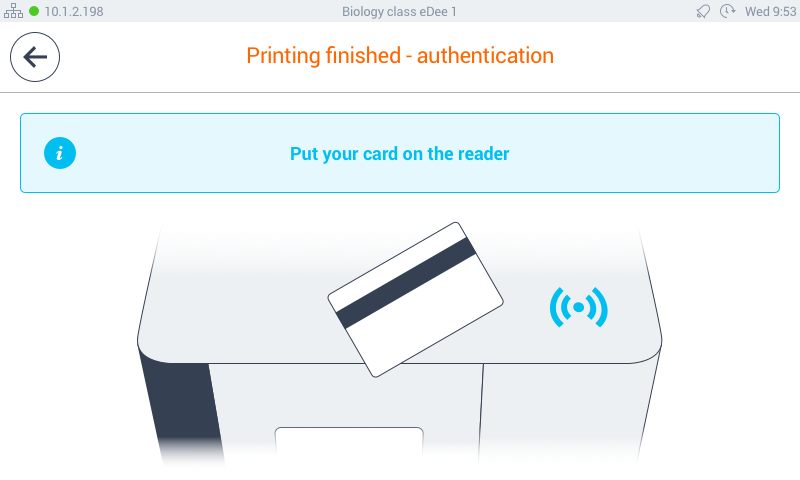
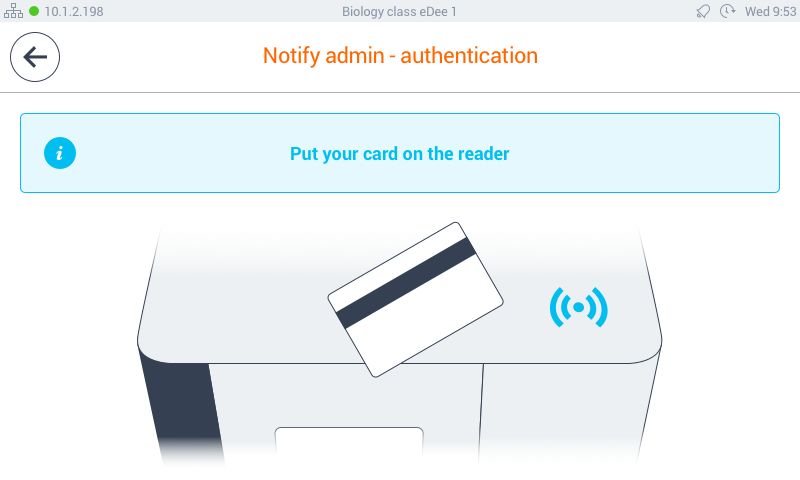
- ID card (Picture 3)
- ID card OR User name and password (Picture 2)
- ID card AND User name and password (Picture 2)
- ID card OR PIN (Picture 1)
- ID card AND PIN (Picture 1)
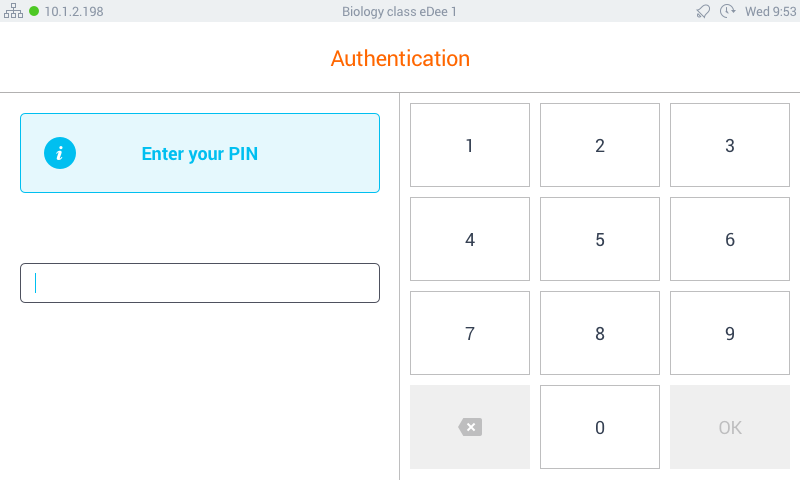
Picture 1
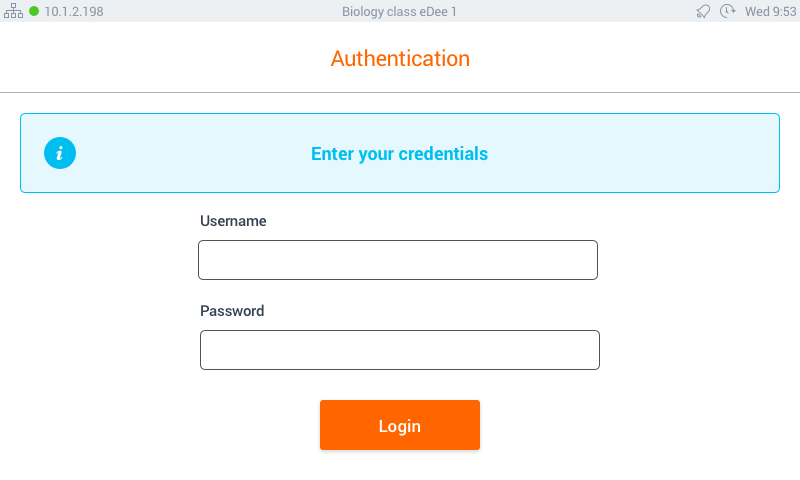
Picture 2
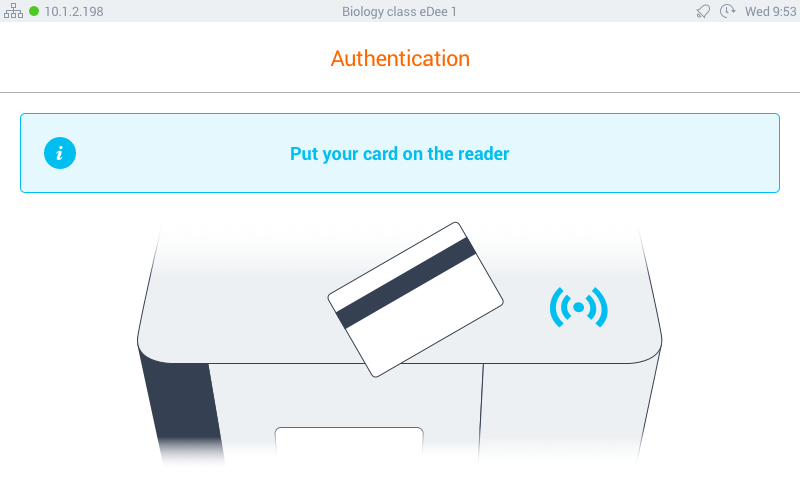
Picture 3
When using an ID card, the card should be swiped over the front right corner of the top lid (over the sticker).
Log out
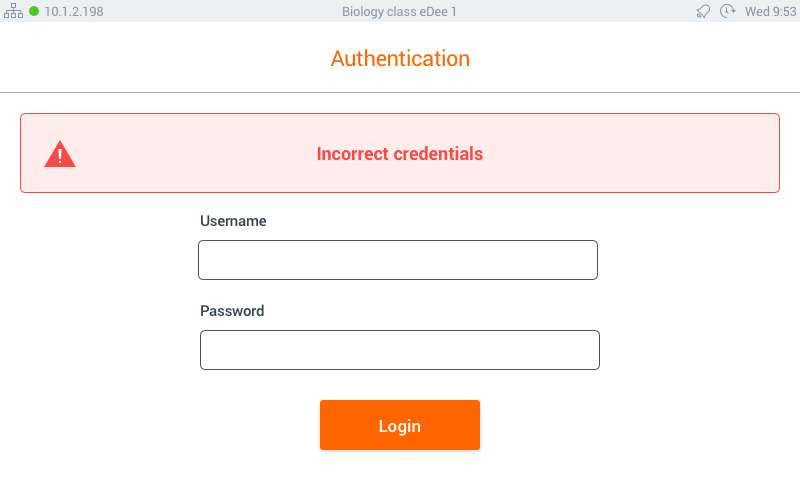
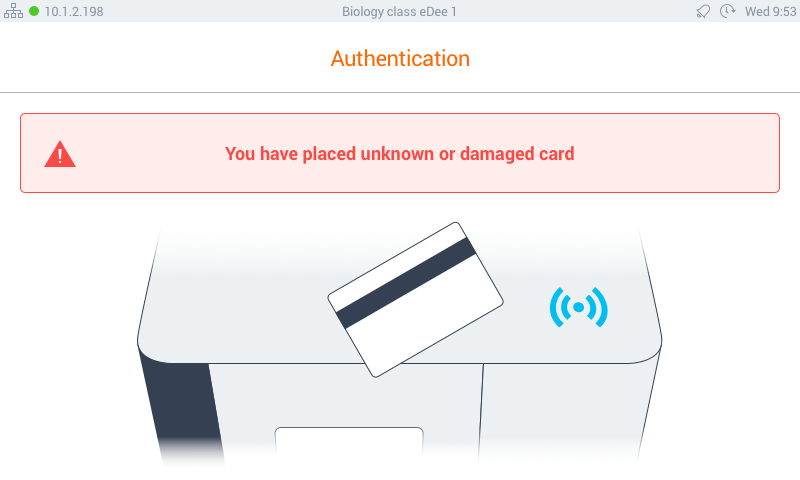
Unknown user
Should a user's ID card not be recognized by eDee, the following message will be displayed:
Job list and job management on YSoft be3D eDee printer
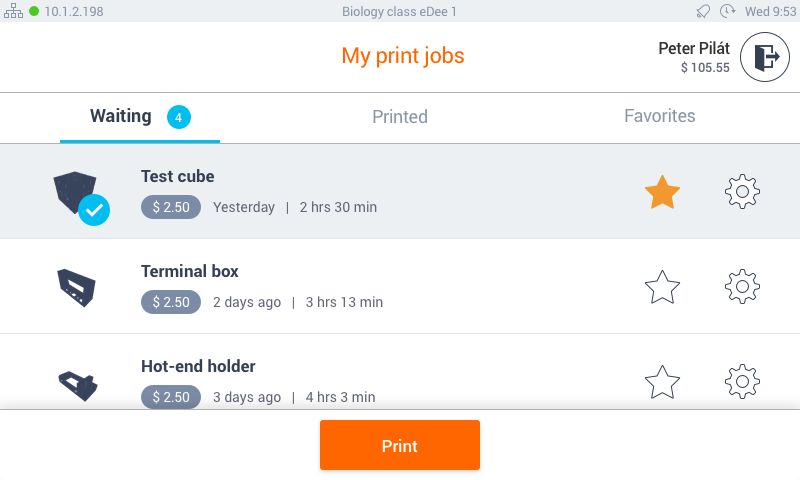
Once the user authenticates, the job list is displayed with the list of jobs waiting to be printed.
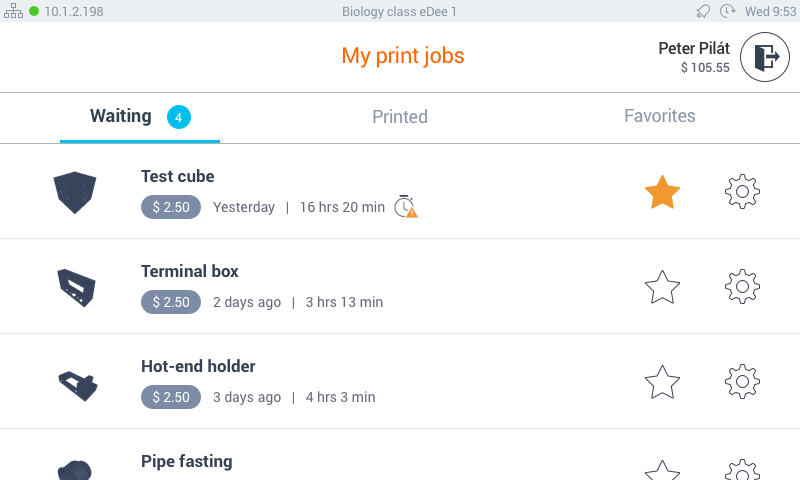
The following information is displayed:
- User name
- Information about the user's account credit balance (when the Payment feature is enabled)
- 3 separate tabs with print jobs folders (based on the device settings)
- Waiting - displays the list of jobs that are ready to be printed
- Printed - displays the list of jobs which were already printed in the past (either successfully or unsuccessfully), jobs are displayed for a certain period of time depending on the SafeQ settings
- Favorite - displays the list of jobs that were marked as favorite
For each job, additional data are displayed:
- Thumbnail - visualization of the 3D model
- Job name
- The age of the print job - when it was sent to Dispatcher Paragon
- Price estimation - when accounting is turned on
- Time required to print
- Delay notification icon (alarm clock) - when Filament counter feature is on and if there's not enough filament to print the job
- Star - star symbol represents the favorite job selection, if selected, job is marked as favorite and is visible also in favorite jobs tab and should never be deleted from Dispatcher Paragon.
- Gear - display popover with additional info
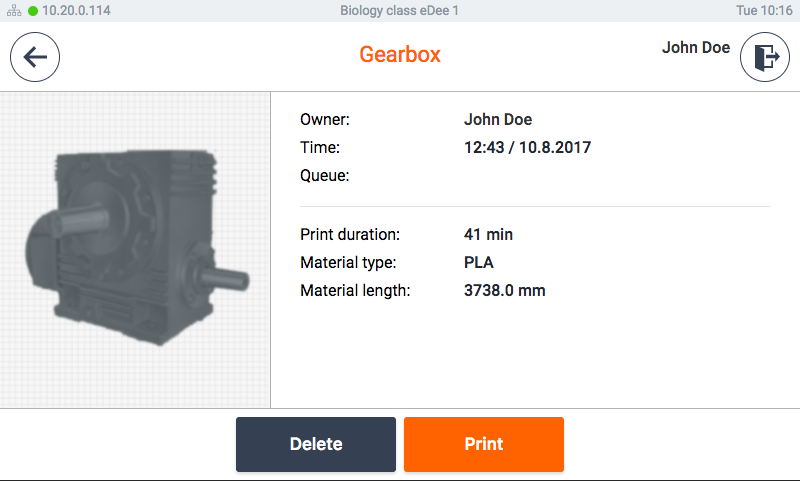
Additional info displays bigger thumbnail of a job, it's name, owner, time of upload, time needed to be print, material and it's usage.
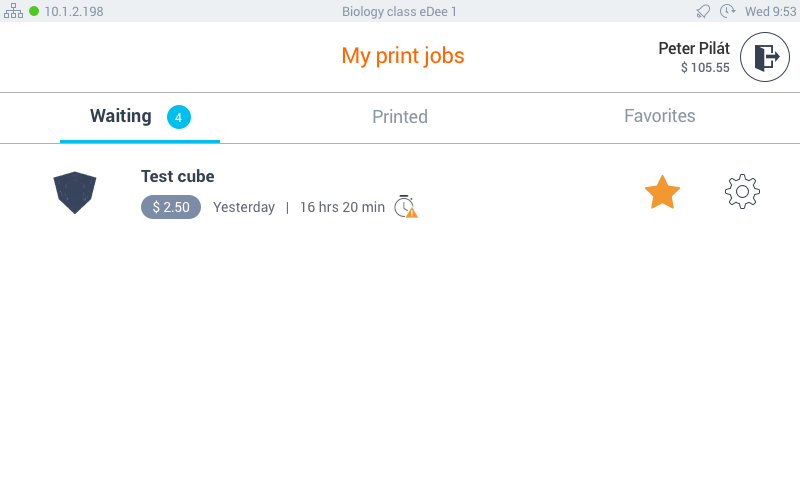
When a job is selected it is possible to
- Select the i (information) icon to display more information about the selected job.
- Mark the selected job as a favorite by selecting the star icon. Print jobs marked as favorites can be easily reprinted later.
Printing a model on YSoft be3D eDee printer
- Once you selected a print job, the panel of list of print jobs will be replaced by new buttons:
- Select Continue to begin the print process.
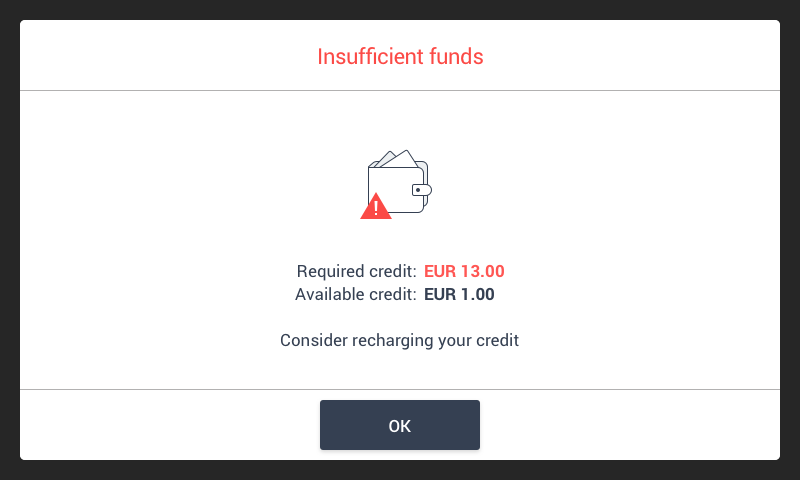
- In case user does not have sufficient funds to print the model following message is displayed
- In case Filament counter feature is on and there's not enough filament to print the model following message is displayed

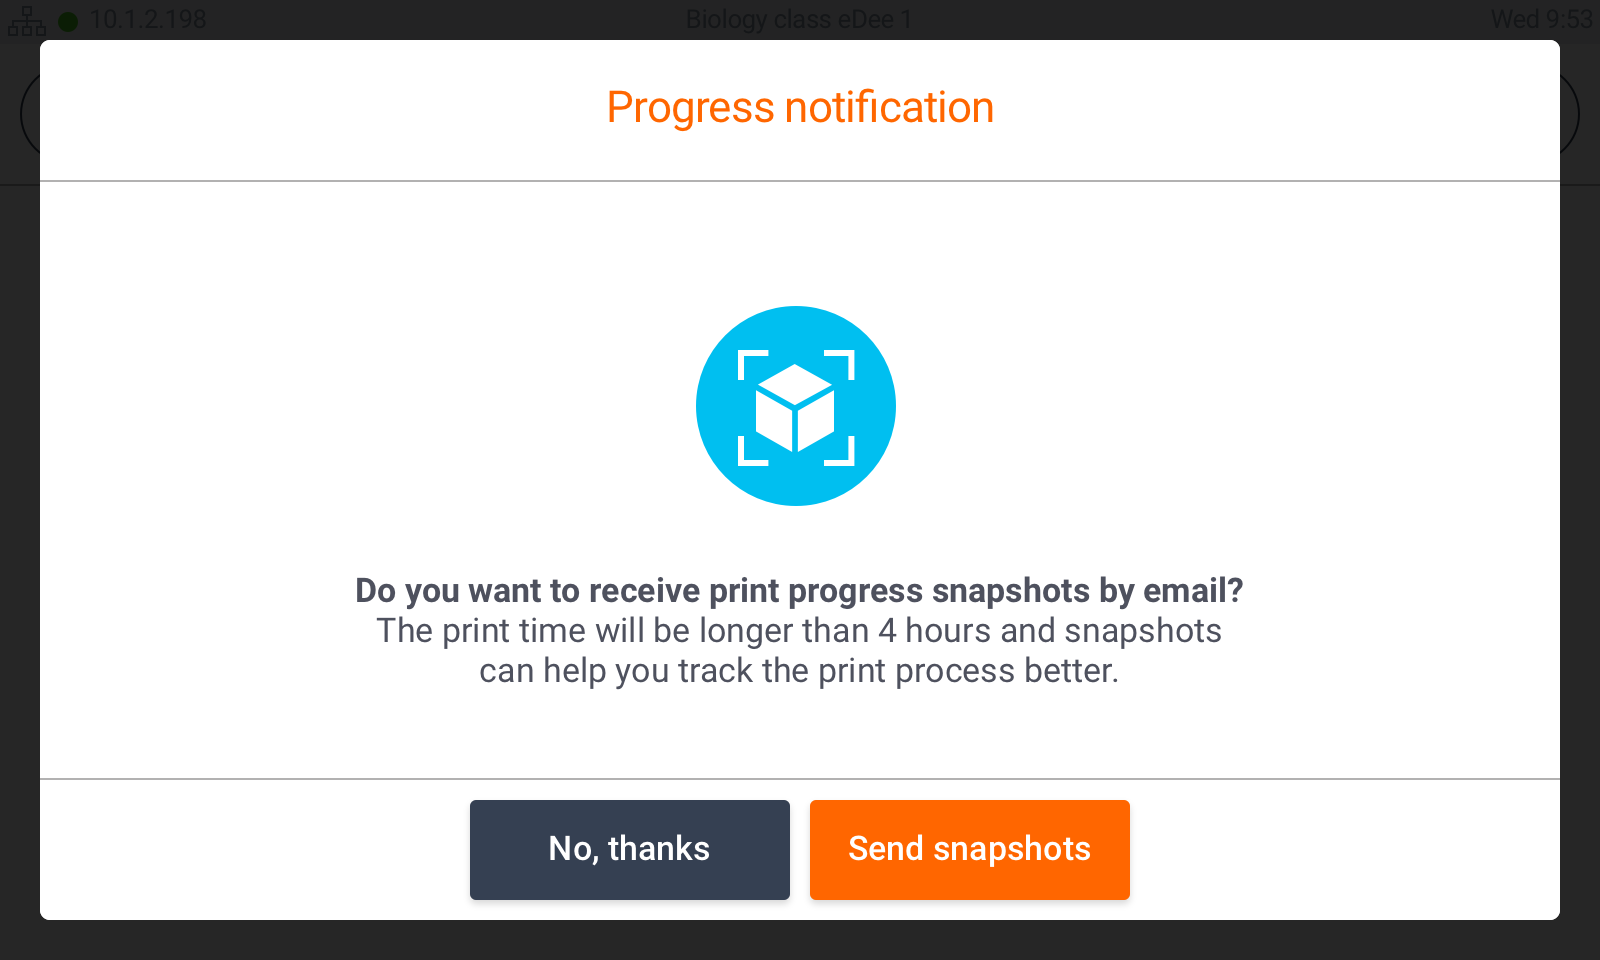
- In case your model print time is longer than 5 hours following message is displayed. If you choose "Send snapshots", you will receive email notification with a photo of your current print progress at 5% and 55%.
- When beginning the print process, a print guide appears. The print guide is a sequence of steps which guides the user to prepare the printer for the print job.
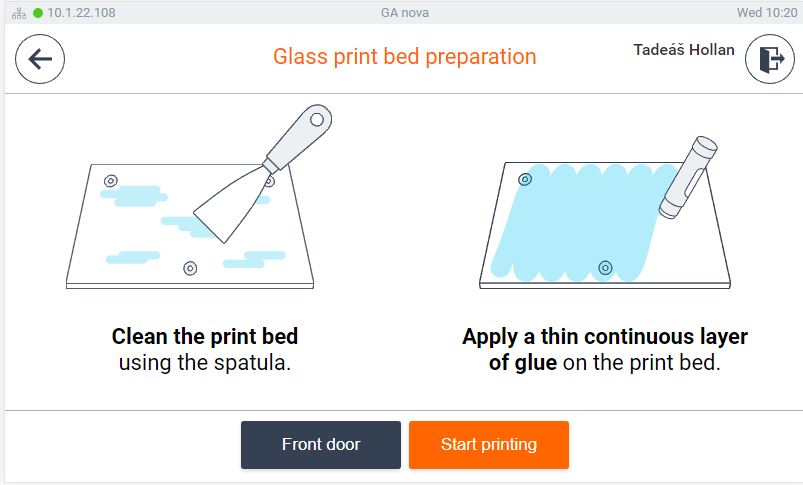
- For glass print pad: The user must take the print pad out of the print chamber, clean any glue deposits using the spatula or wash it under the hot water.
- Once the print pad is clean, apply an even layer of glue on it and return the print pad into the print chamber. Close the print chamber door. Select Start Printing.
- Once the print pad is clean, apply an even layer of glue on it and return the print pad into the print chamber. Close the print chamber door. Select Start Printing.
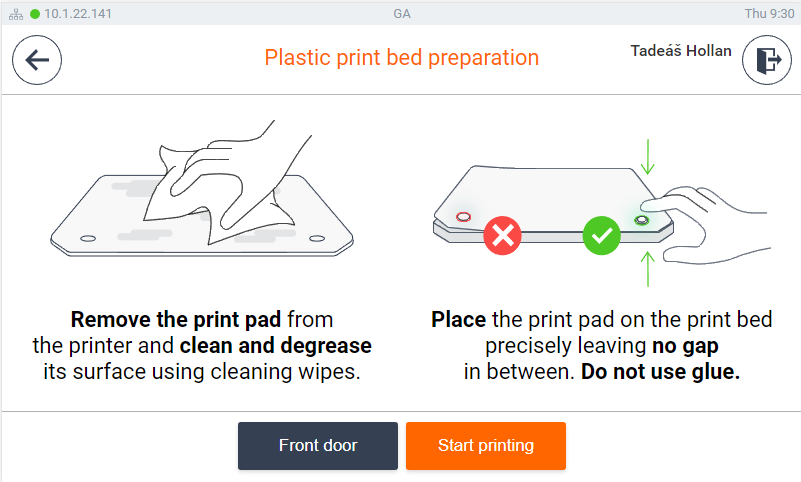
- For plastic print pad: The user must take the plastic print pad out of the printer and wipe the surface clean with the suplied cleaning wipes.
- Once the pad is clean, place the print pad on the print pad holder leaving no gap in between. Close the print chamber door and select Start Printing.
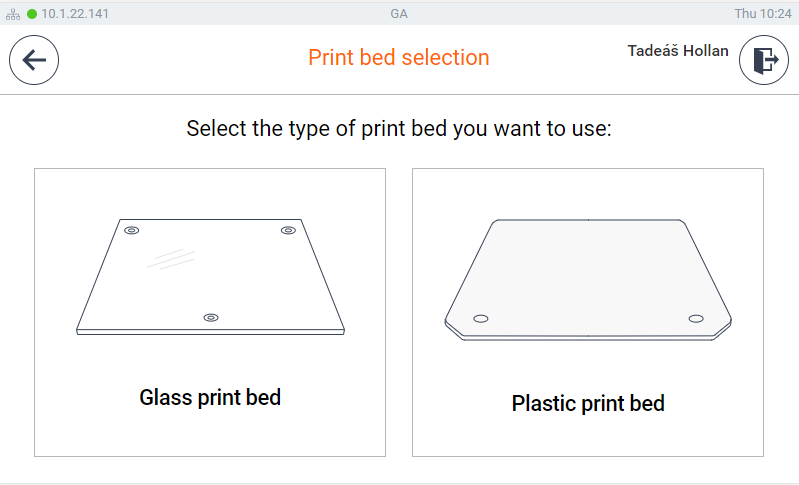
- If there is an option to select used print pad, select the correct type.
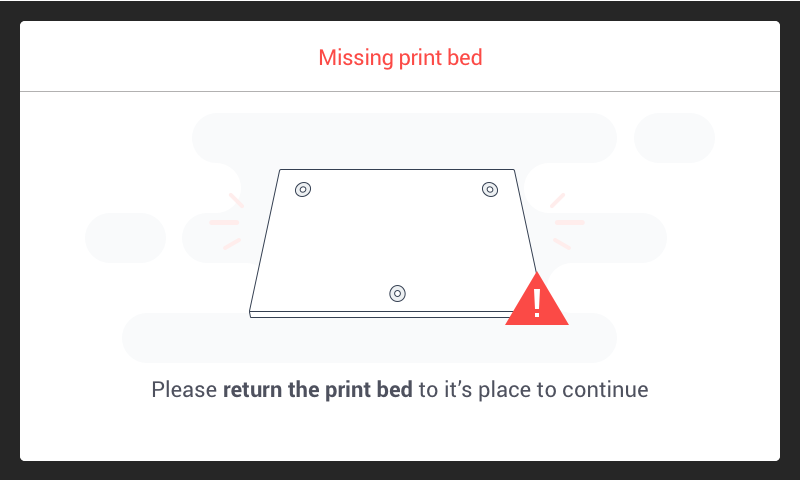
The printer will check that the print pad is present and that the door is closed.
If the print pad is missing, a dialog window appears. Place the print pad in the printer and close the door.
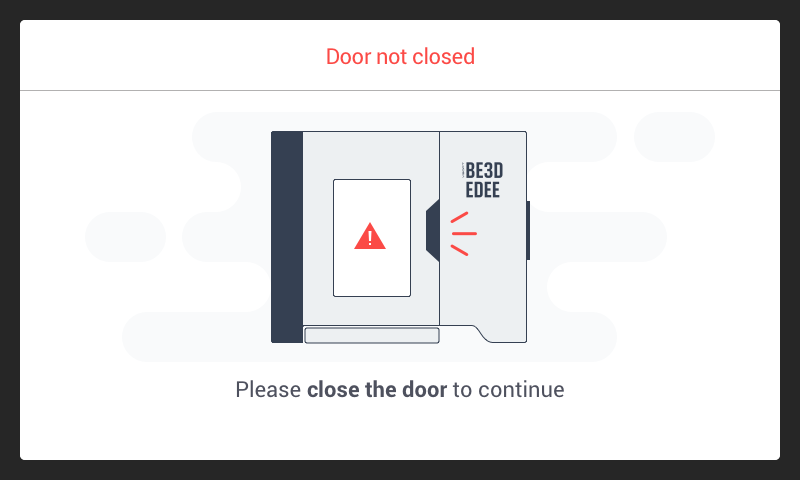
If the printer detects the door is open, a dialog window appears advising the user to close the door.
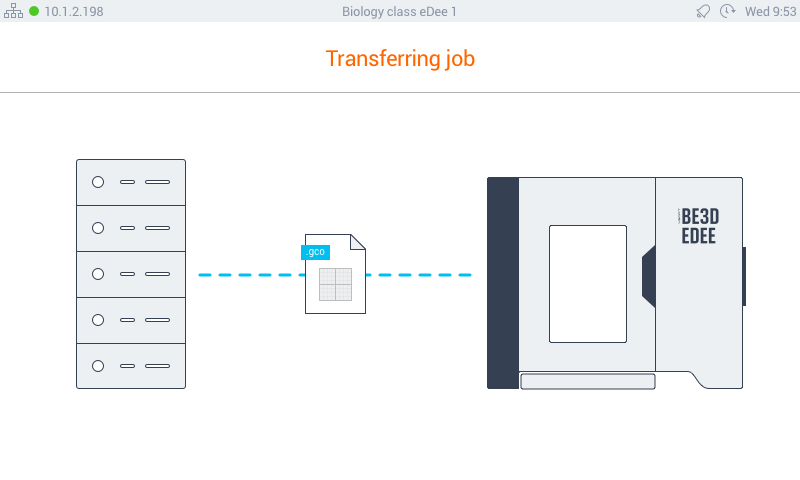
- In case there is a problem with the job retrieval (e.g., in case of local FlexiSpooler and the device not available) following message will be displayed.
![]()
Please note: If you use CBPR client computer must be online and accessible. The application will stuck on "Transferring job" screen otherwise.
Printing
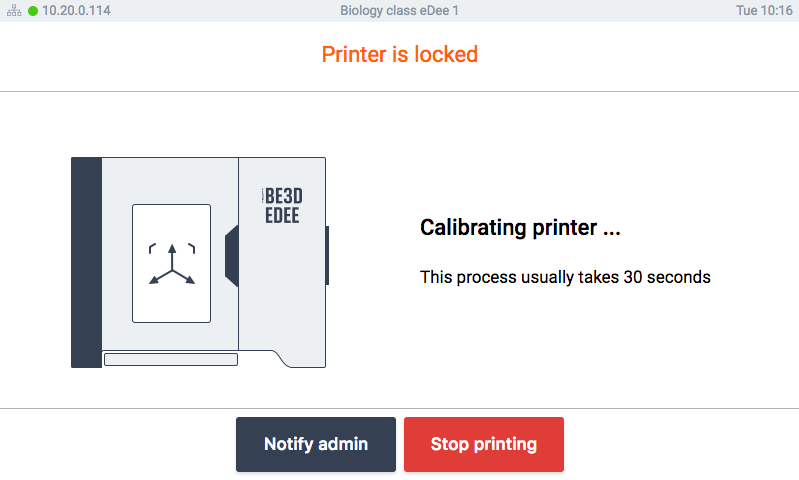
Once the calibration is finished, the print window is displayed.
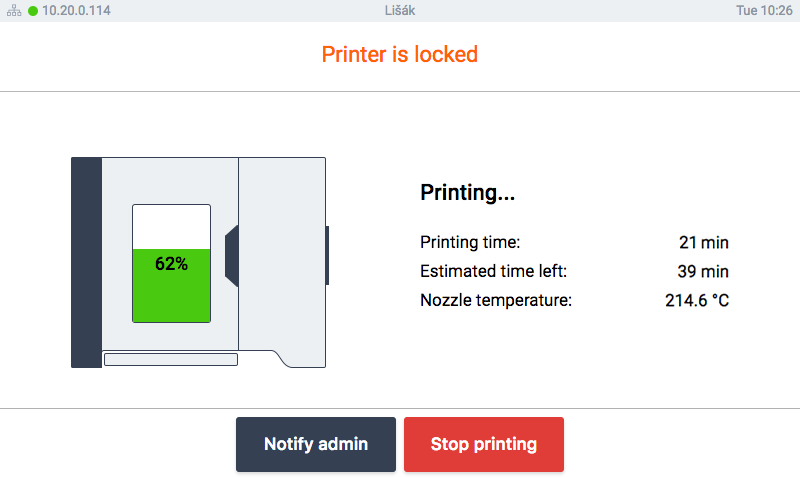
On this screen, the following information is shown:
- The picture of eDee displays a green progress bar which illustrates how much of the current print job has been completed.
- On the right side of the screen, basic information about the print job is displayed:
- Printing time - shows how long the current print job has been running.
- Time Left - an estimate of how much more time is needed to complete the print job.
- Nozzle temperature - displays the current temperature of eDee's nozzle.
This information may be needed when troubleshooting.
- Stop printing - provides possibility to terminate current print job. This option require authentication of the job-owner. Other users can notify only the administrator upon authorization, and he can terminate the job instead of the job owner
- Notify admin - sends an email message to the administrator.
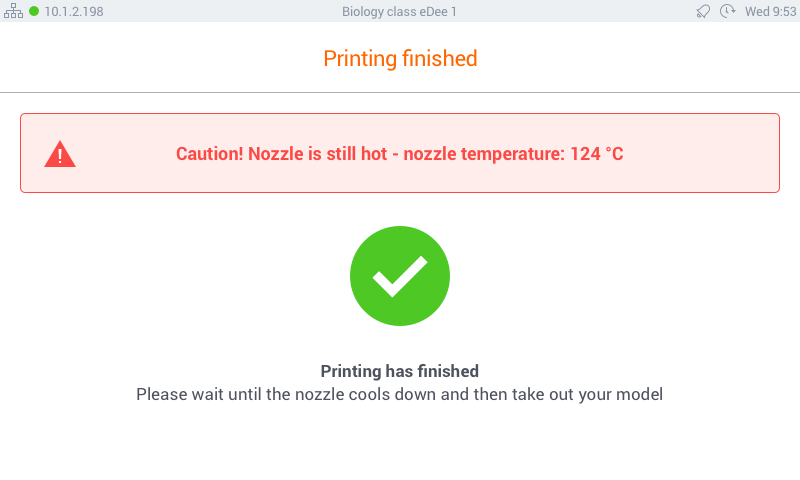
Printing finished
Once the printing finishes, the following message is displayed:
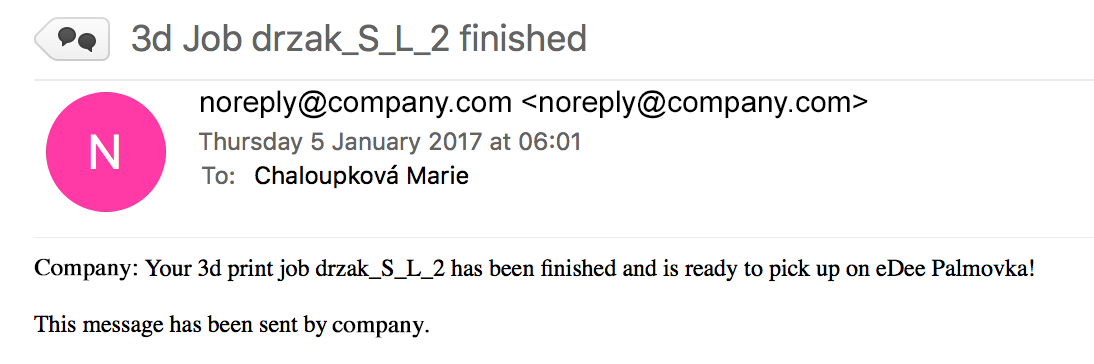
The user receives an email notification that the print job is finished:
The model can be retrieved once the nozzle is cooled down (at leas down to 50°C).
The job owner can unlock the printer to remove the model, or if not satisfied with the print, demand a refund.
The job owner has to identify himself as a first step for either action.
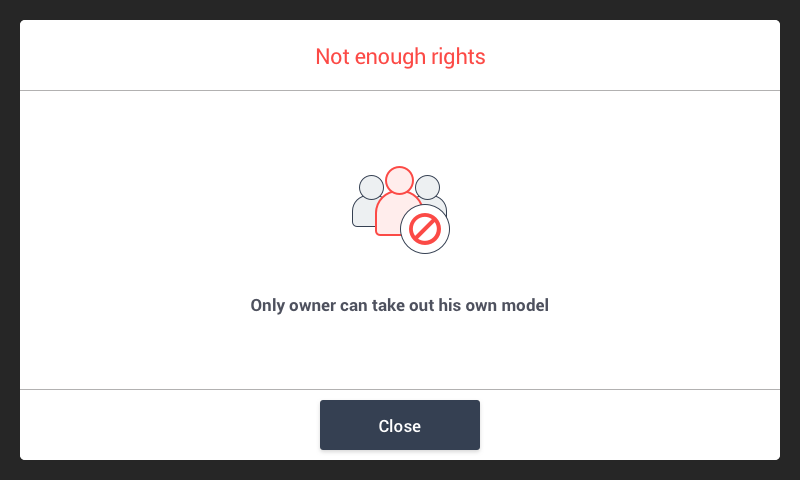
In case the authorization is not successful, following message will be displayed.
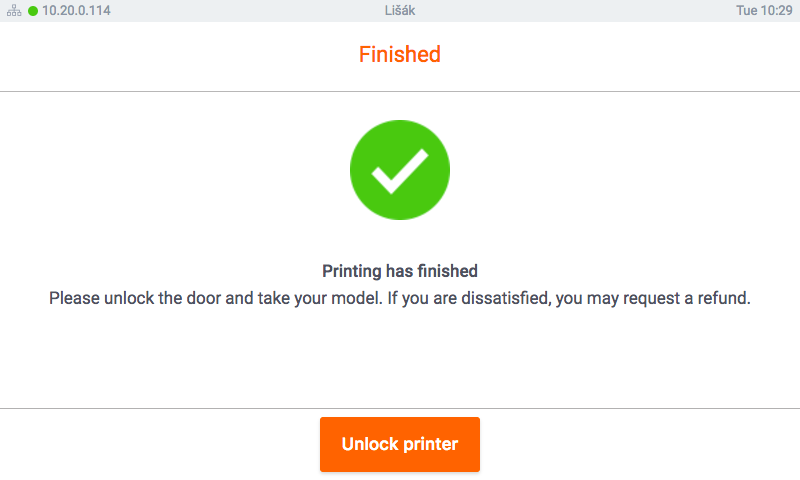
Once the user is authorized print summary is displayed:
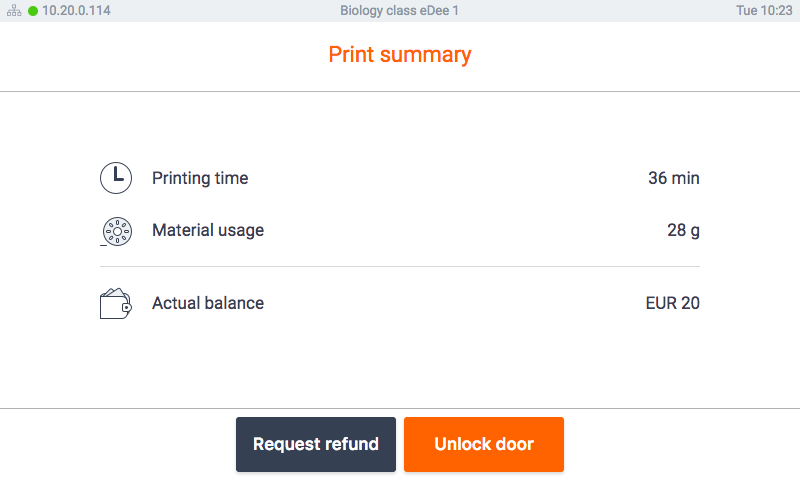
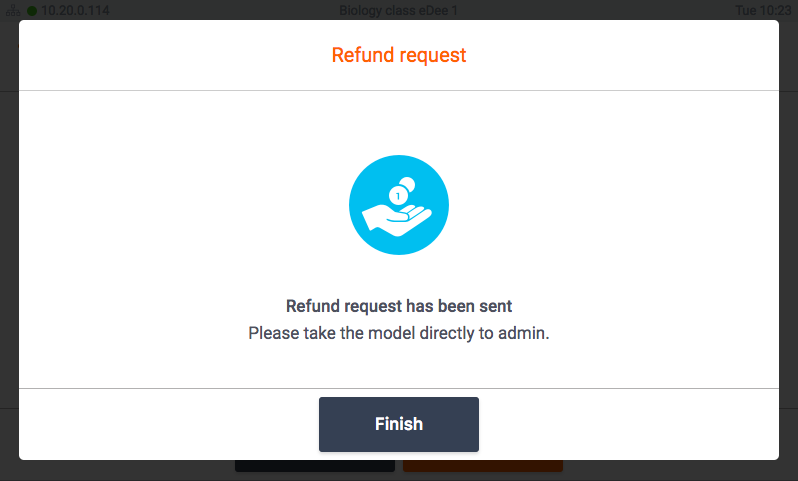
The user can request refund if he is dissatisfied. If the user wants to demand a refund, a camera snapshot of the printed model is sent with a notification to the administrator.
When user clicks Unlock door or finishes the refund request the print chamber door will open and the model can be removed.
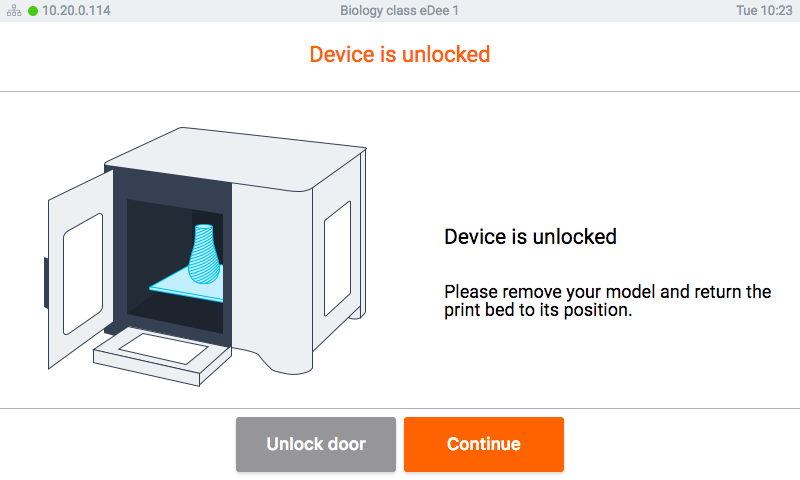
User can open door if he accidentally locks it. When he decides to continue following confirmation is displayed:
- As a courtesy to other users, the user should clean the print pad after removing the print.
- Once the print is removed, the user will select Finish to end the print job.
- If the print chamber door is not closed, following message will be displayed.
- Once the door is closed, the authorization screen is displayed and the next user can start a print job.
Send a request to administrator
Any time that the eDee printer is printing, any registered user can notify the Administrator about a specific issue.
b) To be transparent about who is sending a notification, the user is required to authenticate at the printer.
c) After authentication, a list of possible issues is presented on the screen.
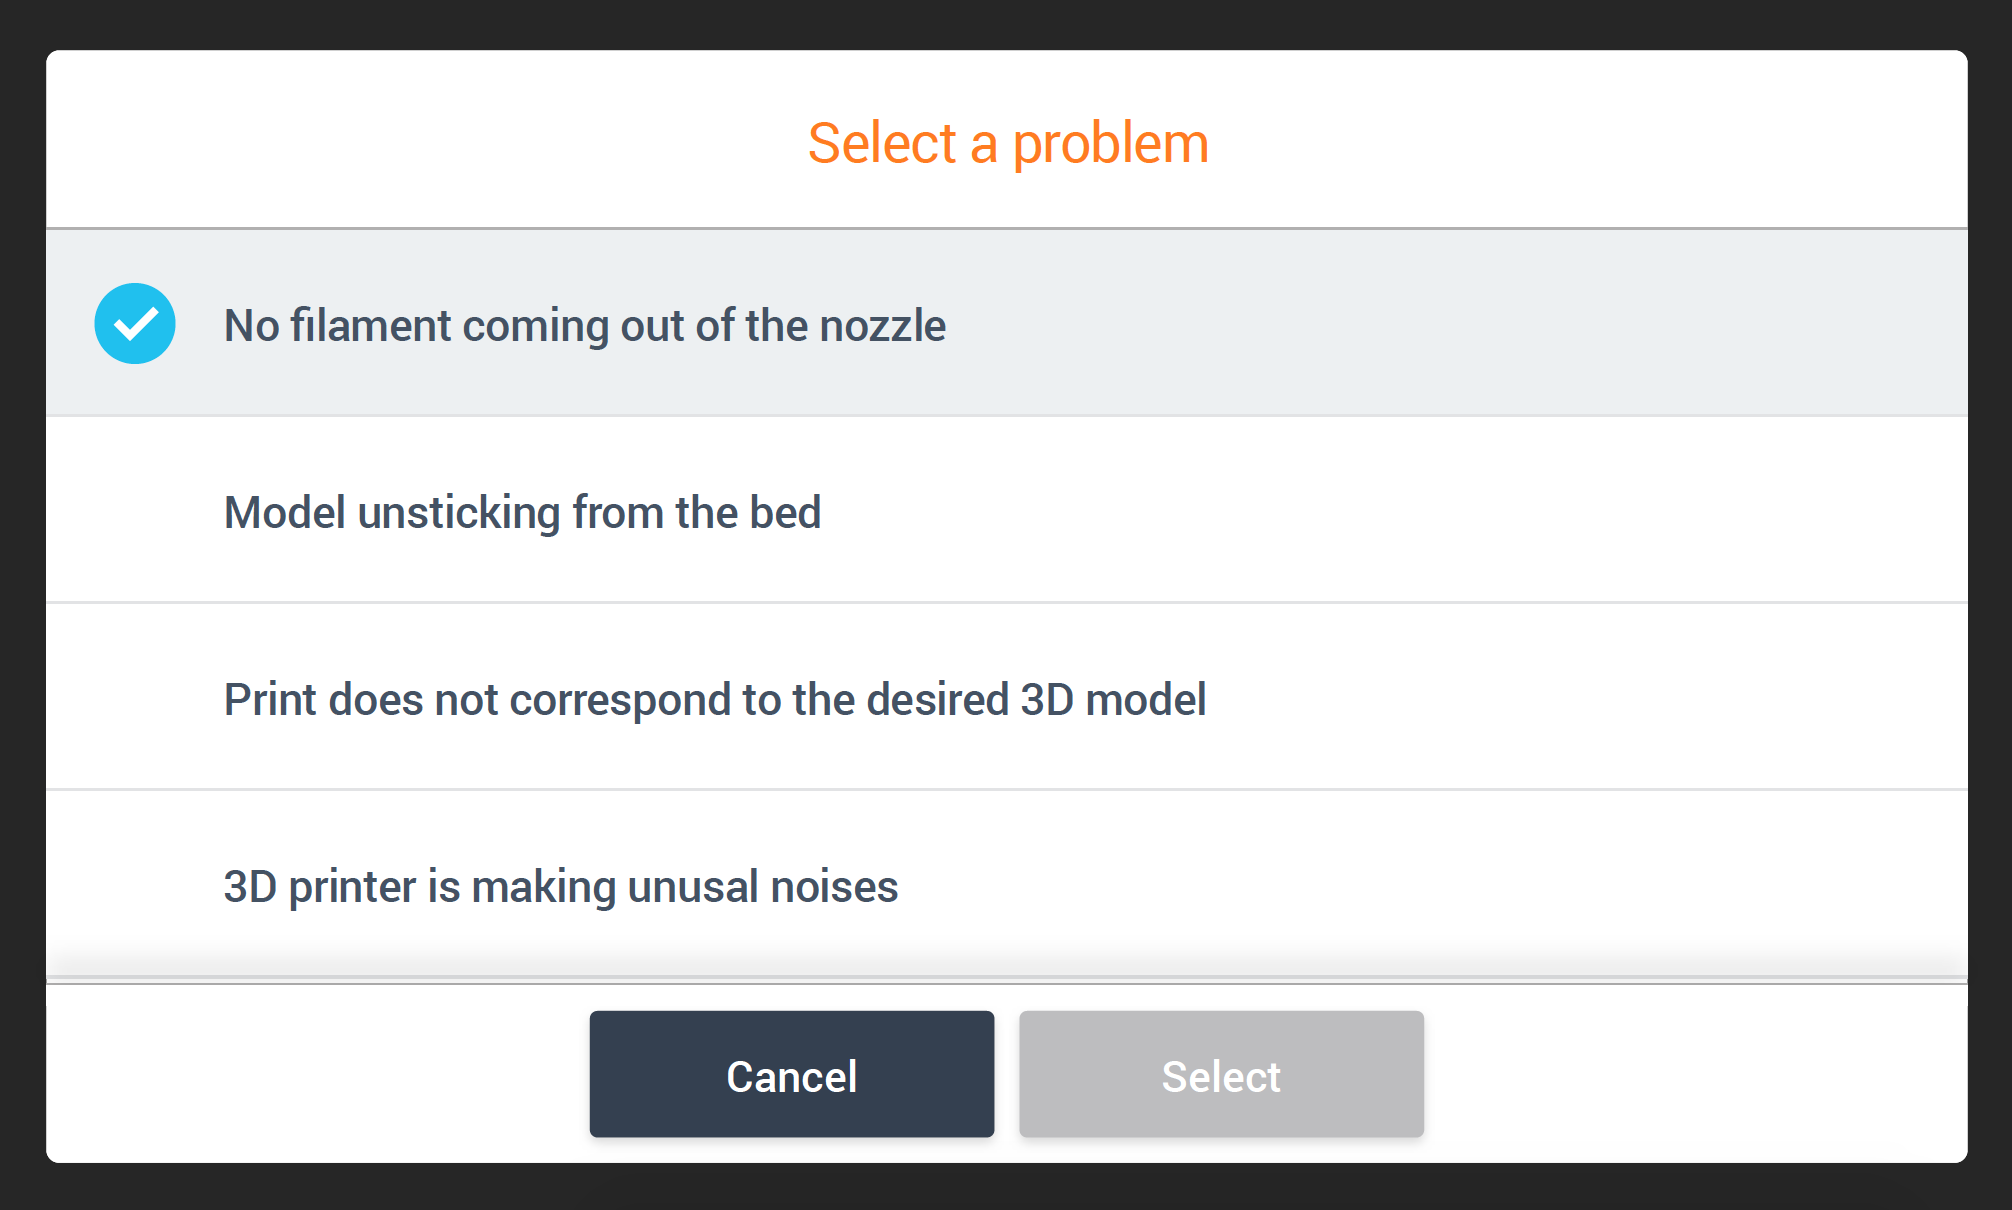
d) The user can select one or more options to report. Once one or more issues are selected, the Select button becomes activated. Tap the Select button.
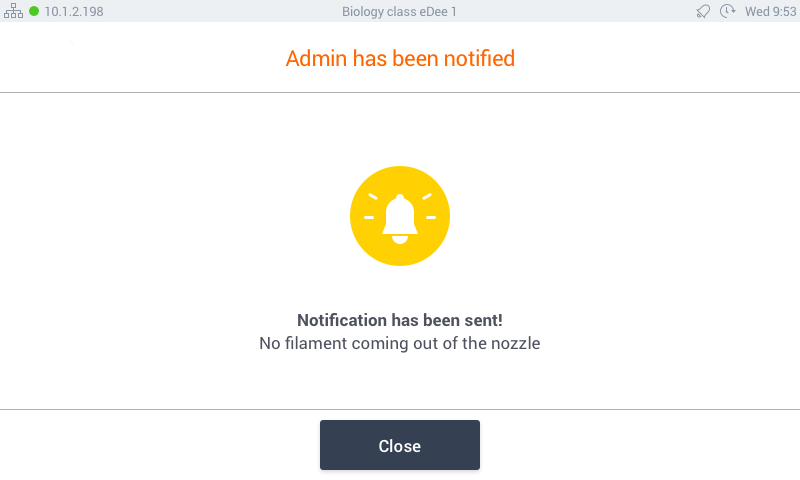
e) Confirmation is displayed on the screen that the administrator has been notified.
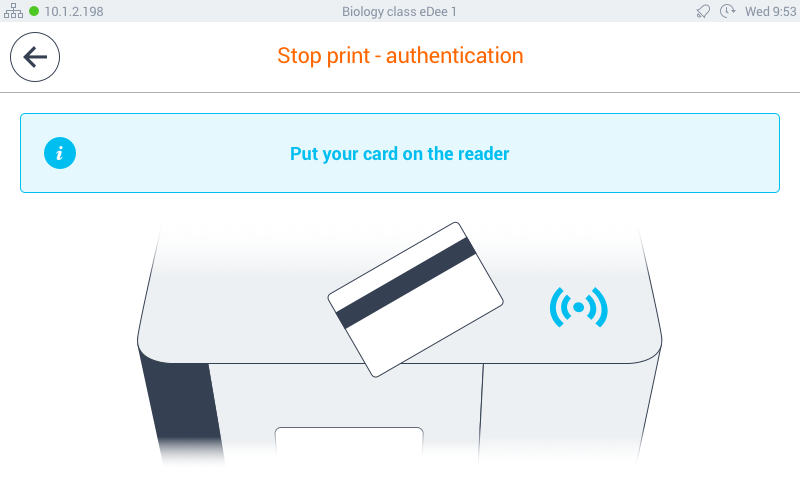
Stop print
Job owner can stop the print job. He can do it simply by tapping at stop print button:
Then he is asked to authenticate:
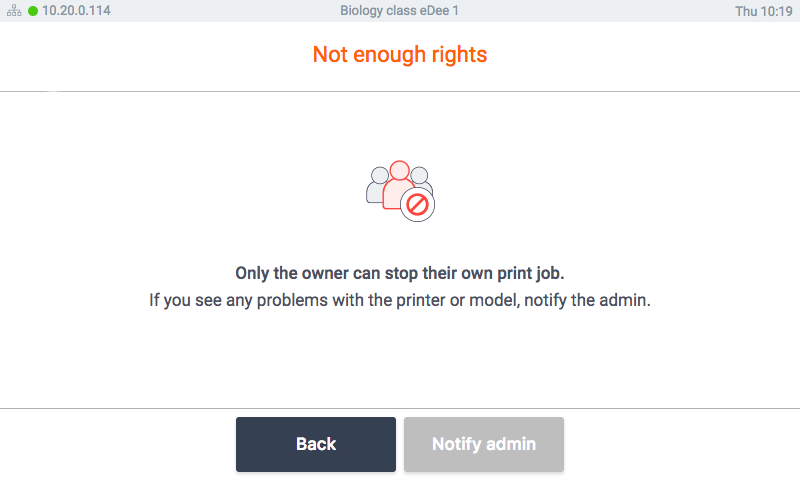
When another user tries to log in and stop print the screen with information that only owner can stop the job is displayed.
When the job owner successfully authenticates he is asked to confirm, that he really wants to stop the print job.
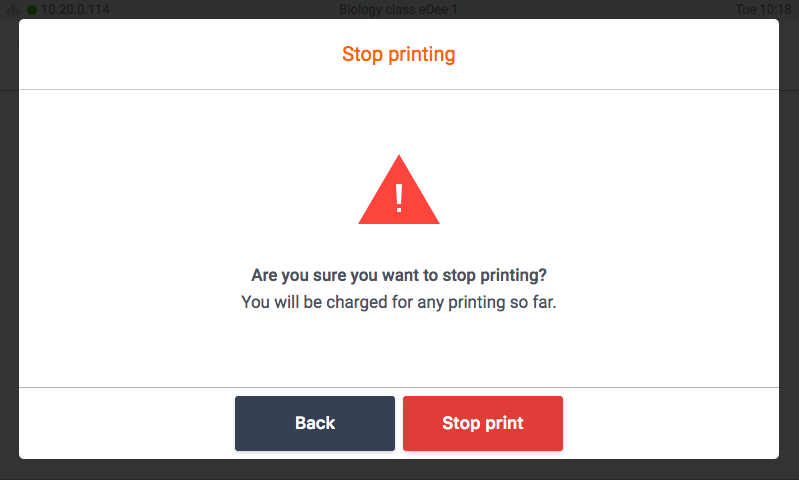
The job is then stopped, user is charged for printing so far if the accounting is turned on.
He needs to wait for nozzle to cool down:
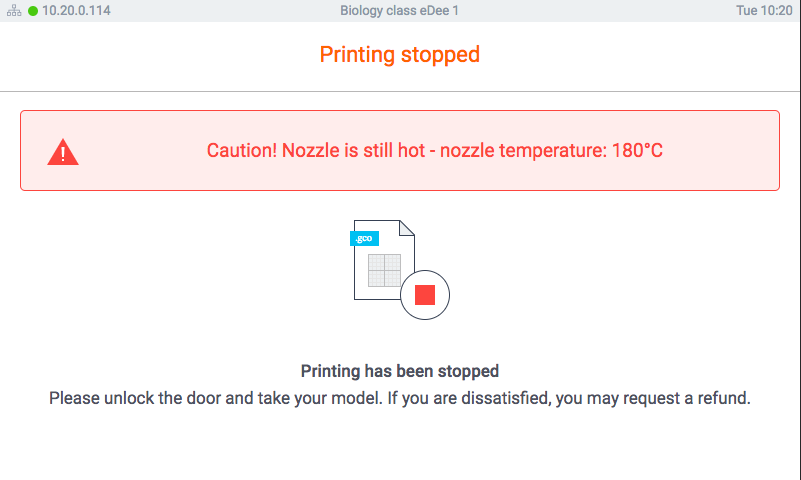
And than he can take the model out.
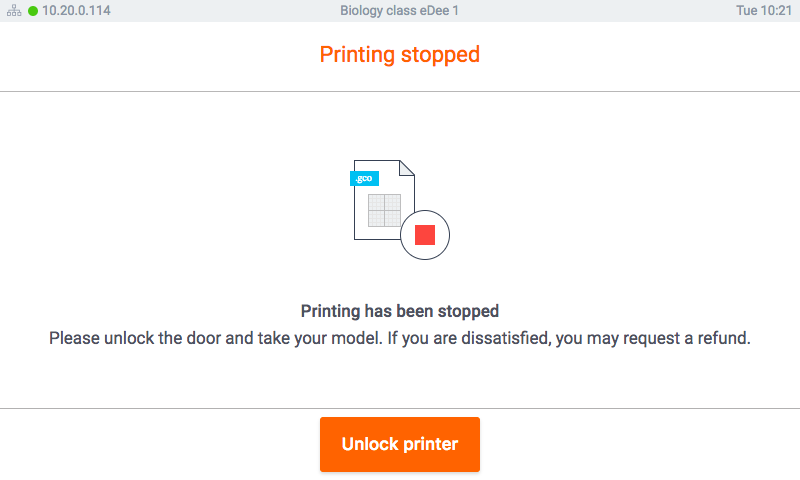
Than is the workflow same as when the print ends, print summary is displayed:
User can request refund if he is dissatisfied. If the user wants to demand a refund, a camera snapshot of the printed model is sent with a notification to the administrator.
When user clicks unlock door or finishes the refund request the print chamber door will open and the model can be removed.
User can open door if he accidentally locks it. When he decides to continue following confirmation is displayed:
- As a courtesy to other users, the user should clean the print pad after removing the print.
- Once the print is removed, the user will select Finish to end the print job.
- If the print chamber door is not closed, following message will be displayed.