General overview
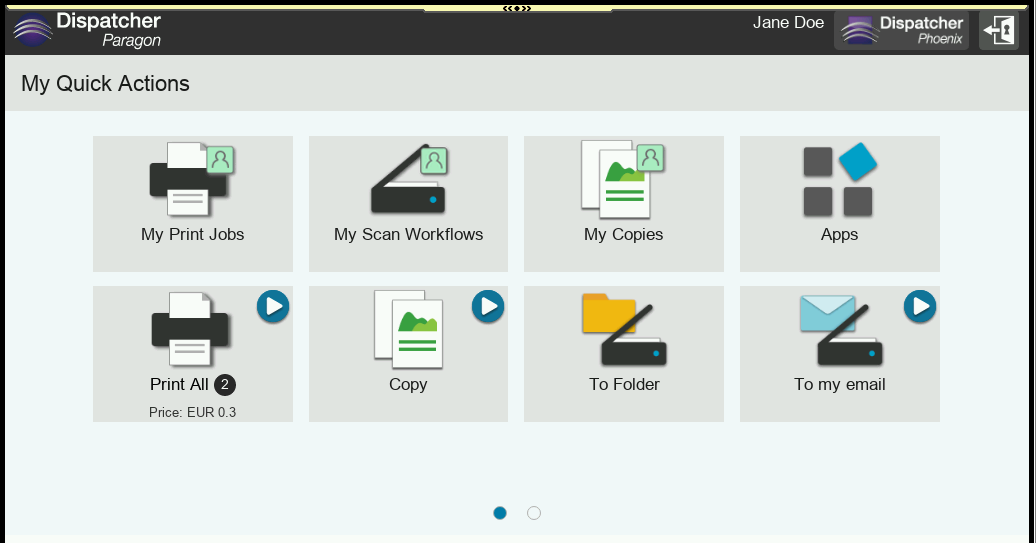
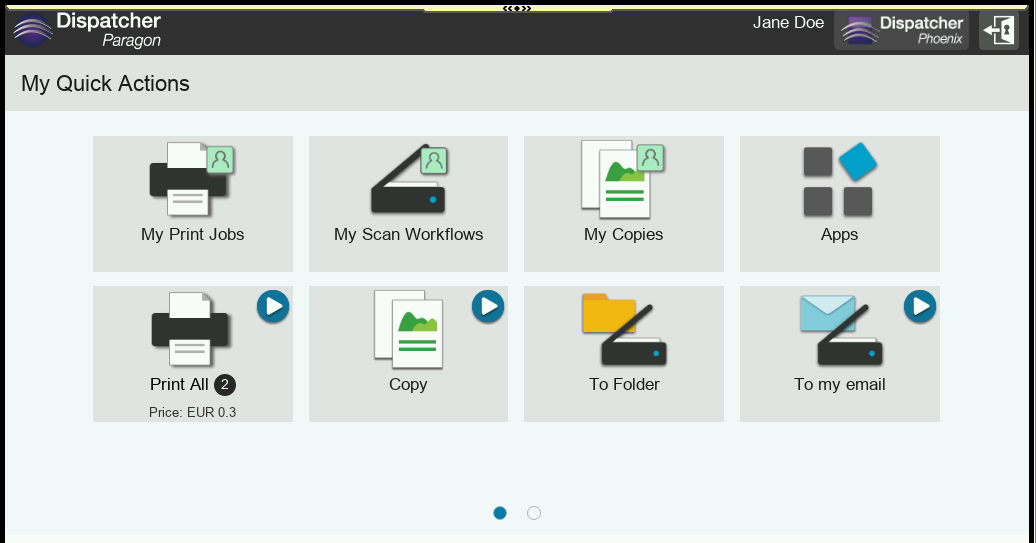
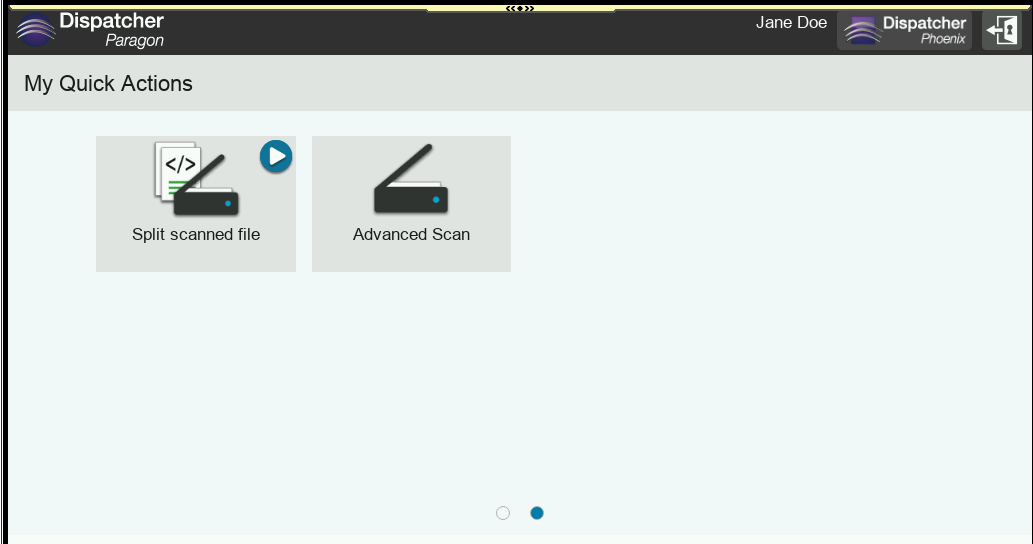
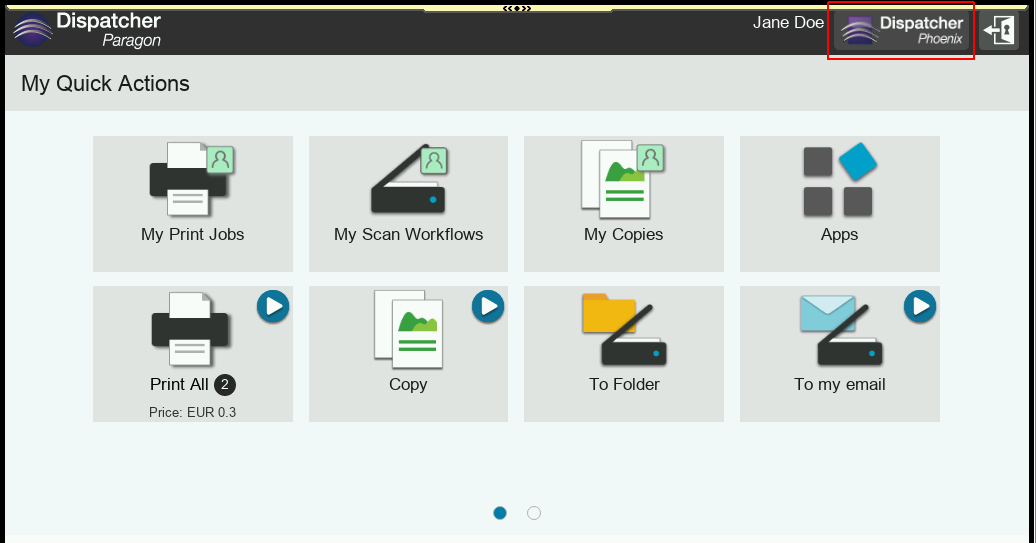
Quick actions application enables users to access frequently used functions like print all jobs and perform the desired scan workflow immediately after login.
The available Quick actions:
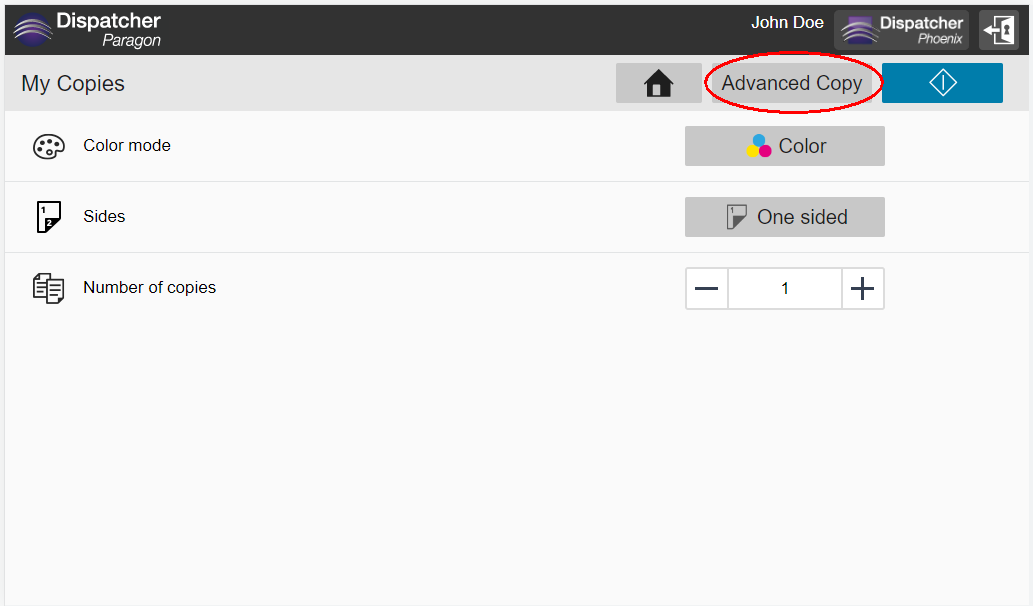
- Simple Copy
- Advanced Copy
- My Print Jobs
- My Scan Workflows
- Apps
- Dispatcher Phoenix
Quick actions application
- Log in to the Cloud terminal. Quick actions application is displayed.
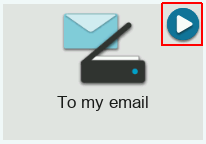
Select a quick action you want to execute. Some of the quick actions are marked as Instant (flash icon) and are executed directly. Quick actions are displayed according to user rights and scan workflows (based on the order from workflow configuration) assigned to user are visible.
Print all
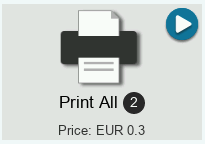
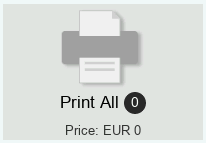
Tap on the Print all button to perform the print of all jobs in the waiting queue. Note that the number on the button indicates the number of jobs in the waiting queue. There is also information about the total price of jobs. When there are no jobs in the folder, you will see the disabled print all button.
My print jobs
Tapping on the My print jobs opens the Print application.
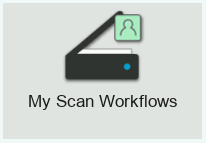
My scan workflows
Tapping on the My scan workflows opens the Scan application.
Scan - Instant workflow
Tap on instant workflow button, selected workflow is executed directly from the Quick actions application.
Scan workflow (input required)
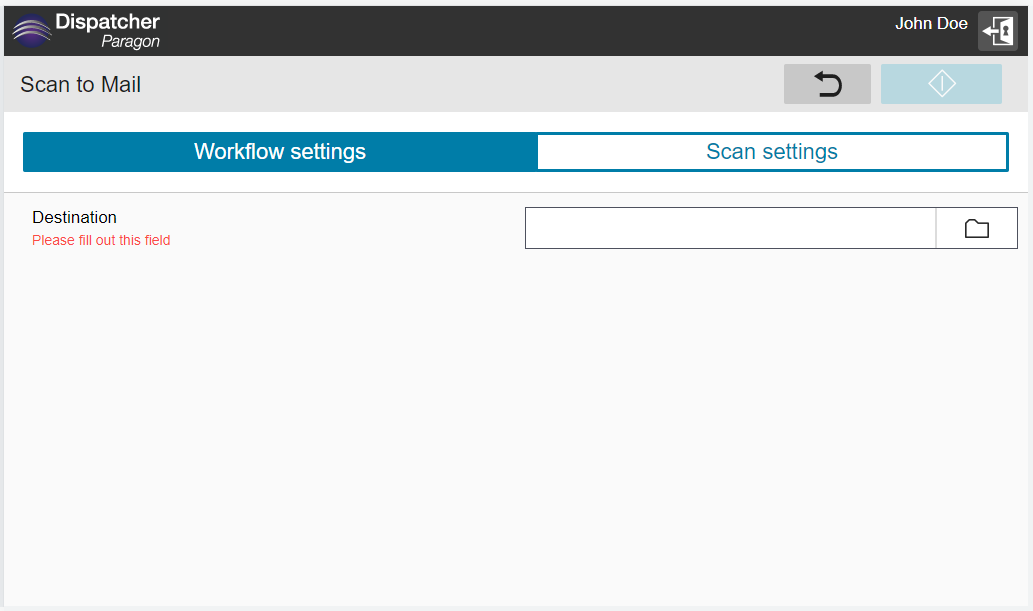
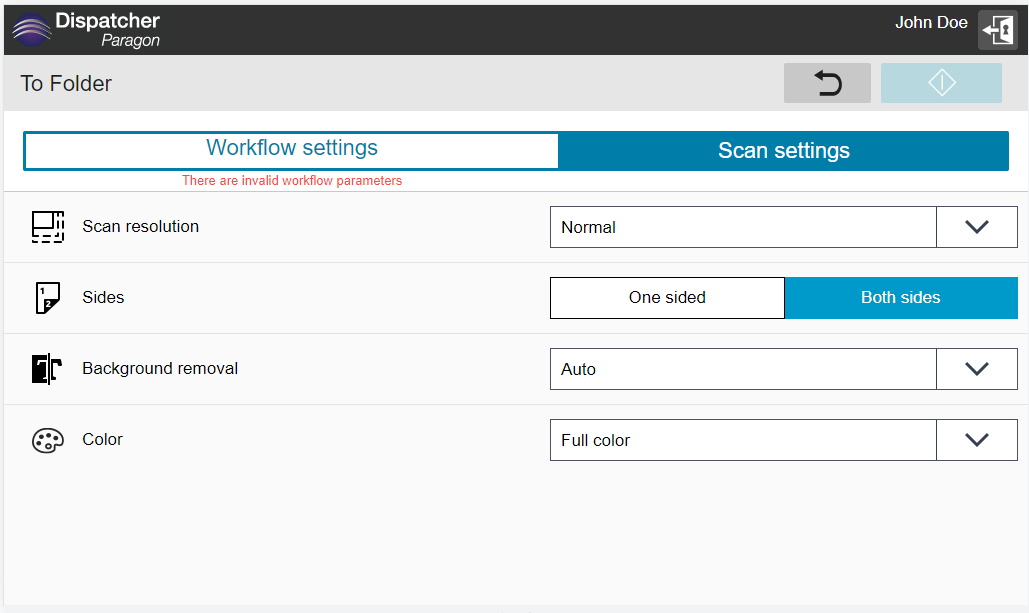
Tap on scan workflow which needs additional parameters to be entered. You are redirected to a workflow detail screen.
In the workflow detail screen, you can enter additional workflow parameters.
Tapping the Scan settings tab opens a screen where you can select the properties of the scan job.
The workflow configuration might not allow you to configure scan or workflow settings. In that case, the tab is not shown.
When you are ready, tap the Scan button to initialize the scan job. User is redirected to the Quick actions application when the scan is finished.
Quick actions native and installed applications
The property
Limitation: When the user is redirected to a native or some installed application and wants to use the functionality of the Cloud terminal, opening the Cloud terminal again is needed. If Kiosk mode is enabled, users will need to wait until the MFD’s user timeout period expires before being able to log in again.
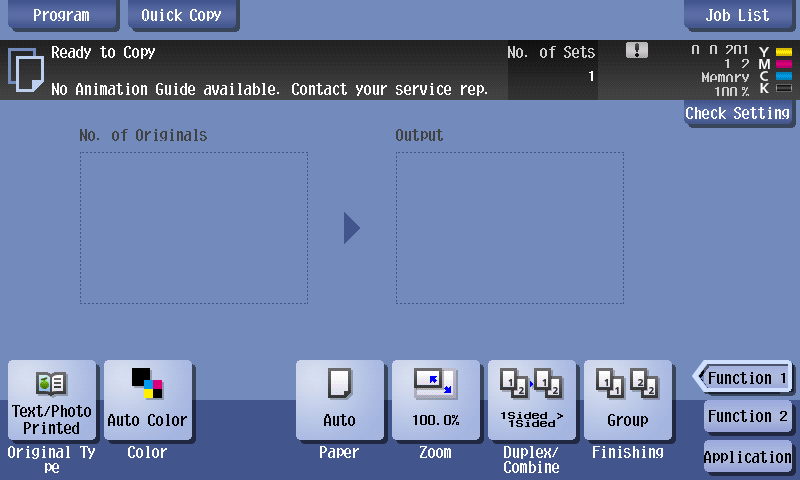
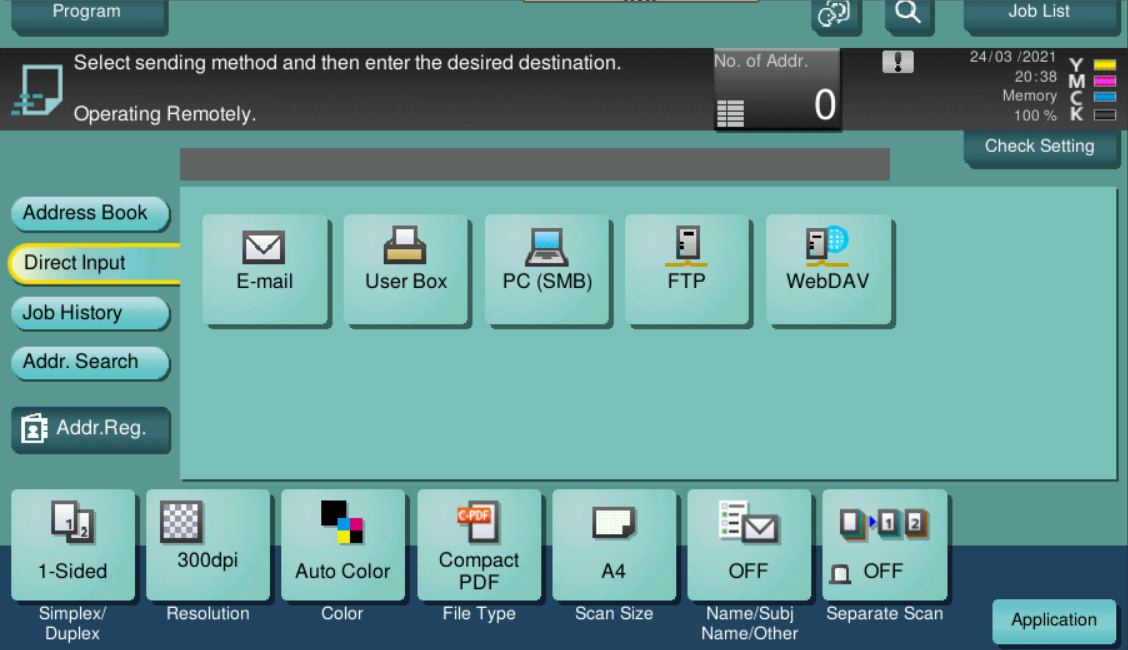
Advanced Copy - Tapping on the Advanced copy opens the Native copy application.
Advanced Scan - Tapping on the Advanced Scan opens the Native scan application.
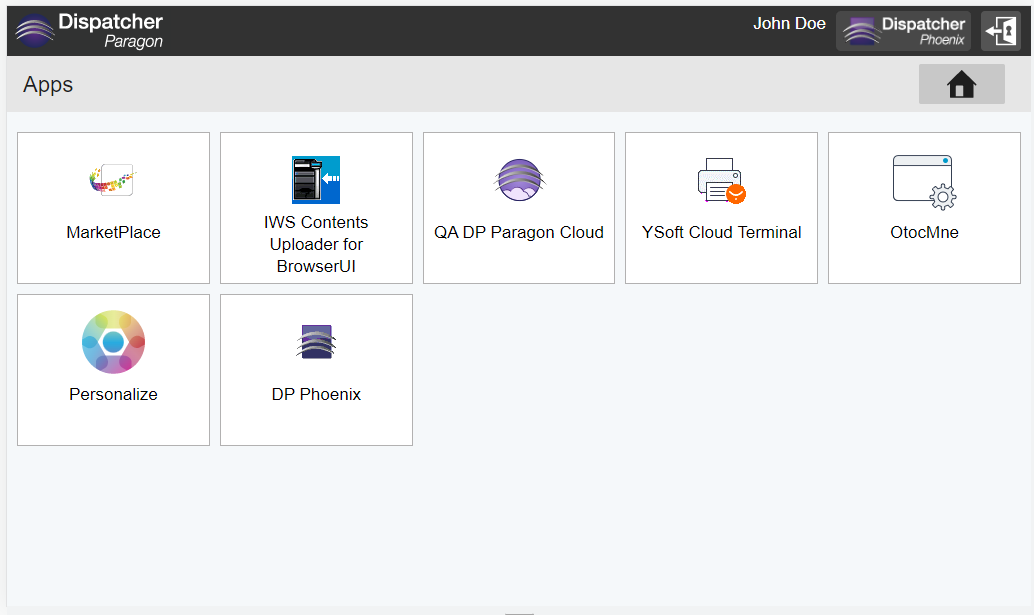
Apps - Tapping on the Apps tile opens the screen with installed apps.
The Apps screen shows all OpenAPI and IWS apps installed on the MFD.
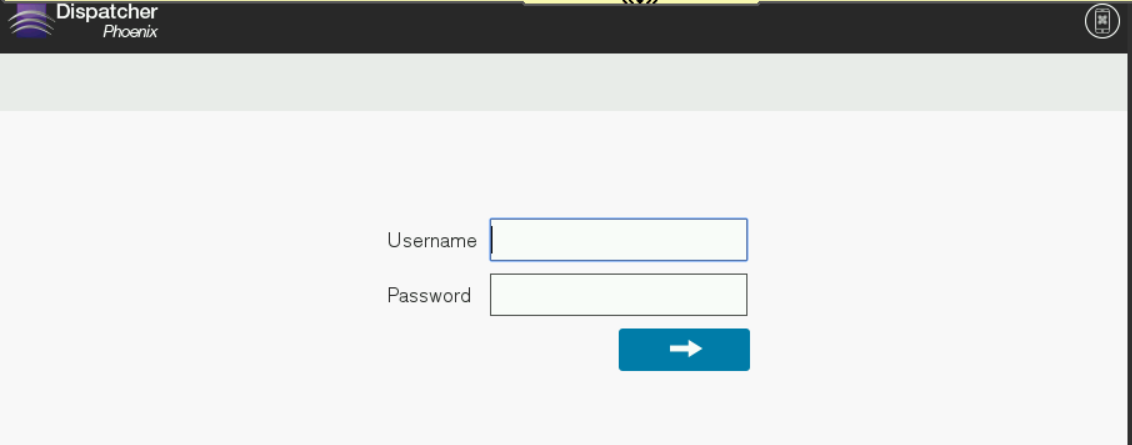
DP Phoenix - Tapping on the DP Phoenix tile redirects user to the Dispatcher Phoenix application.
The Dispatcher Phoenix application tile is present on the Quick Actions screen only when the Phoenix application is registered on MFD with "DP Phoenix" application name.
