VDP

Note: This node works with XLSX and CSV files that contain up to 75,000 records. The CSV file must be in UTF-8 format.
VDP is a form of digital printing in which elements such as text, Image and Vector fields are merged/inserted into an input file. The VDP Node applies this process to any XLSX/CSV files it receives.
During workflow execution, this node will insert/merge elements (text, image, vector) into the original input document, and then output the merged file to the next node in the workflow. The node does the following:
-
Input: A file is submitted to the node. This node supports only CSV or XLSX files. Additionally, the file cannot contain more than 75,000 records. If any file is submitted to the node that violates these limitations, the file will be routed to an ERROR outbound connector.
-
Process: Once a valid VDP file is received, the node inserts the variable data and produces a single PDF, PDF VT, or PPML output format file. The type of file generated is specified using the node’s settings.
-
Output: A single PDF, PDF VT, or PPML output file with the variable data inserted is then sent on to the next node in the workflow.
Using the VDP Node
Add the VDP Node to the workflow by dragging the node’s icon onto the Workflow Builder canvas, and then double-clicking on the icon to open the VDP Node’s window:
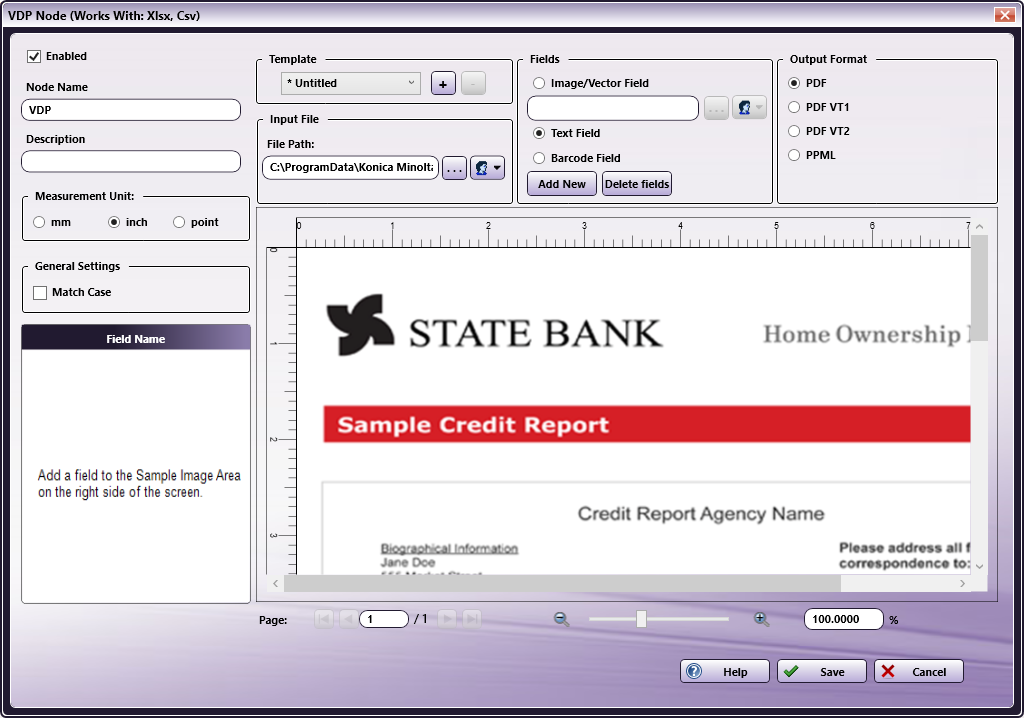
Use this window to specify the VDP Node’s settings.
-
Select the Enabled checkbox so that the process will run. When unchecked, this process is ignored. Documents pass through as if the node were not present (i.e., continue along the default or positive path). Note that a disabled node will not check for logic or error conditions.
-
In the Node Name field, enter a meaningful name for the VDP node.
-
In the Description field, enter a description for the VDP Node. This is not required, it can be helpful with multiple collection points. If the description is long, hover the mouse over the field to read its entire contents.
-
In Measurement Unit panel, select a measurement unit radio button. Three types of measurement units are available: mm, inch, and point.
-
In the General setting field, check the Match Case checkbox to enable case-sensitive recognition.
-
Select the Save button to save the changes. If Cancel is selected and the window is closed, the changes are not saved.
-
Select the Help button to access online help.
Field Name

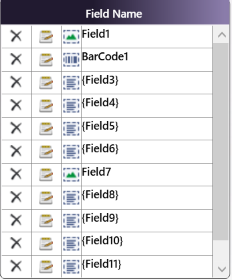
The Field Name panel lists the names of all the fields displayed in the current page Sample Preview Panel . Select an item in the Field Name list, the corresponding Field image will be selected in Sample Preview Panel and vice-versa.
Edit the Field using the Edit icon to the left of the list or by double-clicking on the field in the Sample Preview Panel.
Delete the Field using the Delete icon to the left of the list. As an alternative, use keyboard “Delete” key to delete the selected Field.
Template
Use this setting to select, create, edit, or delete a Template:
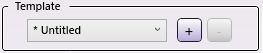
A list of saved templates is available from the drop-down. When a value is selected from the drop-down, the corresponding settings are loaded.
To save selected settings as a Template, add a Template Name after all settings are chosen.
-
Add a New Template using the [+] Button: Click this button to open the New Template window. When prompted, enter a Template Name. The Template Name cannot exceed 100, alphanumeric characters. No special characters are supported. Use this option to save the current settings. The value is added to the drop-down and available for use.
-
Delete a Template using the [-] Button: Select a value from the drop-down and then click this button. A confirmation pop-up opens:
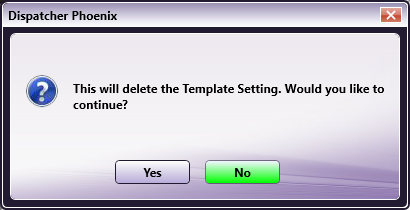
Click Yes to delete the Template or No to cancel the request.
-
Edit a Template: Select the Template then click the [+] button. Modify the changes, as required. By default, the Template Name value will default to Untitled. To keep the original name, re-enter the old value by replacing Untitled. When finished, click the OK button. If the old name was reentered, an overwrite verification pop-up opens. In it, click Yes to overwrite the old values.
Notes:
-
Templates are specific to each install.
-
A maximum of 100 Templates may be saved. When the Template count reaches 100, new addition to Template is not allowed and following error message will be displayed to user.
-
If a Template value other than Default is selected when the node opens, the Template drop-down displays a value of saved Template name if the saved Template is not deleted/modified by other VDP node in a workflow.
-
If a Template value other than Default is selected and it is already deleted/modified when the node opens, the Template drop-down displays a value of [-].
-
If a Template value is modified while the node is open, the Template drop-down displays a value of [*Untitled+].
-
Template name can be a combination of any of the below characters.
-
- One byte characters [English characters etc.] (a to z & A to Z)
- Double byte characters [Japanese, Chinese Characters etc.]
- Spaces
- Numbers(0 to 9)
Input File
-
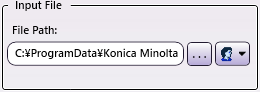
Upload Button: Use this to upload an input file. Text, Image, and Vector fields are merged/inserted into the input file. The Input File field supports the following formats: PDF, JPEG, GIF, PNG, BMP, TIFF. Once the input file is selected, the path appears in the File Path field. As an alternative, user can manually input the file path of input file to be uploaded.
-
Enter Network Credentials Button: If the entered file path is on a network that requires user credentials, click the button, and then enter the required values.
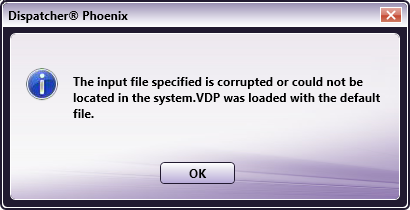
Note: If the selected input file cannot be located, a default Template file is loaded when the VDP Node opens. As well, workflow validation will fail due to this issue.
A pop-up message provides an alert if this situation occurs. To resolve this, upload a new file.
Fields
A new Image/Vector Field or Text Field may be added. These additions are applied to files that are processed through the node.
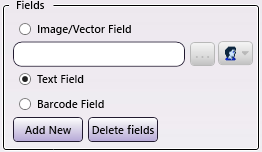
Image/Vector Field Option
When an Image Field is added, Image/Vector data from the variable data file (XLSX/CSV) is inserted. When a Vector Field is added (vector here refers to the PDF file), the variable data contains a path to the image/PDF file and the content of that file is inserted in the place of the newly added Image/Vector field.
-
Click the Add New button. The VDP Node - Image Field pop-up opens.
-
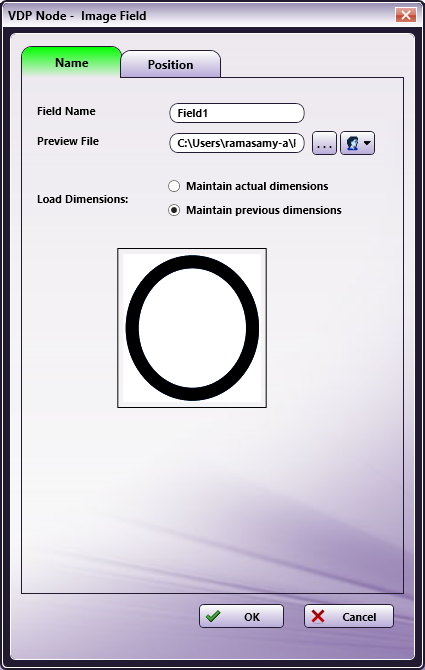
Click the Name Tab to open it. Use this tab to specify details about the Field Name and the Preview File.
- Field Name: A running number is appended to the Field, e.g., Field 1, Field 2. This field can contain only alphanumeric values and spaces.
- Preview File: Click the ellipses ( … ) button to upload a new Preview File. As an alternative, user can manually input the file path of Preview File to be uploaded.
- Load Dimensions:
-
Maintain actual dimensions: When uploading a new preview file by clicking on ellipses (…) button, new preview will be loaded with actual/original dimensions.
-
Maintain previous dimensions: When uploading a new preview file by clicking on ellipses (…) button, new preview file will be loaded with previous/existing dimensions.
-
-
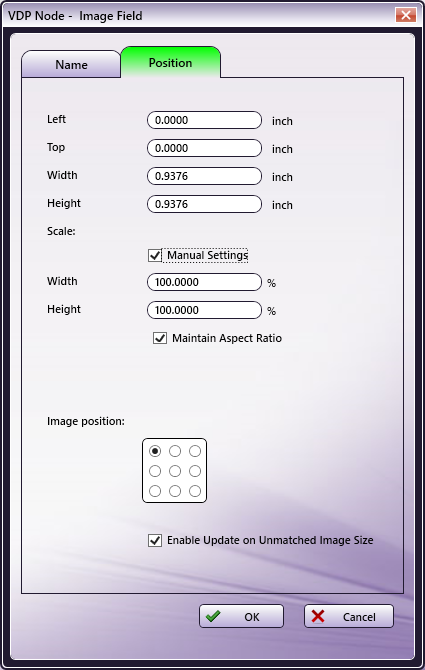
Click the Position Tab to open it. Specify the position where the field is shown. There are four options: Left, Top, Width, and Height for Field scaling and two options: Scale and Image position for Image scaling inside the field.
-
Scale includes below options:
- Manual settings:
-
Manual settings (Checked): Allows to specify scaling Width/Height in terms of percentage. Original image will be scaled to defined Width/Height percentage.
If the Maintain Aspect Ratio checkbox is selected, any change in one of the values will be automatically applied to the other values.
-
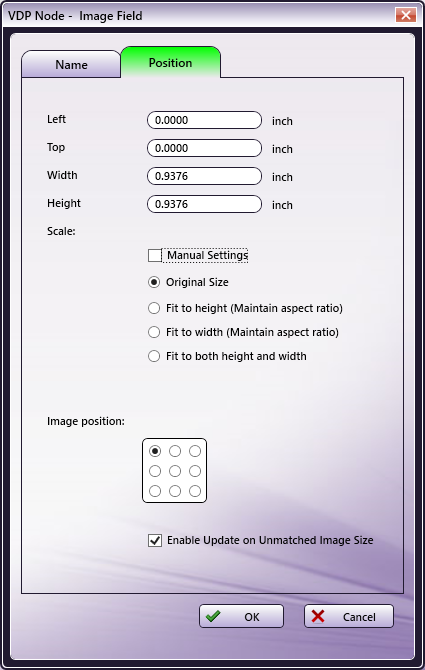
Manual settings (Unchecked): Select one of four options: Original Size, Fit to height, Fit to width, Fit to both height and width.
Original Size: Image will be displayed with original dimensions.
Fit to height: Stretch the image to fit the height of the field area.
Fit to width: Stretch the image to fit the width of the field area.
Fit to both height and width: Image fills the field area and no aspect ratio will be maintained.
-
-
Image position: Allows to align image in different positions with respect to field: LeftTop, CenterTop, RightTop, LeftCenter, Center, RightCenter, LeftBottom, CenterBottom, RightBottom.
If image dimensions are greater than field dimensions, excess part of image will not be shown.

-
Enable Update on Unmatched Image Size: When the checkbox is selected, the VDP Node routes input files to an error folder if the image size does not match the size specified on the Position Tab. When unselected, the node ignores such errors and continues to process the file without routing it to an error folder.
-
Once the settings are specified, save the values by clicking the OK button. If Cancel is clicked, no changes are saved. If OK is clicked, the settings specified are then displayed in the Preview area of the VDP Node window.
-
To Delete the settings, click the Delete Fields button. A confirmation pop-up opens:
-
Click Yes to delete all field values or No to cancel the request.
Notes:
-
At least one field must be added to save the changes. A maximum of 20 fields per page are allowed as well as a maximum of 100 Fields for a single setting. When either of these values are exceeded, a warning pop-up opens stating that the field will not be added.
-
Refer to the XLSX/CSV Input Data Configuration section later in this document for a sample illustration of variable data and UI configuration.
-
PDF Image Handling
The VDP Node inserts the vector image (PDF image) as noted below:
-
The backend determines whether to insert the whole PDF page or just the image inside the PDF.
-
The backend supports the insertion of one PDF page (but not multiple PDF pages).
Text Field Option
When a Text Field is added, Text Field data from the variable data file (XLSX/CSV) is inserted.
-
Click the Add New button. The VDP Node - Text Field pop-up opens.
-
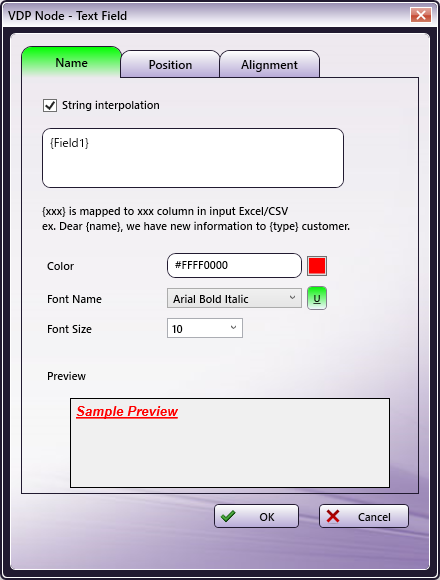
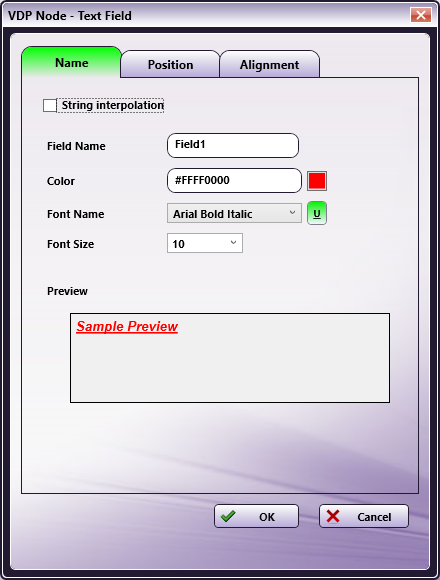
Click the Name Tab to open it. Use this tab to specify details about the Field Name.
- String Interpolation: When String interpolation is checked, field name can be given as a formatted string, e.g.. Dear {StudentName}, this is to certify that you have successfully completed {CourseName} on March 2017.
Notes:
-
In the above mentioned example {StudentName} and {CourseName} are variable fields.
-
If formatted string has only right-to-left characters (e.g. Arabic character), the Field Name should also have the same type of font, i.e., should not contain left-to-right characters (e.g. English character).
-
When String interpolation is unchecked, Field Name need to be mapped.
-
When setting a Barcode Field, you can link it to the Text Field name registered without checking String Interpolation.
-
Color: This is a read-only field that displays the text value of the Color. Click the color selection option, and then select a color value.
-
Font Name: Select a value from the drop-down. The drop-down lists all available system fonts. Click the icon to add underlining to the text value.
-
Font Size: Select a value from the drop-down. Decimal values are supported.
-
Preview: A real-time image displays the selected settings.
-
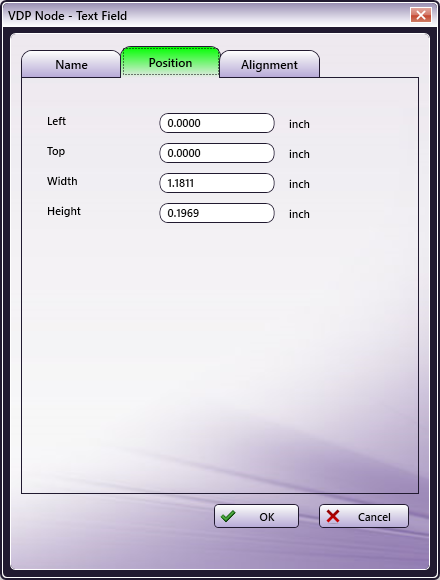
Click the Position Tab to open it. Specify the position where the text field is shown. There are four options: Left, Top, Width, Height.
-
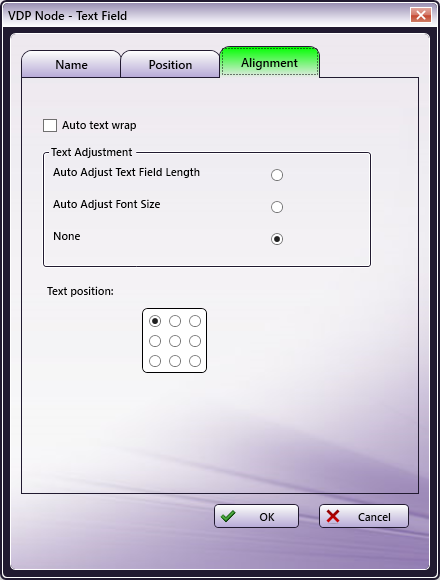
Click the Alignment Tab to open it. Use this tab to specify alignment details for the Field Name/ Interpolated String.
-
Auto text wrap: Check/ Uncheck to wrap text.When Auto text wrap is ON then Text will only wrap if there are spaces present in the given text.
-
Text Adjustment: Select one of three radio buttons: Auto Adjust Text Field Length, Auto Adjust Font Size, or None.
- Auto Adjust Text Field Length: Dimensions (Width or Height) of the Text Field will be adjusted to fit the given text in the output file. When Auto text wrap is checked, height of the Text Field will be adjusted. When Auto text wrap is unchecked, width of the Text Field will be adjusted.
Note: The text displayed in Preview area will not match the output, when the text given in Input XLSX or CSV file does not fit within the dimensions of Text Field. Especially when the user wants to verify the output in Preview area using some variable data, the following difference could occur.
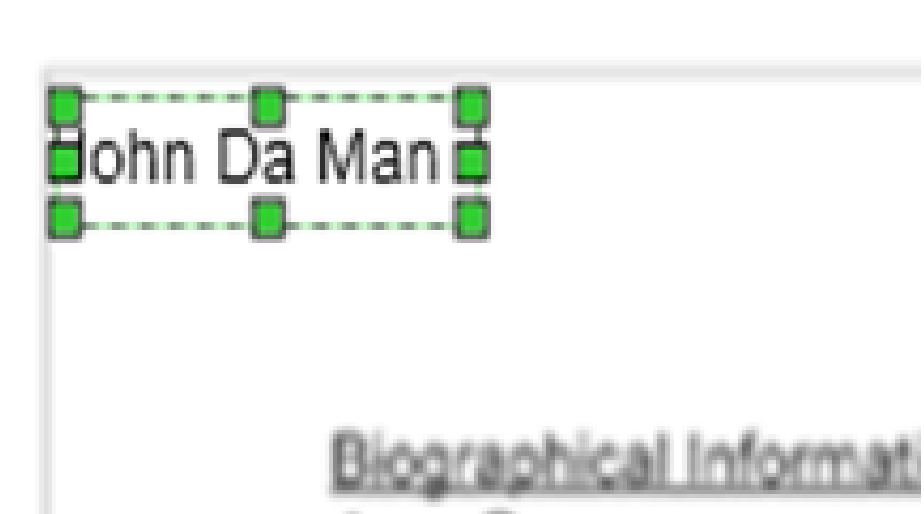
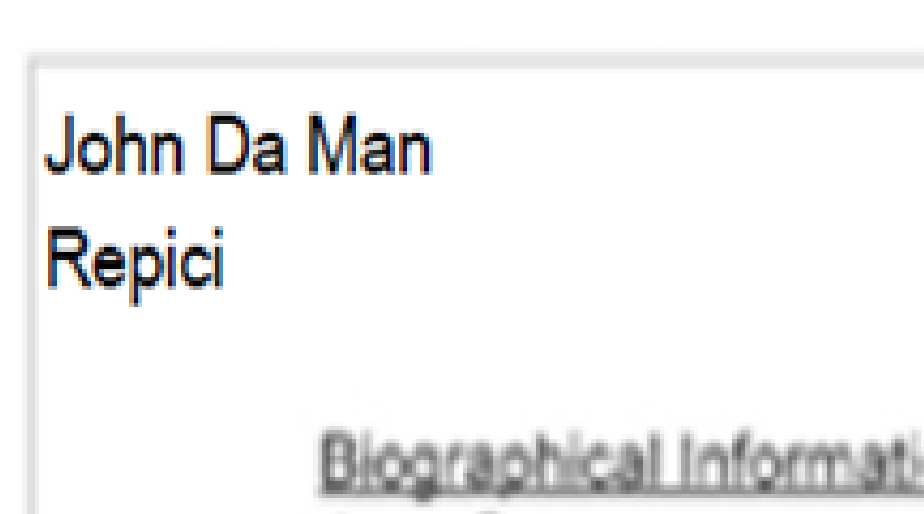
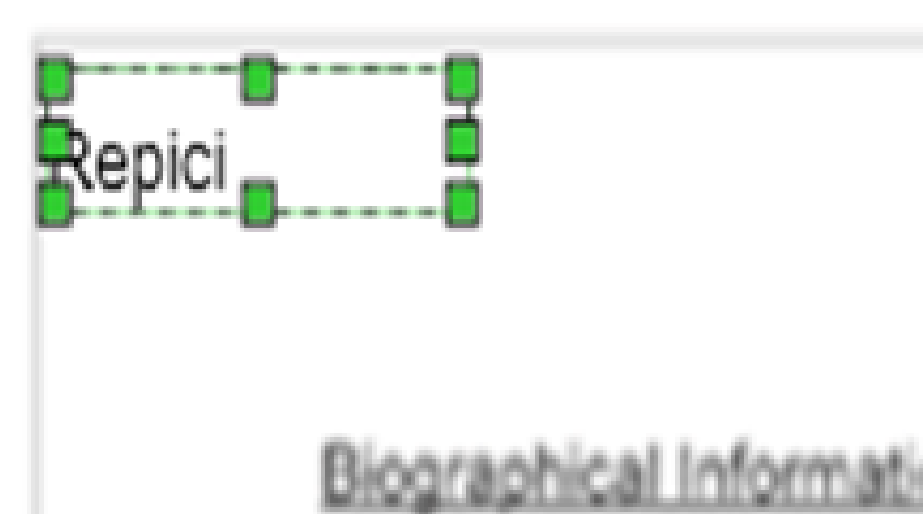
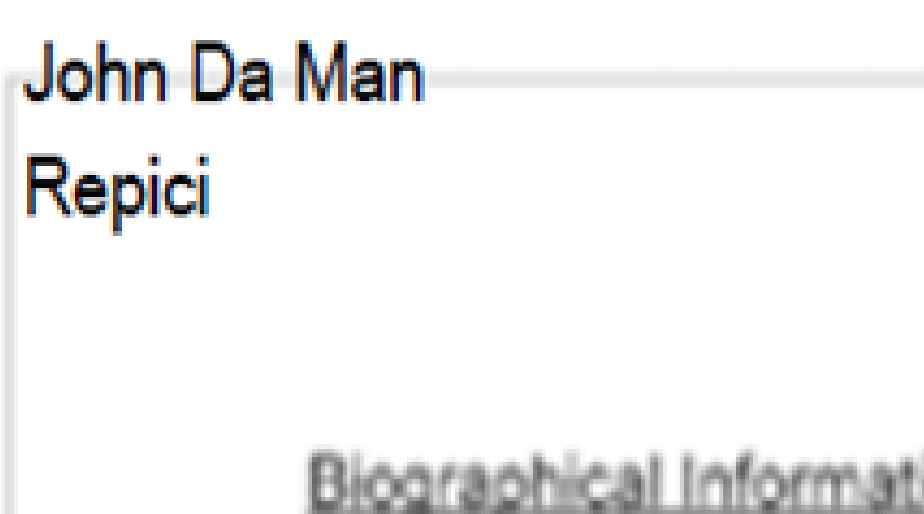
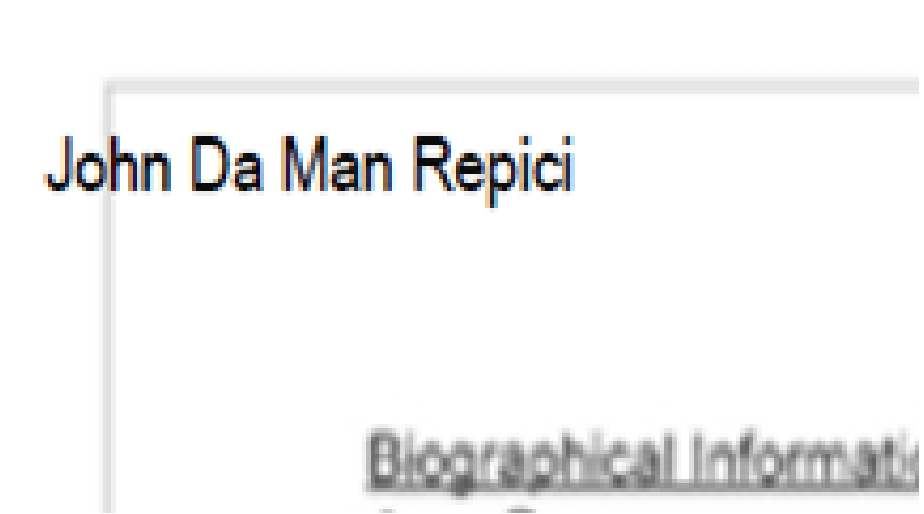
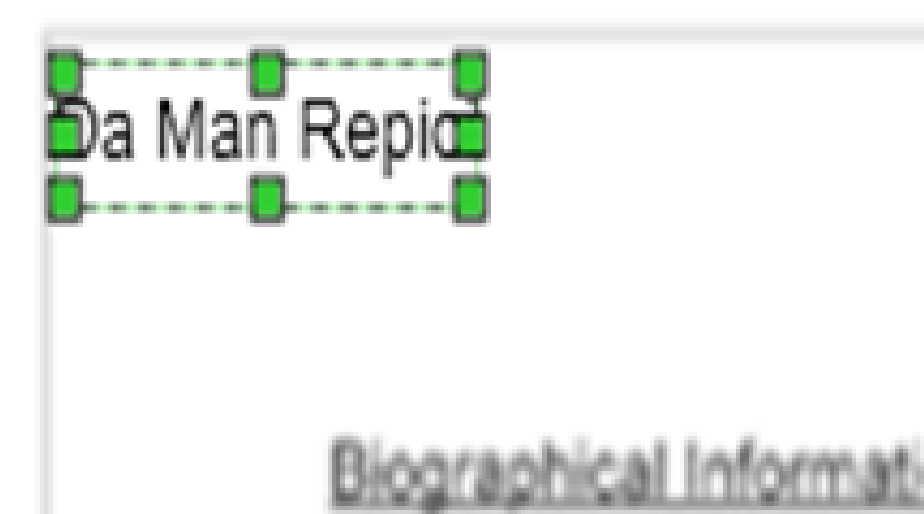
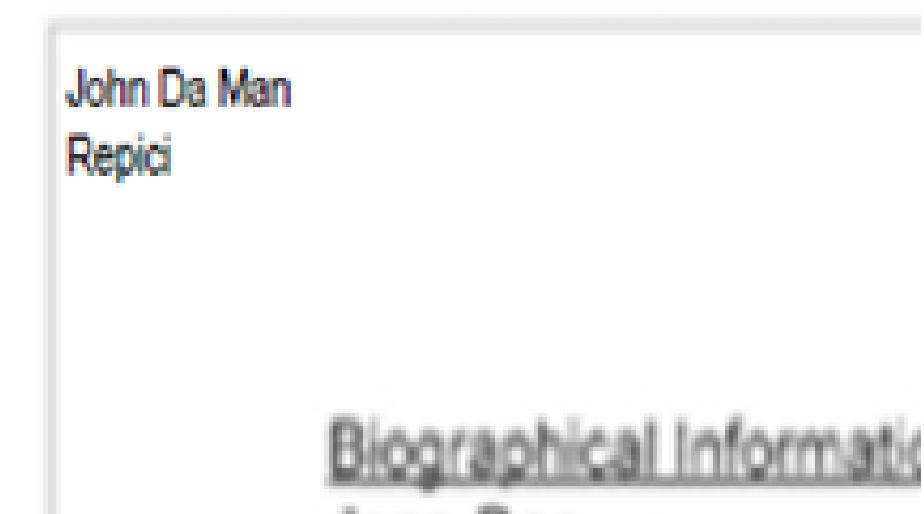
Auto Adjust Text Field Length – ON & Auto text wrap – ON:
| Text Position | Preview | Workflow Output |
|---|---|---|
Left Top |
 |
 |
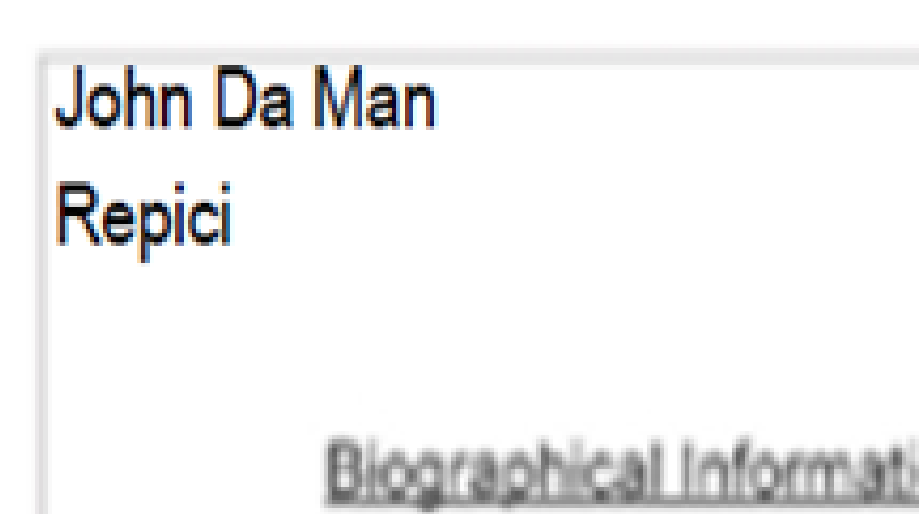
Left Center |
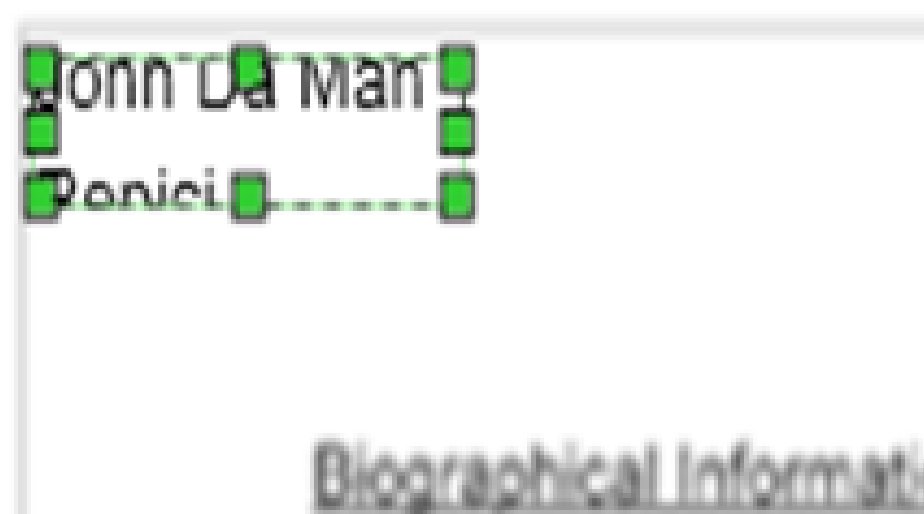 |
 |
Left Bottom |
 |
 |
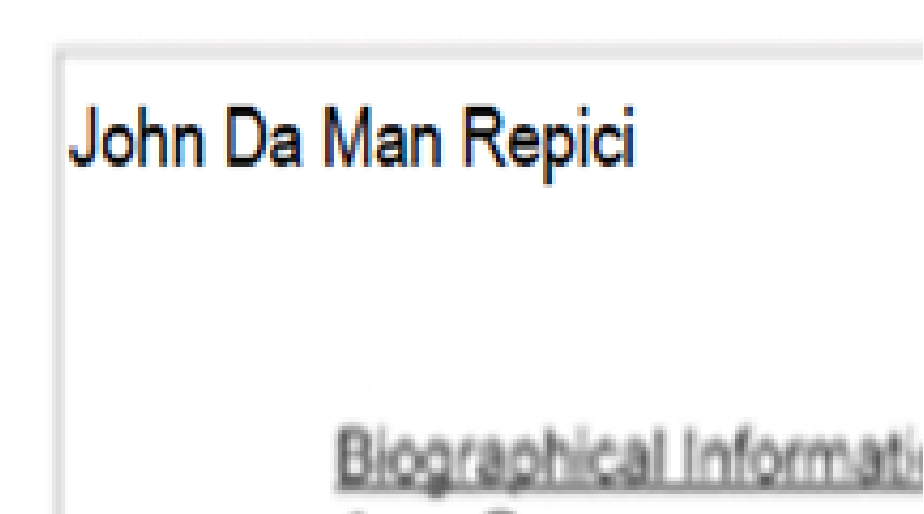
Auto Adjust Text Field Length – ON & Auto text wrap – OFF:
| Text Position | Preview | Workflow Output |
|---|---|---|
| Left Top |
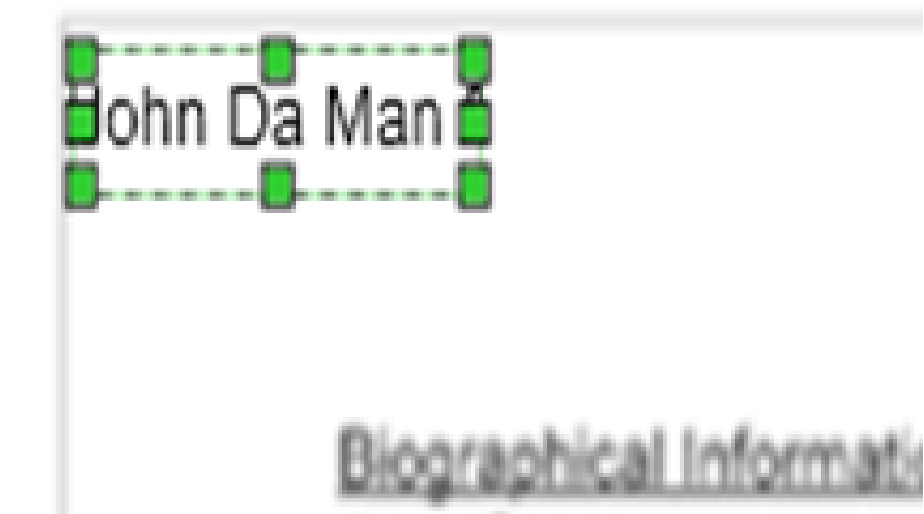 |
 |
Center Top |
 |
 |
Right Top |
 |
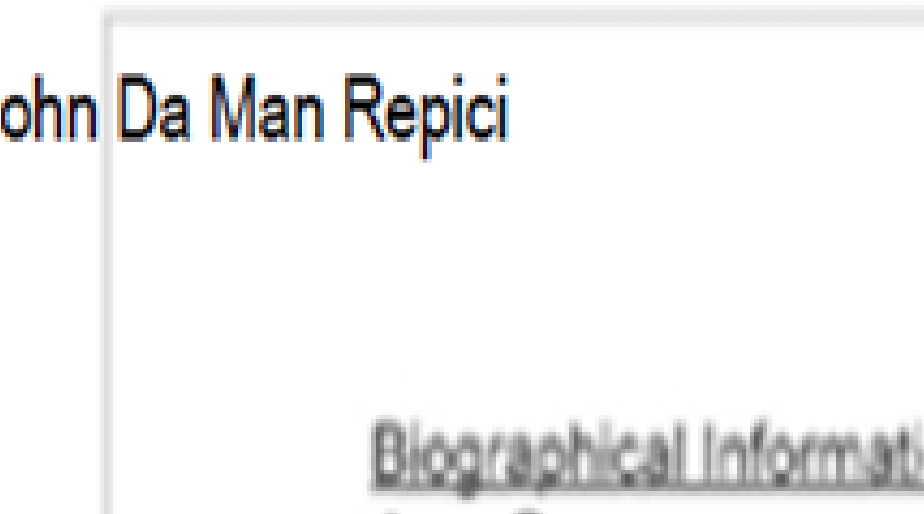 |
- Auto Adjust Font Size: Font size of the text will be adjusted to fit the given text in the output file. Dimensions (Width and Height) of Text Field will not change.
Note: The Font size of text displayed in Preview area will not match the output, when the text given in Input XLSX or CSV file does not fit within the Text Box with the given Font size in UI. Especially when the user wants to verify the output in Preview area using some variable data, the following difference could occur.
Auto Adjust Font Size – ON & Auto text wrap – ON:
| Text Position | Preview | Workflow Output |
|---|---|---|
| Left Top |
 |
 |
| Left Center |
 |
 |
| Left Bottom |
 |
 |
Auto Adjust Font Size – ON & Auto text wrap – OFF:
| Text Position | Preview | Workflow Output |
|---|---|---|
| Left Top |
 |
 |
| Center Top |
 |
 |
| Right Top |
 |
 |
-
Text position: Allows to align text in different positions with respect to field :LeftTop, CenterTop, RightTop, LeftCenter, Center, RightCenter, LeftBottom, CenterBottom, RightBottom.
-
Once the settings are specified, save the values by clicking the OK button. If Cancel is clicked, no changes are saved. If OK is clicked, the settings specified are then displayed in the Preview area of the VDP Node window.
-
To Delete the settings, click the Delete Fields button. A confirmation pop-up opens.
-
Click Yes to delete all field values or No to cancel the request.
Notes:
-
At least one field must be added to save the changes. A maximum of 20 fields per page are allowed as well as a maximum of 100 Fields for a single setting. When either of these values are exceeded, a warning pop-up opens stating that the field will not be added.
-
Refer to the XLSX/CSV Input Data Configuration section later in this document for a sample illustration of variable data and UI configuration.
-
Barcode Field Option
When a Barcode Field is added, Barcode data from the variable data file (XLSX/CSV) is inserted.
-
Click the Add New button. The VDP Node - Barcode Field pop-up opens.
-
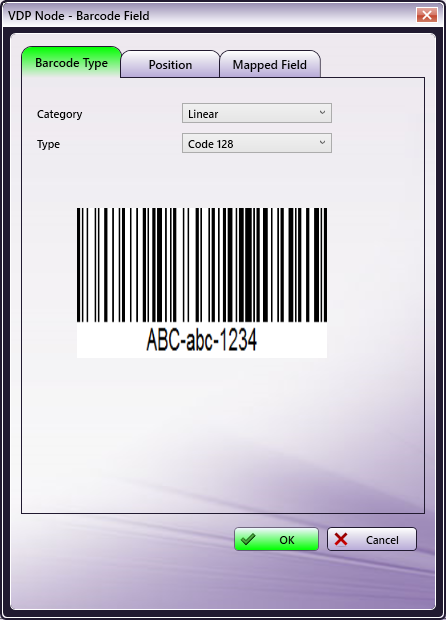
Click the Barcode Type Tab to open it. Use this tab to specify details about the Barcode Type.
- Category: Select the barcode Category from the drop-down.
- Type: Select a barcode Type that supports the selected category value from the drop-down.
- Preview: A real-time image displays the selected settings.
-
Click the Position Tab to open it. Specify the position where the barcode is shown. There are four options: Left, Top, Width, Height for Field scaling and two options: Manual Setting [Check/Uncheck] and Barcode position for Barcode scaling inside the field.
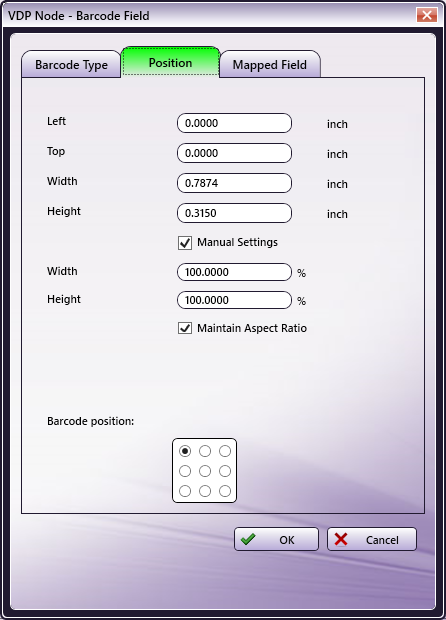
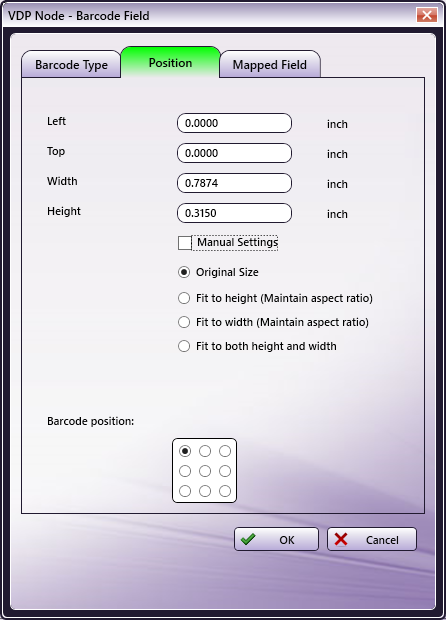
- Manual settings:
-
Manual settings (Checked): Allows to specify scaling Width/Height in terms of percentage. Original image will be scaled to defined Width/Height percentage.
If the Maintain Aspect Ratio checkbox is selected, any change in one of the values will be automatically applied to the other values.
-
Manual settings (Unchecked): Select one of four options: Original Size, Fit to height, Fit to width, Fit to both height and width.
Original Size: Image will be displayed with original dimensions.
Fit to height: Stretch the image to fit the height of the field area.
Fit to width: Stretch the image to fit the width of the field area.
Fit to both height and width: Image fills the field area and no aspect ratio will be maintained.
-
-
Barcode position: Allows to align image in different positions with respect to field: LeftTop, CenterTop, RightTop, LeftCenter, Center, RightCenter, LeftBottom, CenterBottom, RightBottom. If image dimensions are greater than field dimensions, excess part of image will not be shown.
-
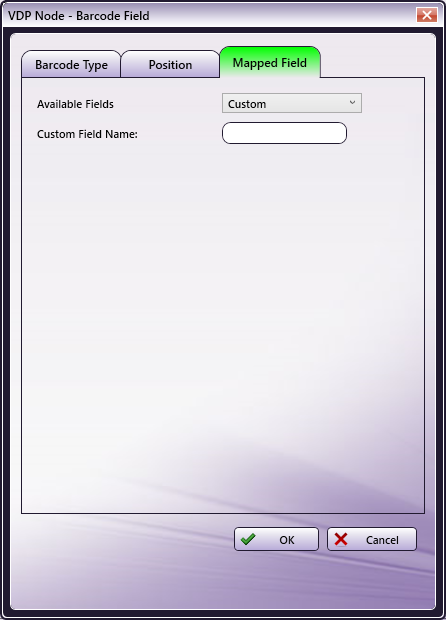
Click the Mapped Fields Tab to open it. Use this tab to specify Barcode Mapping details.
-
Available Fields: Select registered Text Field Name or Custom from the drop-down.
-
Custom Field Name: Enter the Name that will be used to map the field during barcode processing.
-
-
Once the settings are specified, save the values by clicking the OK button. If Cancel is clicked, no changes are saved. If OK is clicked, the settings specified are then displayed in the Preview area of the VDP Node window.
-
To Delete the settings, click the Delete Fields button. A confirmation pop-up opens.
-
Click Yes to delete all field values or No to cancel the request.
Notes:
-
During workflow execution, if non-supported barcode data is found in the VDP file the node displays an error message in the Activity Log of the workflow and the file is moved to the Error Folder.
-
Refer to the Barcode Data Input Formats section later in this document for a list of the supported Type/Format options.
-
Copy/Paste/Replace
Using the right-click context menu, the Copy and Paste options can be used to add fields inside the Preview panel. When Copy is clicked, the settings of the currently selected field are copied.
When Paste is clicked, the copied field will be pasted in the selected field. Any changes made to the original field after the Copy operation has been completed are not applied to the copied version.
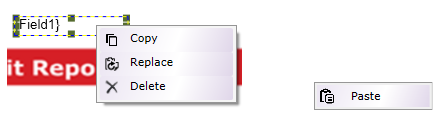
When Replace is clicked currently selected field will be replaced with copied field. Replace will be enabled only if a single field is copied.
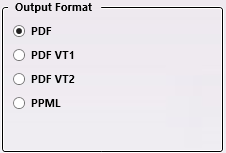
Output Format
In the Output Format section, choose the format for the output file. There are four options: PDF, PDF VT1, PDF VT2, or PPML.
Notes:
-
PDF VT1 and PDF VT2 are special PDF formats. These types of files are assigned the PDF extension.
-
The following metadata will be added at the file-level for all PDF VT2 output format:
- pdfvt2:content (to route content files)
- pdfvt2:reference (to route image files)
-
For PDF VT2 output format, VDP Node produces UI Input File and variable data file as separate PDF files as workflow output. Please refer Limitations section for more information.
-
To integrate and print the PDF VT2 output file, use the print system that support PDF VT2 format. For example, AccurioPress C6100 IC-604.
Page Navigation and Zoom
Navigate through the pages of the input file and control the Zoom ratio by using these functions, located at the bottom of Preview panel:

- Page Navigation: Click on the arrows to navigate through multiple pages of the sample document (when available).
- Zoom Control: Use either the sliding bar or input a numeric value to Zoom in and out of the Preview panel.
XLSX/CSV Input Data Configuration
-
An input folder may be configured using variable data as noted in the example below
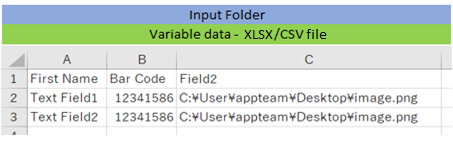
-
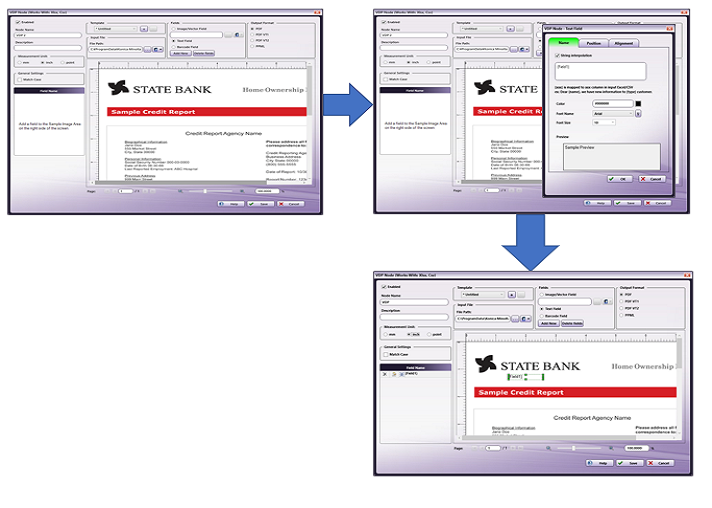
Drag and drop the VDP Node and configure the Field Settings as noted in the UIs below:
-
Image/Vector Field setting in UI

-
Text Field setting in UI
-
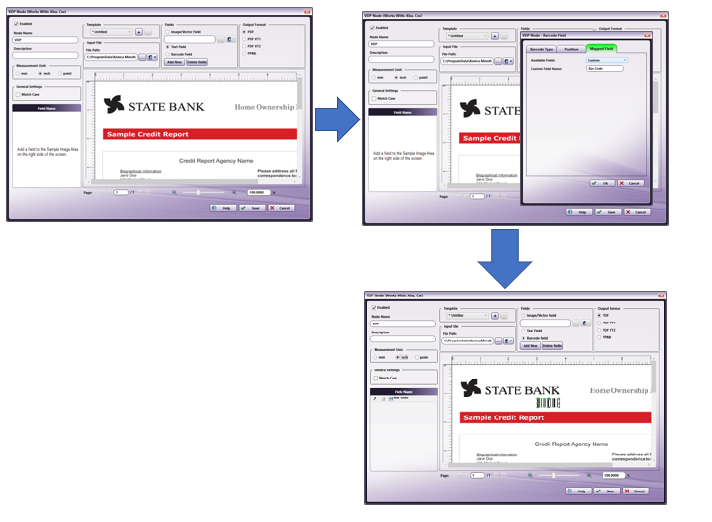
Bar Code Field setting in UI
-
-
Using the VDP Node settings, 3 Image/Vector fields were added in the processes noted above. When a VDP + PDF/image file is moved to the node, data to fill these Image/Vector fields are pulled from the VDP file and added to the document.
-
The following output is generated:
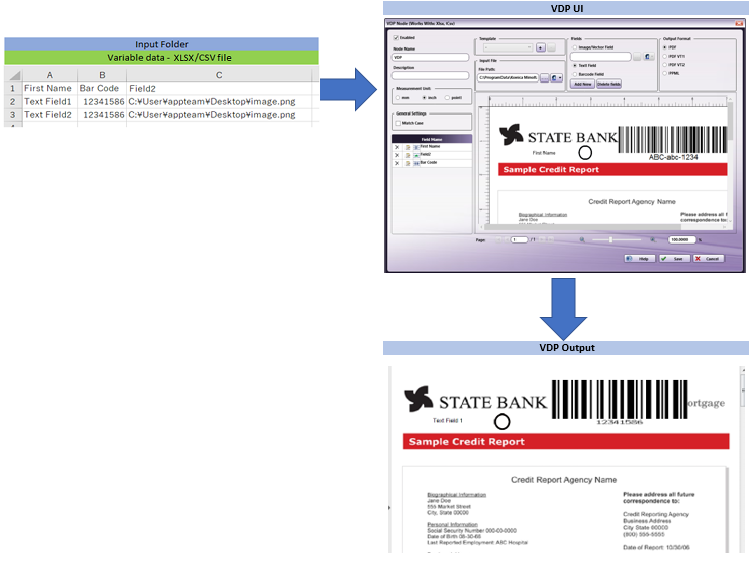
-
This single PDF, PDF VT, or PPML file is then moved on to the next node in the workflow.
Notes:
-
If the input file is PDF, Image/Vector Field Types will only support a one-page PDF file.
-
Refer to the Barcode Data Input Formats section that follows to configure data input formats for Variable Data.
-
Barcode Data Input Formats
The barcode types and data input format supported by the VDP node are noted below:
Note: If the selected barcode Type requires a Check Digit value, the input data must include this value (relevant values noted in the table that follows):
| Category | Type | Data input format | Check Digit |
|---|---|---|---|
| Linear codes | Code 128 | ABC-abc-1234 | |
| Code 11 | 0123-45678- | Yes (2 digits) | |
| Code 2of5 Interleaved | 1234567890 | ||
| Code 39 | ABC-1234 | ||
| Code 39 Full ASCII | Aa-1234 | ||
| Code 93 | ABC-1234-/+aC | Yes (2 digits) | |
| Flattermarken | 123456789 | ||
| GS1 128(UCC/EAN-128) | [01]98898765432106[3202]012345[15]991231 | ||
| MSI | 012345674 | Yes (1 digit) | |
| Pharma 1 Track | 123456 | ||
| Pharma 2 Track | 123456 | ||
| Telepen | ABC-abc-1234 | ||
| PostalCodes | DAFT | DAFTFDATATFDTFAD | |
| Japanese Postal | 1234567 | ||
| Korean | 1234569 | ||
| Planet Code | 123456789014 | Yes (1 digit) | |
| Royal Mail | 1234567ABCM | Yes (1 digit) | |
| Postnet 6 | 123455 | Yes (1 digit) | |
| Postnet 10 | 1234567895 | Yes (1 digit) | |
| Postnet 12 | 123456789014 | Yes (1 digit) | |
| GS1 DataBar | GS1 Databar | 01234567890128 | Yes (1 digit) |
| GS1 Databar Stacked | 12345678901231 | Yes (1 digit) | |
| GS1 Databar Stacked Omni | 12345678901231 | Yes (1 digit) | |
| GS1 Databar Limited | 01234567890128 | Yes (1 digit) | |
| GS1 Databar Expanded | [01]90012345678908[3103]001750 | Yes (1 digit) | |
| GS1 Databar Expanded Stacked | [01]98898765432106[3202]012345[15]991231 | Yes (1 digit) | |
| GS1 128 Composite | [01]01234567890128&&[10]1234567ABCDEFG | Yes (1 digit) | |
| GS1 Databar Composite | 12345678901231&&[11]990102 | Yes (1 digit) | |
| GS1 Databar Stacked Limited Composite | 12345678901231&&[17]010200 | Yes (1 digit) | |
| GS1 Databar Expanded Composite | [01]01234567890128[3103]001234&&[91]1A2B3C4D5E | Yes (1 digit) | |
| EAN/UPC | EAN 8 | 90311017 | Yes (1 digit) |
| EAN 13 | 9780201379624 | Yes (1 digit) | |
| EAN 8 Composite | 76543210+54321 | Yes (1 digit) | |
| EAN 13 Composite | 2109876543210+54321 | Yes (1 digit) | |
| UPC A | 725272730706 | Yes (1 digit) | |
| UPC E | 01234565 | Yes (1 digit) | |
| UPC A Composite | 123456789012+12345 | Yes (1 digit) | |
| UPC E Composite | 12345670+54685 | Yes (1 digit) | |
| 2D BarCodes | QR Code | 123456ABDC | |
| Data matrix | 123456ABDC | ||
| Aztec | 123456ABDC | ||
| Maxicode | 123456ABDC | ||
| Micro PDF | 123456ABDC | ||
| PDF 417 | 123456ABDC | ||
| Micro QR | ABC-abc-1234 | ||
| ISBN Codes | ISBN 13 | 9781234567897 | Yes (1 digit) |
Limitations
Important!
-
Transparency is only supported when both the input file and the Image Field variable data are in PDF format. The transparent portion is displayed as white in the preview.
-
If a multi-TIFF file containing variable data is submitted to an Image Field, only the data from the first page is inserted into the output. The other page data is ignored.
-
An Image Field only supports a single-page PDF file. If a multi-page PDF is submitted to an Image Field, the VDP Node displays an error message.
-
The text box of the VDP UI may allow invalid/lengthy input. Click off the field and Dispatcher will auto-correct such entries by truncating them to either the minimum or the maximum value of characters the text box supports. This is the default behavior of the application.
-
The VDP Node will not support a mixed page size Template file.
-
A multi-Tiff file with JPEG compression is not supported in VDP node because the PoDoFo library for PDF manipulation does not support this file.
-
The VDP Node cannot process multi-line text for the Text Field so it should not be included in the XLSX/CSV file.
-
The VDP node cannot support text Transparency, since the PoDoFo functionality cannot properly preserve the graphic state of the text to render its transparency.
-
The VDP node supports a maximum input of 110 MB (for all variable data files and Template files).
-
The VDP Node can support up to a 100 page Template; however, there are restrictions to the input record and the output page support. The table that follows provides specifics:
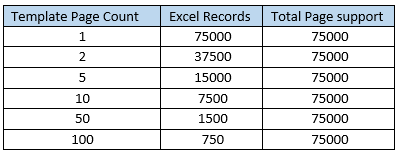
Note: Page Support = Template Page Count. Records should be less than or equal to 75,000 pages.
-
The current Version of VDP writes to the ENVIRONMENT variable for ZINT library dependency. A restart is required after the installation of VDP to perform Barcode insertion correctly.
-
For composite data, variable data should contain primary data and other data combined by &&. Since && is used to combine data, any primary data/other data that contains && will not be processed correctly.
-
If the input Check Digit value is invalid, the value is automatically corrected by the ZINT library. This will cause the output to be different from the input.
-
The VDP library only accepts CR+LF or LF as newline code. If CR is used as newline code, this code must be converted to one of the supported values using conversion software.
-
Template files must be PDF version 1.3 and above.
-
Text wrap in text field can be applied only of the string contains a space in between.
-
Replace is applicable only when a single field is copied.
-
VDP doesn’t support format of date/time/currency or etc. of XLSX file cell.
-
Variable data PDF file produced in PDF VT2 format is applicable only to Image Field type configured. Text Field and Barcode Field variable data is directly embedded to Input File and produced as output PDF.