Running Workflows
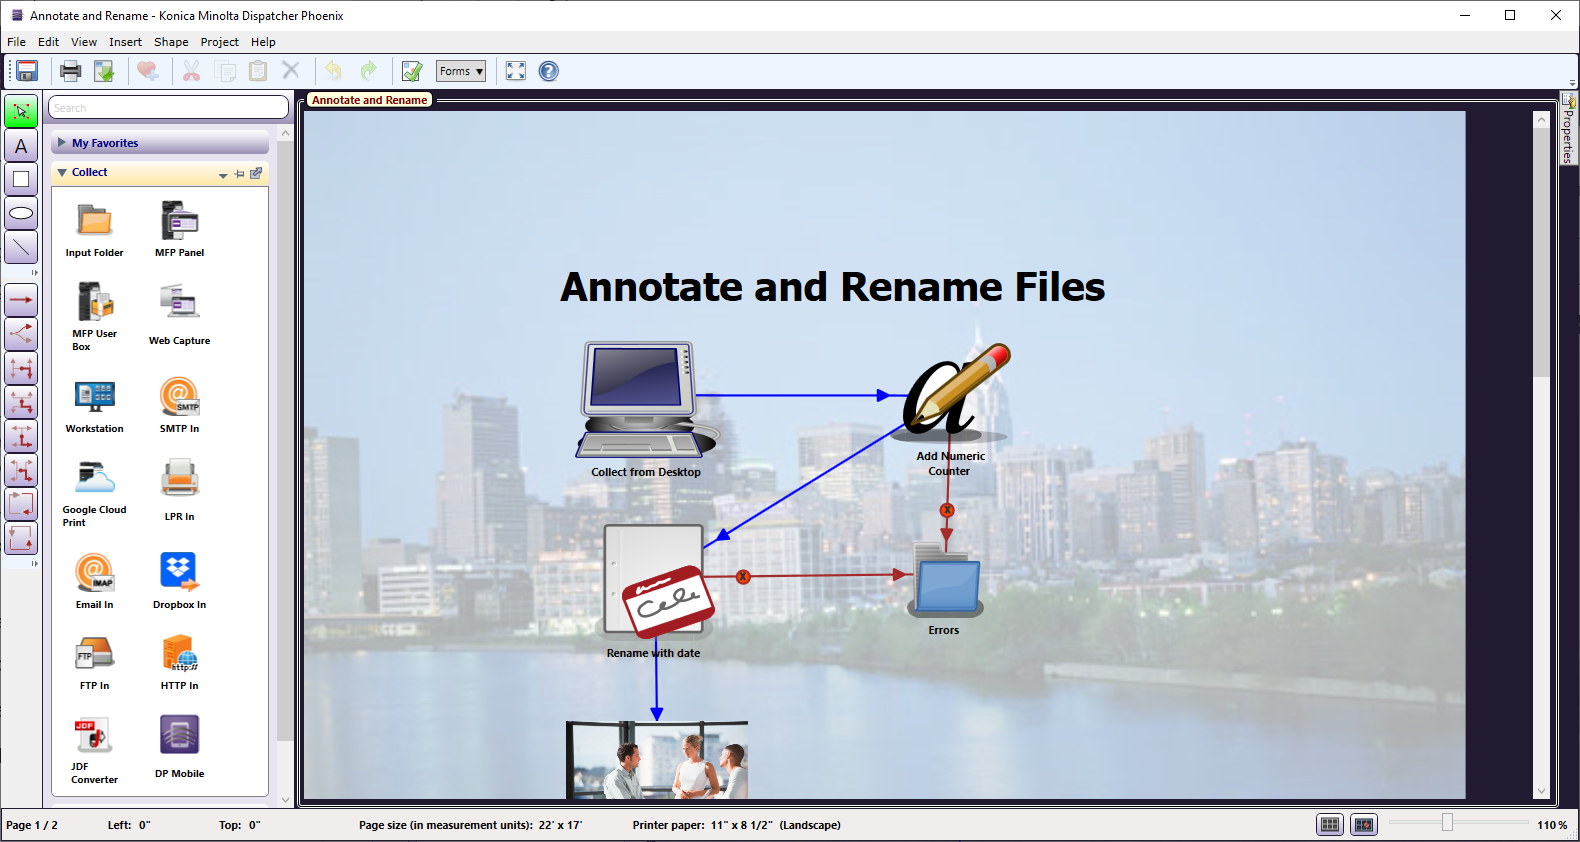
The first time you launch the application, there will be sample workflows for you to use, to get acquainted with the application. The screen will look similar to the one below.
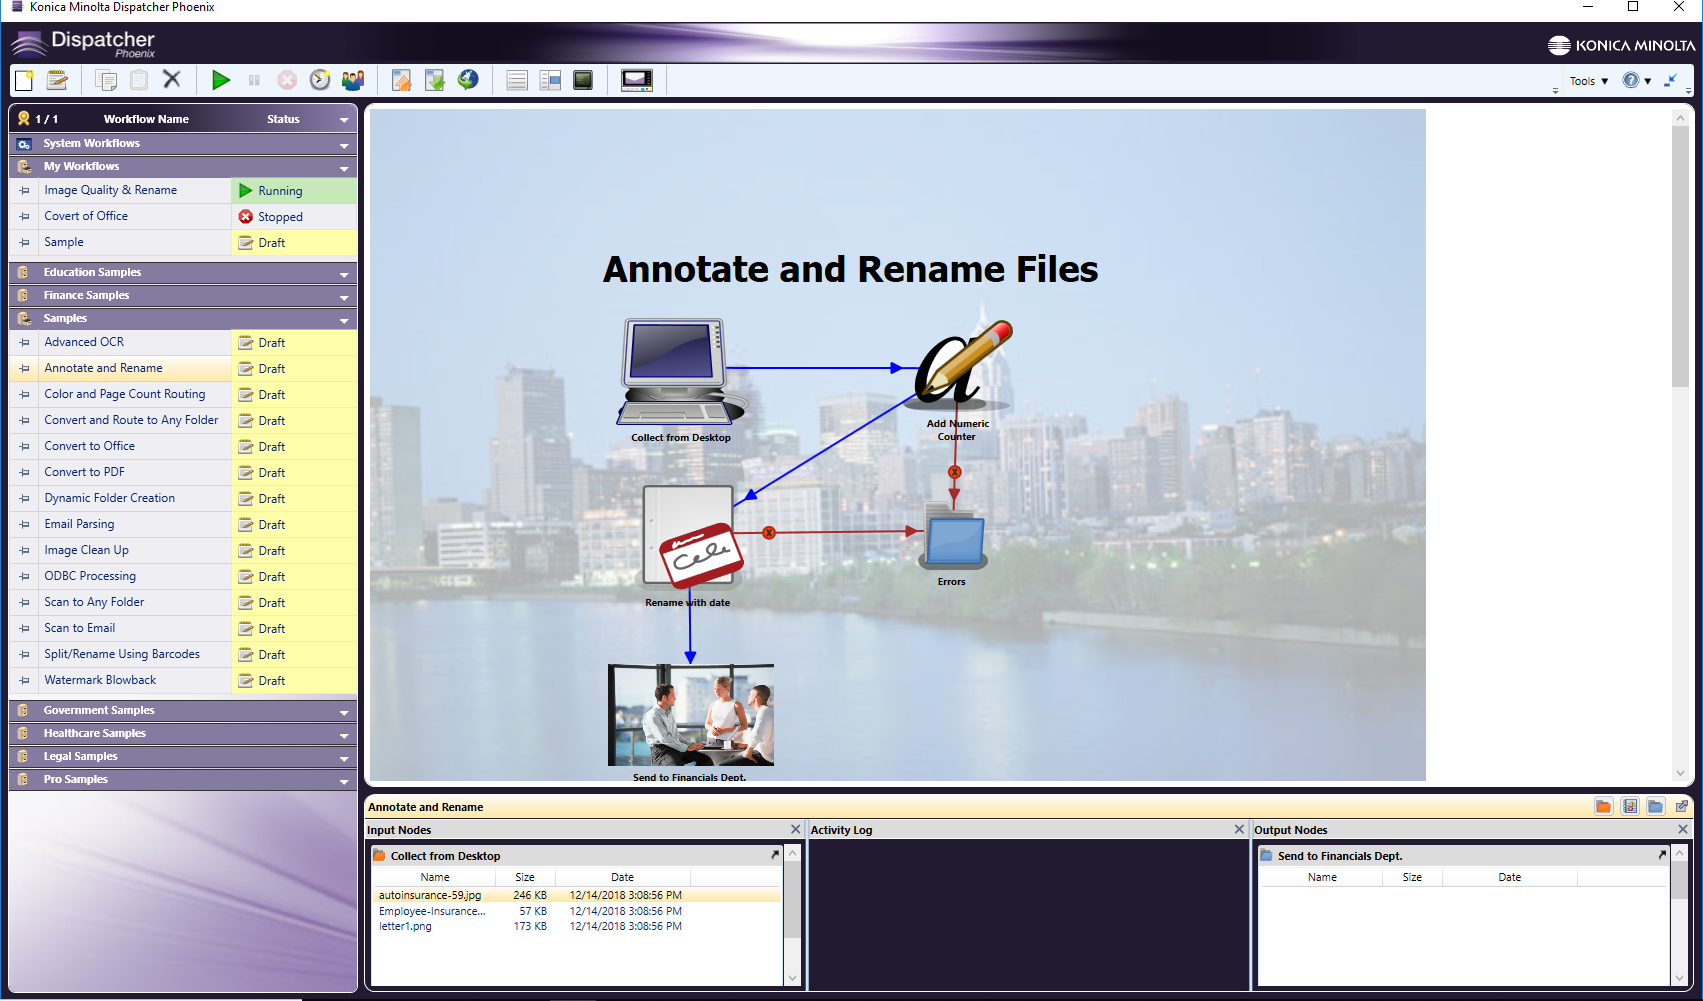
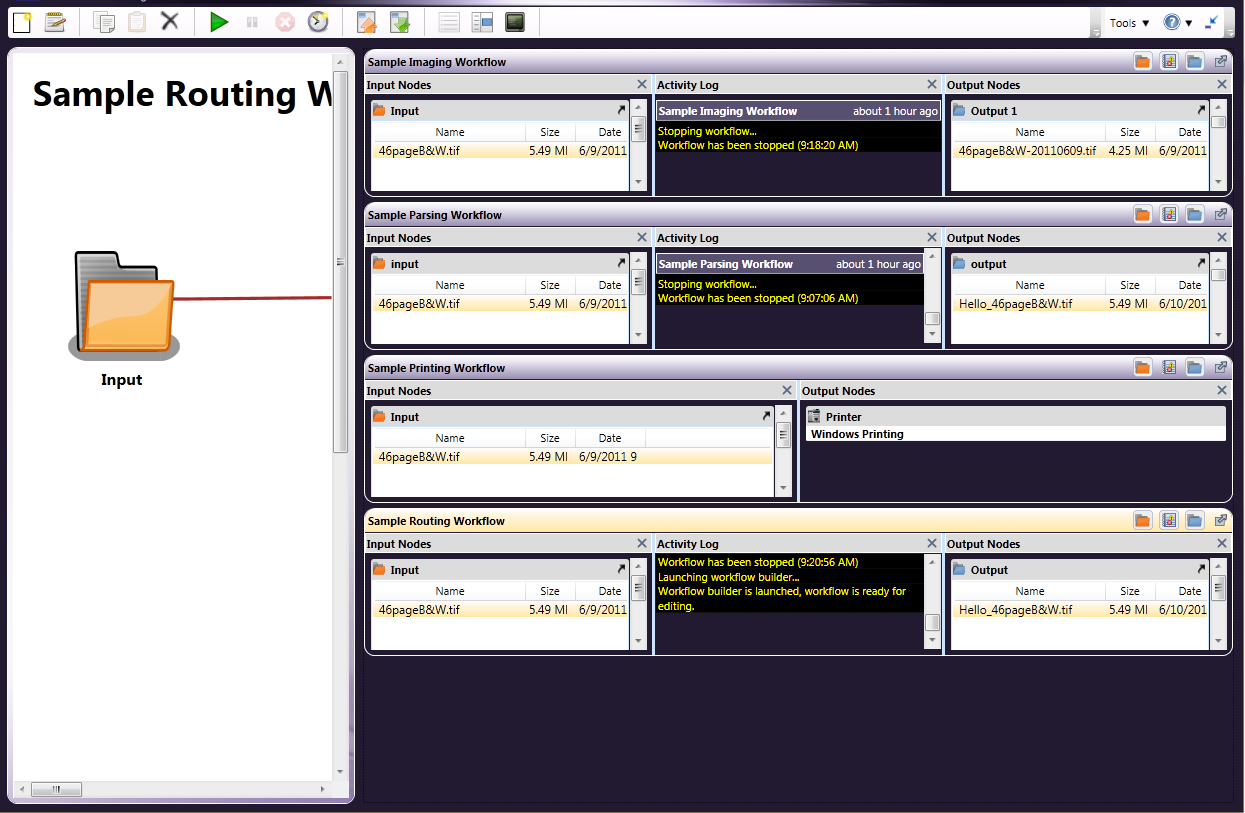
Using the pushpin to the left of the workflow name (in the Workflow List), you can decide whether to view the workflow steps in the large window on the right (not pinned, as above), or in a small view bottom left.
Both views have a tool bar for your viewing preferences, allowing you to Zoom In and Out, Fit to Width, show the Whole Page, or display as Two Pages (for a large workflow which actually uses at least 2 pages).
Workflow List, Preview and Activity Pane
Just after the menu icons (to the right of the clock icon) there are three icons for showing/hiding the Workflow List, the Workflow, or the Activity Pane for pinned workflows.
The Workflow List contains a column for Status. The Status column displays what the workflow is doing at the current time. Status options include:
-
Draft - indicates a new workflow that has not yet been validated in the Workflow Builder
-
Processing - the workflow is active and running
-
Stopped - indicates that the workflow is not running or scheduled to run
-
Scheduled - tells you that the workflow is scheduled and activated
-
Paused - shows that a workflow is temporarily paused
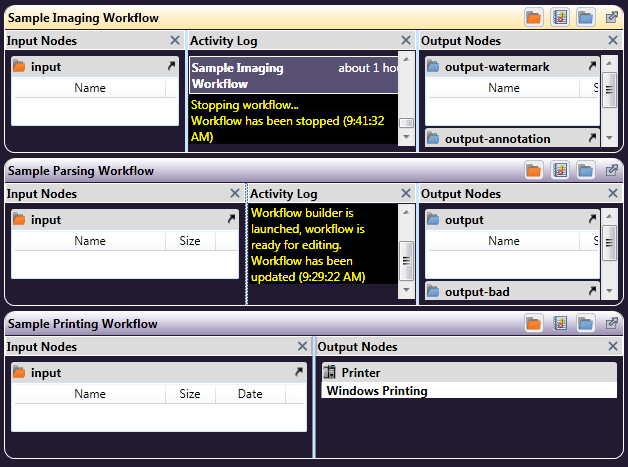
This example shows the application window with the Workflow List hidden.
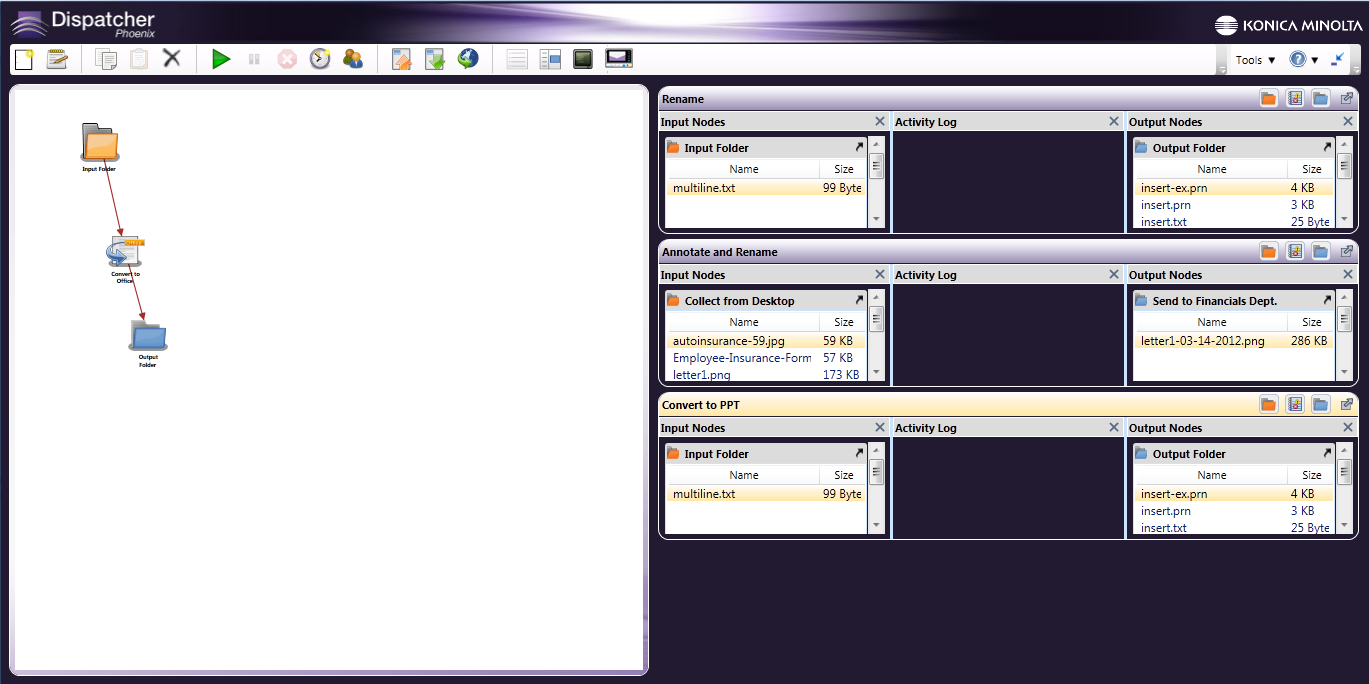
Pin the workflows and scroll through the Activity Pane of each of them, to review the Input, Activity Log, and Output. You can also stretch the length or width of a column, by dragging it to the desired size.
There are icons in the upper right of each workflow’s Activity Pane. The first icon toggles the view of the Input, the second shows or hides the Activity Log, and the third toggles a view of the Output. Use the icon of an arrow coming out of a box to have the entire Activity Pane for a workflow “float” anywhere on the screen.
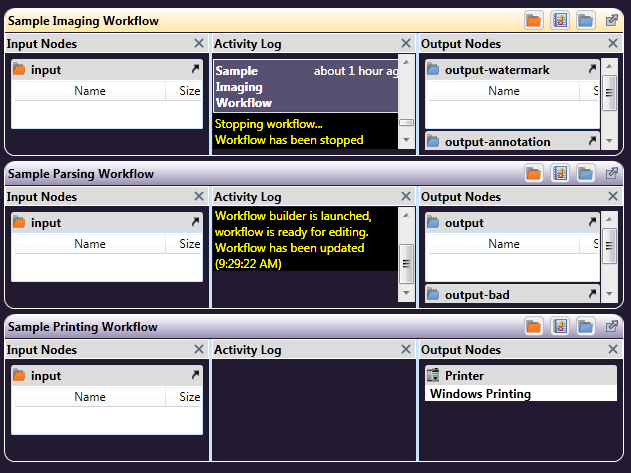
In the example below, the Activity Log section has been hidden:
Run a Valid Workflow
If you know the workflows in the list are valid, select a workflow and click the Run icon ( ). When you do this, the workflow is read, validated, and then run. If the workflow is valid, the status of the workflow will change to Running, then Processing. The Activity Log, in the right pane, will display the workflow steps as they are performed.
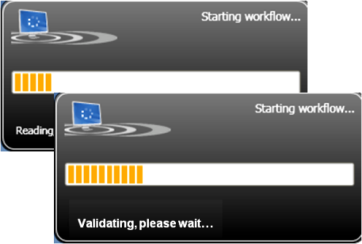
When you click on the Run icon (), a Starting workflow notice will display.
Running Multiple Workflows: To run multiple workflows from the same or different Folders, select the workflows from the Workflow List; then click on the Start Workflow icon. All the workflows will be validated and then run. If one workflow fails validation, the rest of the workflows in the list will be stopped
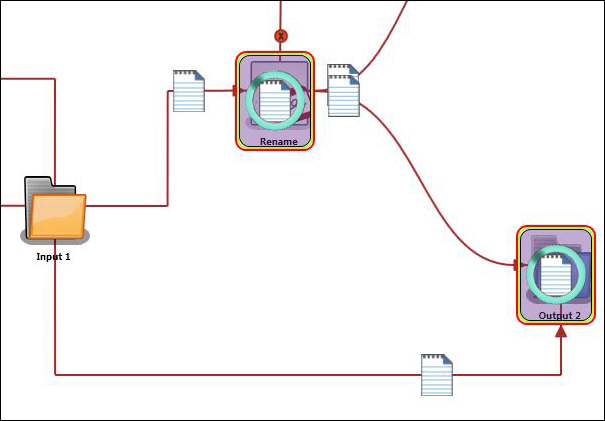
The following figure illustrates a running workflow:
Edit a Workflow
If you double-click on or select a stopped workflow in the list and click on the Edit icon, Dispatcher Phoenix will open it in the Workflow Builder so you can make any changes required. To Edit a running or scheduled workflow, it must first be stopped or de-activated. The Workflow Builder will open the selected workflow for editing.
Saving the Workflow
Once you have edited the workflow, you should save it by either clicking on the Save icon or choosing Save from the File pull-down menu. Once the workflow has been saved, the Workflow Builder window closes, and you will return to the main application screen.
Workflow Animation
When a workflow is running, you will be able to see the nodes acting upon and transitioning files from one location to another. All activities can be viewed on the workflow pane on the main application screen.
Note: If the workflow window has been closed, you will not see the animation. However, it should also be noted that the animation does not run at all when not displayed and, thus, will not use any system resources.
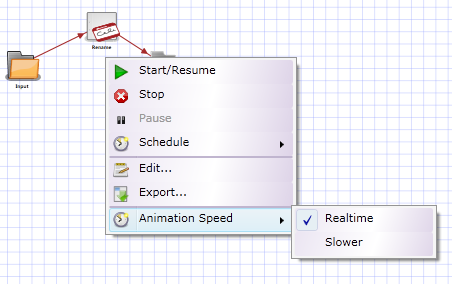
The workflow animation can be viewed either in real-time or slower. Some workflows are more processing-intensive than other others. For those “lighter” workflows, the animation may progress too quickly to effectively be seen on screen. To slow down the animation of a workflow, right-click on the workflow window. Select Animation Speed > Slower. Alternatively, you can select Realtime to set the speed back to the default.
You may elect not to show animations. From the Tools menu in the upper right, click Enable Animations to deselect the option (the checkmark will disappear). To re-enable animations, repeat this operation such that the checkmark beside Enable Animations reappears.
Schedule a Workflow
You can schedule when and how often you want a workflow to run, or even run a workflow as a Service.
Note: An activated, scheduled workflow will use up a license.
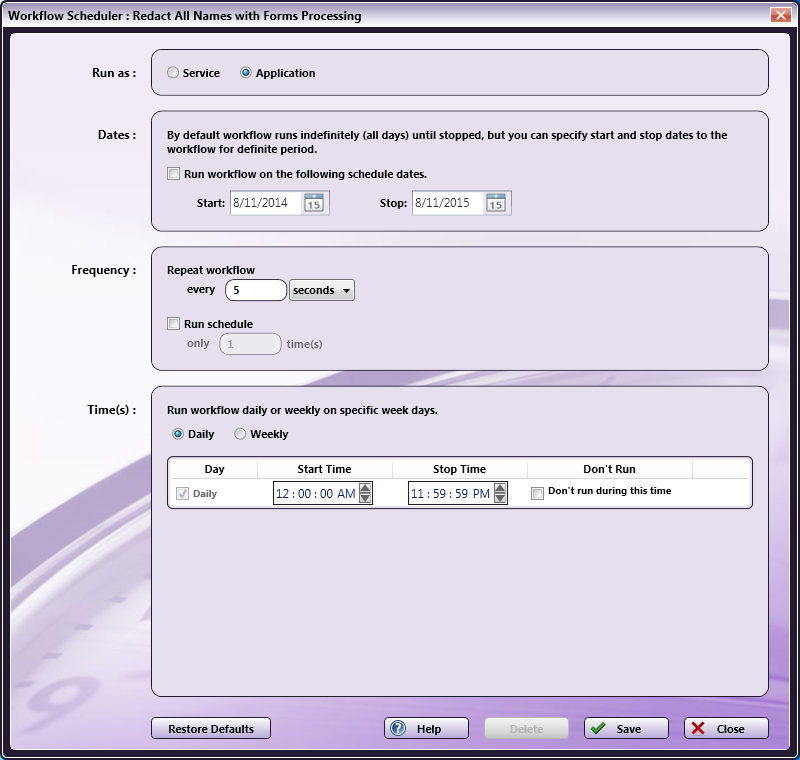
To schedule a workflow, click on the Workflow Scheduler button on the top tool bar of the main application screen. The Workflow Scheduler window appears, as in the following illustration:
Do the following:
-
Use the Run as section to specify how to run the workflow. Options are:
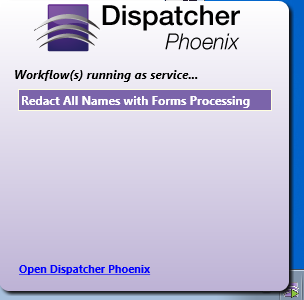
- To run the workflow continually while the PC is on (whether the Dispatcher Phoenix application is open or not), select the Service radio button under Run as. An icon will appear in the System Tray while any workflows are set to run as a service. Clicking the icon in the system tray will bring up a list of all jobs currently set to run as a service. This list is not interactive, however, the application can be opened via the Open Dispatcher Phoenix link. If the computer is restarted, these jobs will continue running as soon as the computer is ready.
Note: You can run a workflow as a service without having to configure any dates/times.
- To set up a schedule for the workflow, select the Application radio button.
-
Use the Dates section to specify Start and End dates for the workflow. Do the following:
-
Check the Run workflow on the following schedule dates box.
-
Choose the start date by clicking on the Start calendar icon.
-
Choose the end date by clicking on the Stop calendar icon.
Note: A new schedule will show the current date and time by default. However, a previously saved schedule will display the original set date and time, which will, likely, be in the past. This may need to be updated prior to running the workflow.
-
-
Use the Frequency section to specify when and how often to run the workflow. You can:
-
Specify to run the workflow every “x” number of seconds, minutes, or hours using the Repeat workflow every fields.
-
Specify to run only “x” number of times by checking the Run schedule box and then entering a value in the blank field below. If you schedule the workflow to run only a certain amount of times within a scheduled time period, Dispatcher Phoenix will try and collect files during that time period; each collection attempt will decrement the “Run only” counter.
-
-
Use the Time(s) section to specify a daily/weekly schedule for the workflow. Do the following:
-
Click the Daily radio button to specify a daily schedule for the workflow; then click on the two-digit hour, minutes, seconds, and AM/PM fields under Start Time and Stop Time and use the arrows to change the time.
-
Click the Weekly radio button to specify a weekly schedule for the workflow. Mark the day that you want to run the workflow using the Day boxes; then click on the two-digit hour, minutes, seconds, and AM/PM fields under Start Time and Stop Time and use the arrows to change the time.
-
Don’t Run during this time: Check the Don’t run during this time box to set a time period when the scheduled workflow should not run. For example, if you are scheduling a big job and you don’t want to interfere with daily processes, you could set the Don’t run time to between 08:00:00 AM and 05:00:00 PM.
Note: The counter will start over at the beginning of every period in which the workflow is scheduled to run. This means that if the workflow is scheduled to run a certain number of times, and also scheduled NOT to run at specific times, the counter will be reset after that restricted time is over.
-
-
When you have finished specifying scheduling options, do the following:
-
To restore defaults, select the Restore Defaults button.
-
To delete the schedule, select the Delete button.
-
To save and start the schedule for the workflow, select the Save button.
-
To exit the Workflow Scheduler without defining or saving a schedule, select the Close button.
-