Paragon Cloud Fax
![]()
The Paragon Cloud Fax node allows users to send documents from a Dispatcher Phoenix workflow directly to through the Dispatcher Paragon cloud-based online fax service.
Important! The Paragon Cloud Fax node must be installed separately. Use Add-In Manager and follow these installation instructions. In addition, the Paragon Cloud Fax node works ONLY when combined with the MFP Panel or Web Capture nodes and the fax connection capabilities of Dispatcher Paragon. For more information about Dispatcher Paragon’s Cloud Fax feature, including configuration and administration, click here.
Configuring the Paragon Cloud Fax Node
-
Enabled - To enable this node in the current workflow, check the box at this field. If you leave the box blank, the workflow ignores the node and documents pass through as if the node was not present. Note that a disabled node does not check for logic or error conditions. By default, nodes are enabled upon creation.
-
Node Name - The node name defaults into this field. This name appears in the workflow below the node icon. Use this field to specify a meaningful name for the node that indicates its use in the workflow.
-
Node Description - Enter an optional description for this node. A description can help you remember the purpose of the node in the workflow or distinguish nodes from each other. If the description is long, you can hover the mouse over the field to read its entire contents.
Buttons
- Help - To access Dispatcher Phoenix Online Help, click this button.
- Cancel - To exit the window without saving any changes, click this button.
- Save - To preserve your node definition and exit the window, click this button.
Connecting to Paragon Cloud Fax
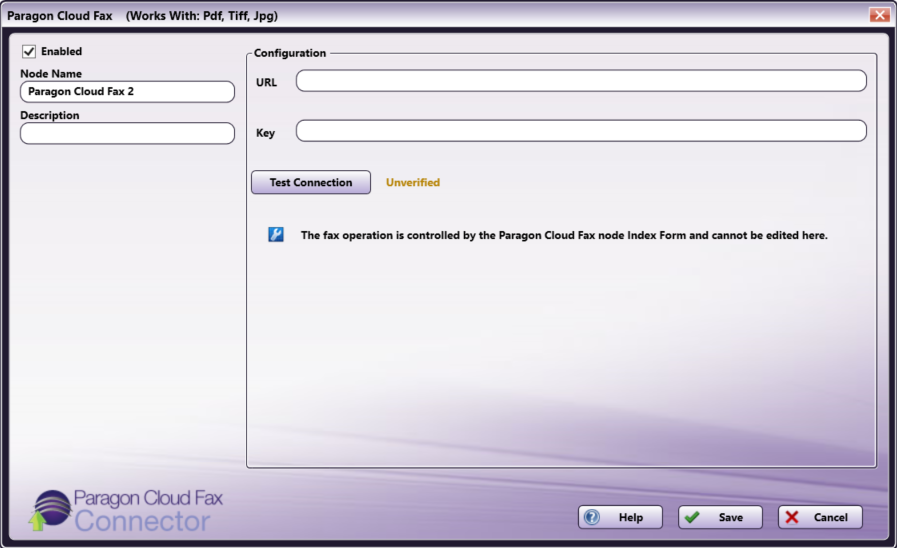
To begin, you must first connect to the Paragon Cloud Fax Server. In the Configuration area, do the following:
-
In the URL field, enter the URL address of your Paragon Cloud Fax server.
-
In the Key field, enter the Key provided with your Paragon Cloud Fax server for authentication.
-
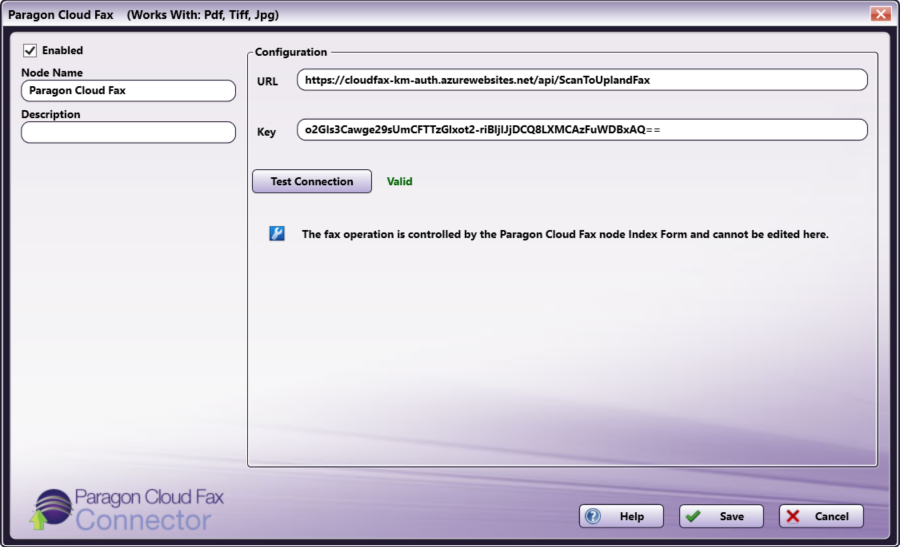
When you are done, select the Test Connection button to connect to your Paragon CloudFax Server.
Note: The node does not have any settings the user needs to configure and is intended to be used with an attached Index Form.
Configuring the Paragon Cloud Fax Index Form
You can create an index form that allows you to connect to Dispatcher Paragon Cloud Fax automatically at the MFP. Do the following:
-
Make sure that your workflow includes a MFP Panel node and Paragon Cloud Fax node.
-
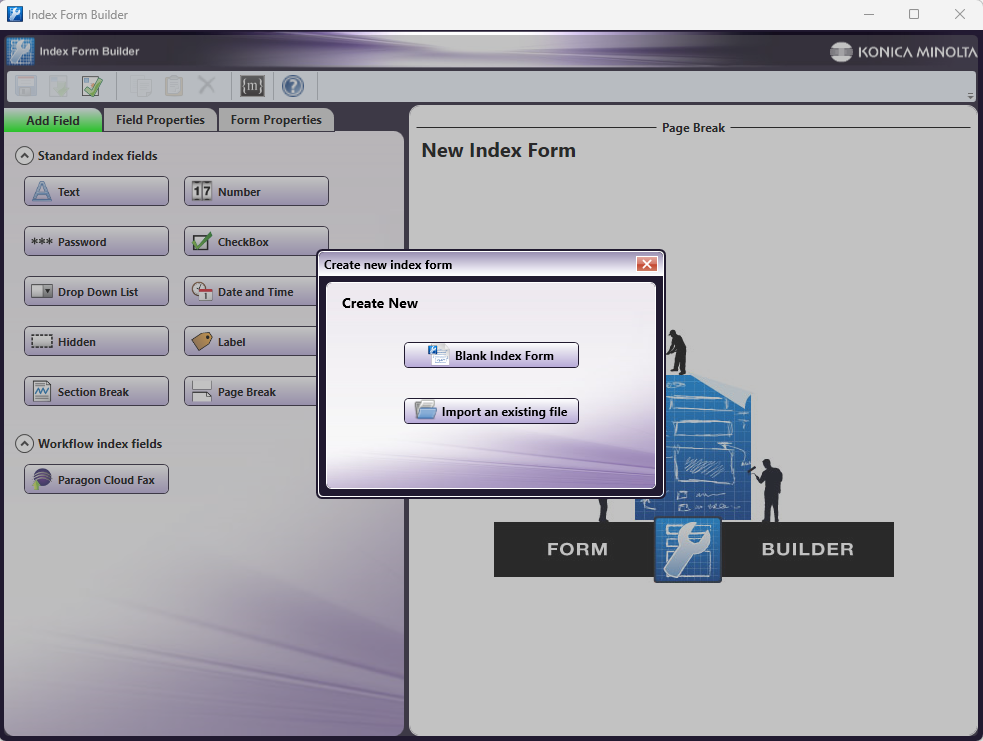
Click on the Forms dropdown in the toolbar and select Create New Index Form, as in the following illustration:

-
Select Blank Index Form, as in the following illustration:
-
Then, drag and drop the Paragon Cloud Fax button to the Index Form work area. A Paragon Cloud Fax index form will automatically appear, as in the following illustration:
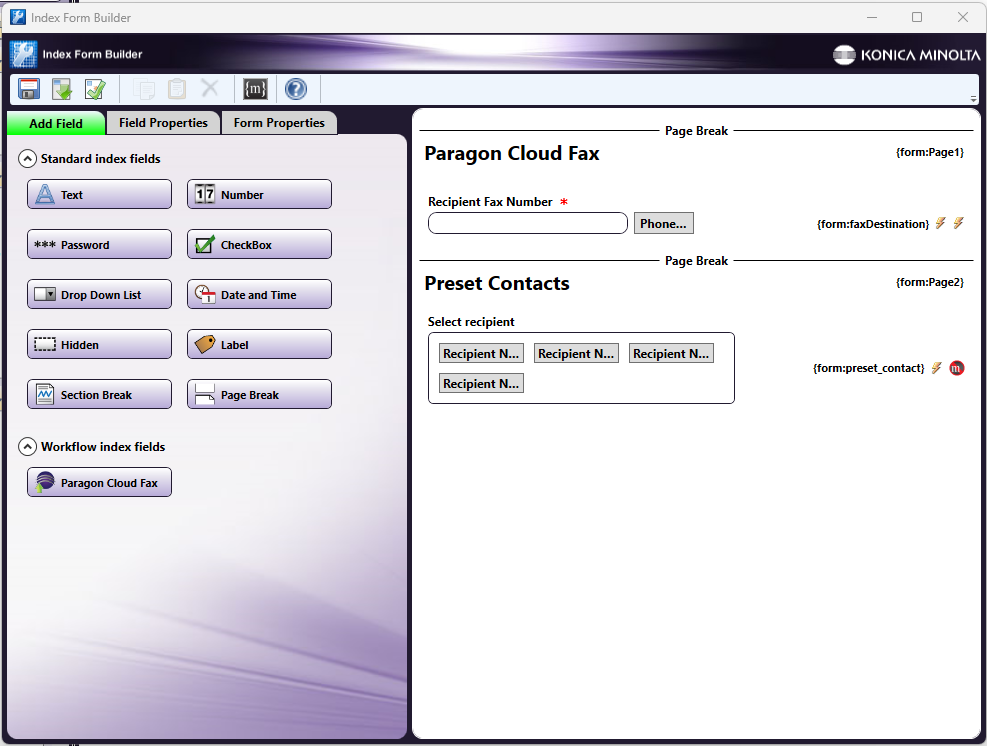
-
To update the contacts in the Phone Book, click the Drop Down List area and edit the Label and Value fields that appear on the left, as in the following illustration:
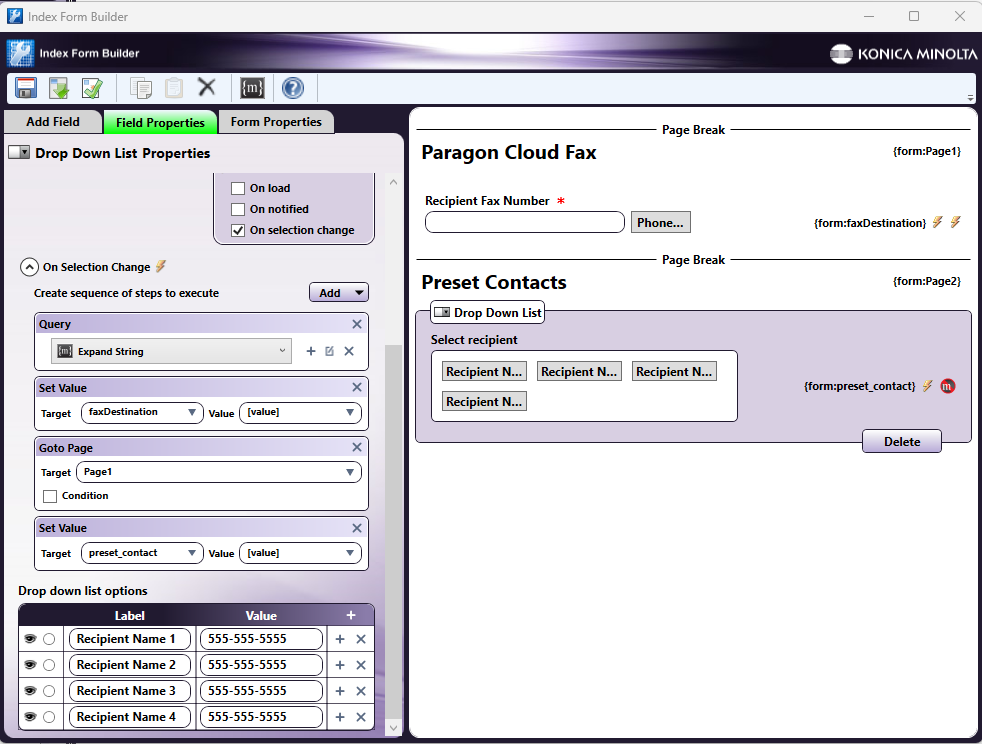
-
Save and close the Index Form Builder.
For more information, see the Index Form Builder page.
Paragon Cloud Fax at the MFP
At the MFP, take the following steps:
-
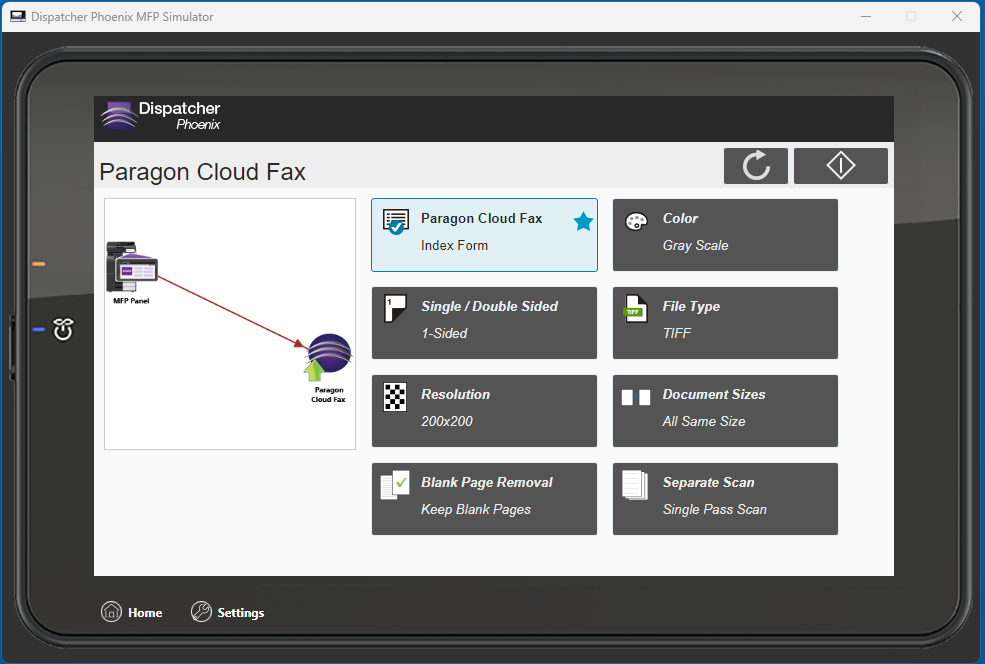
Select your workflow - If only one Dispatcher Phoenix workflow is currently running, that workflow appears. However, if multiple workflows are running, the Selection screen appears and you must select a workflow.
-
Select the index form - When your workflow appears on the screen, select the index form.
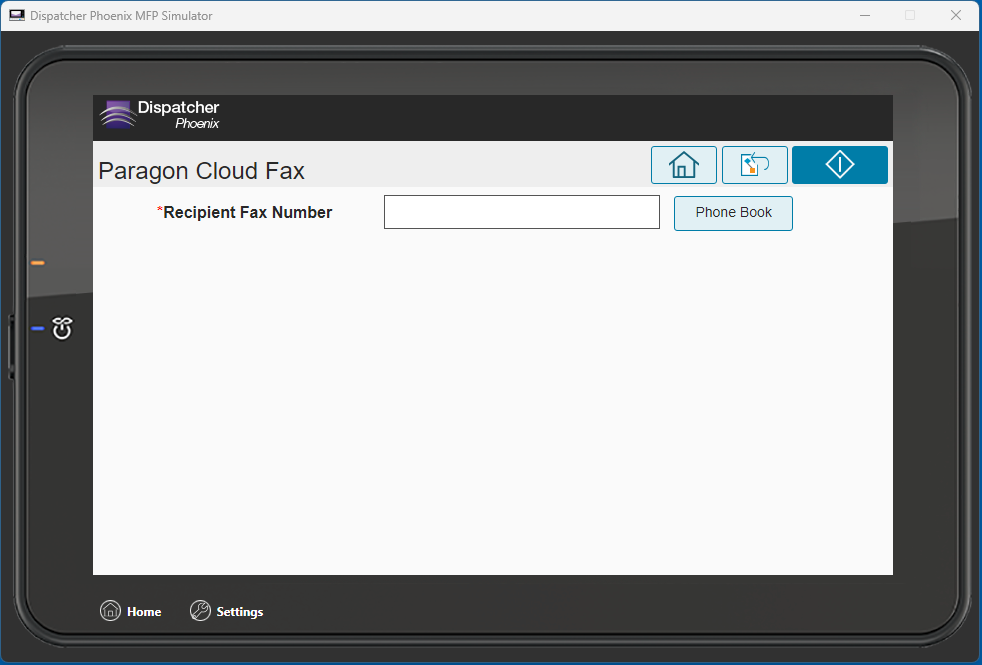
-
Enter the recipient’s fax number - This can be accomplished manually or by tapping the Phone Book button.
Tapping the Phone Book button brings you to the pre-configured phone book, as in the following illustration:
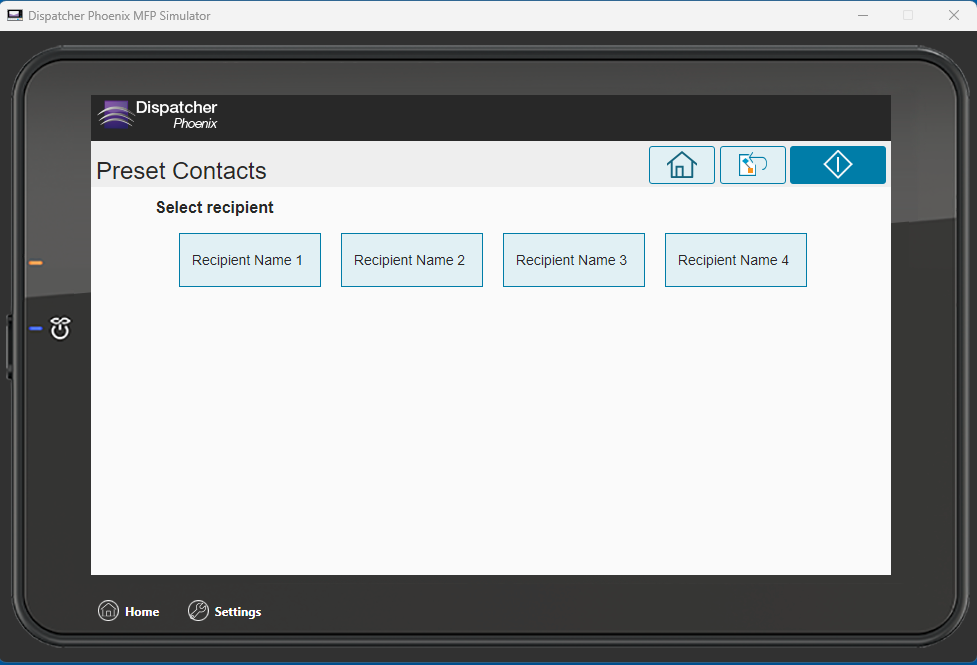
-
Scan your document - Your document will be automatically sent to the selected fax number.