User Data
DP Web includes a “User Data” app that allows you to manage your DP Web user profile and user storage variables.
Access the User Data App
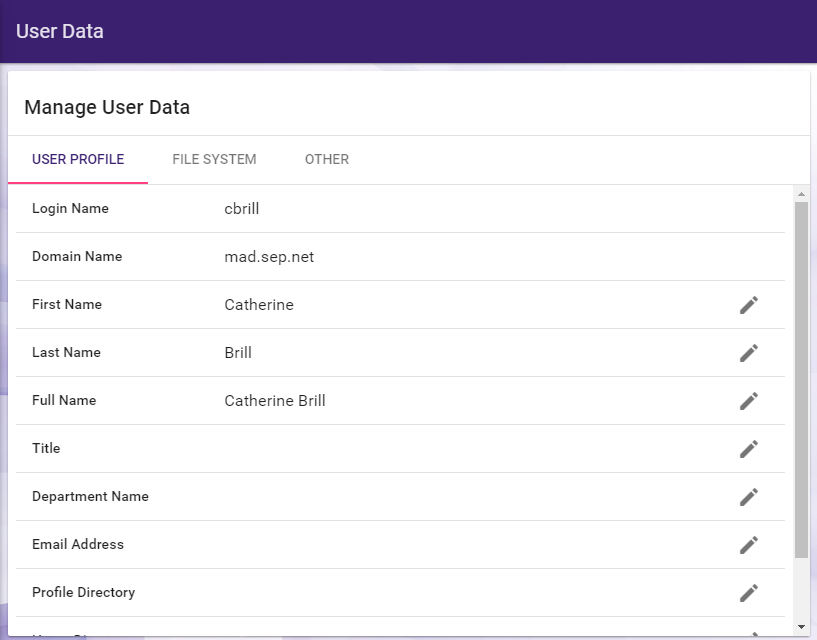
From Dispatcher Phoenix Web, select the User Data button or the Tools > User Data option from the slide out menu. The User Data page will display with the following links:
- User Profile - Displays a list of user profile fields that can be edited.
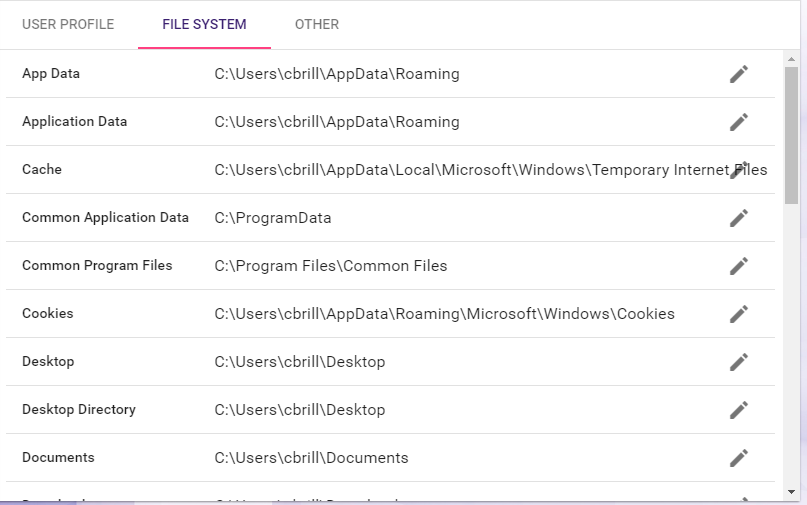
- File System - Displays a list of default directories used by Dispatcher Phoenix. You can view the variables that are set and modify them, if necessary.
- Other - Displays other user variables that can be removed.
See the following illustration as an example:

Manage User Profile
The User Profile page displays profile fields for the logged-in user. Each field will have an Edit icon next to it, as in the following illustration:

If you are connected to Active Directory or LDAP, the fields will be prepopulated with settings from the AD/LDAP system.
Important! AD/LDAP settings will always take precedence over any user-specified changes.
To edit your DP Web user profile, do the following:
-
Click on the Edit icon next to the following fields to modify them:
- First name - The first name that is associated with the logged-in user.
- Last name - The last name that is associated with the logged-in user.
- Full Name - The full name that is associated with the logged-in user.
- Title - The job title that is associated with the logged-in user.
- Department Name - The name of the department that is associated with the logged-in user.
- Email Address - The email address that is associated with the logged-in user.
- Profile Directory - The profile directory that is associated with the logged-in user.
- Home Directory - The home directory that is associated with the logged-in user.
- Groups - The group that the logged-in user belongs to.
-
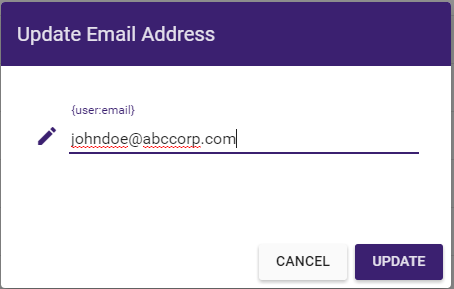
Once you click on the Edit icon, an Update pop-up window will appear for the specific field. Use that window to enter a new setting for the field; then select the Update button. For example, in the following illustration, an email address is being added to the user profile:

Manage File System Defaults
The File System page displays the default directories used by Dispatcher Phoenix Web. Each field will have an Edit icon next to it, as in the following illustration:

To edit these defaults, do the following:
-
Click on the Edit icon next to the following fields to modify the default directories for:
- App Data
- Application Data
- Cache
- Common Application Data
- Common Program Files
- Cookies
- Desktop
- Desktop Directory
- Documents
- Downloads
- Favorites
- History
- Local App Data
- Local Application Data
- My Music
- My Pictures
- My Video
- Net Hood
- Personal
- Print Hood
- Program Files
- Programs
- Recent
- Send To
- Start Menu
- Startup
- System
- Templates
-
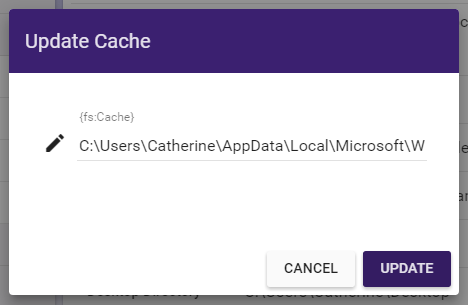
Once you click on the Edit icon, an Update pop-up window will appear for the specific field. Use that window to enter a new setting for the field; then select the Update button. For example, in the following illustration, the Cache directory is being updated:


