Square 9 Softworks Connector
![]()
The Square 9 Connector node allows you to distribute documents to Square 9, a popular AI-powered document processing platform. Documents can be sent to Square 9 via an automated workflow, or you can log into Square 9 directly at the MFP panel.
Note: To use the Square 9 Softworks Connector, you must have a Square 9 account.
To open the Square 9 Softworks Connector Node properties window, add an output node for Square 9 to your workflow and double-click on it.
-
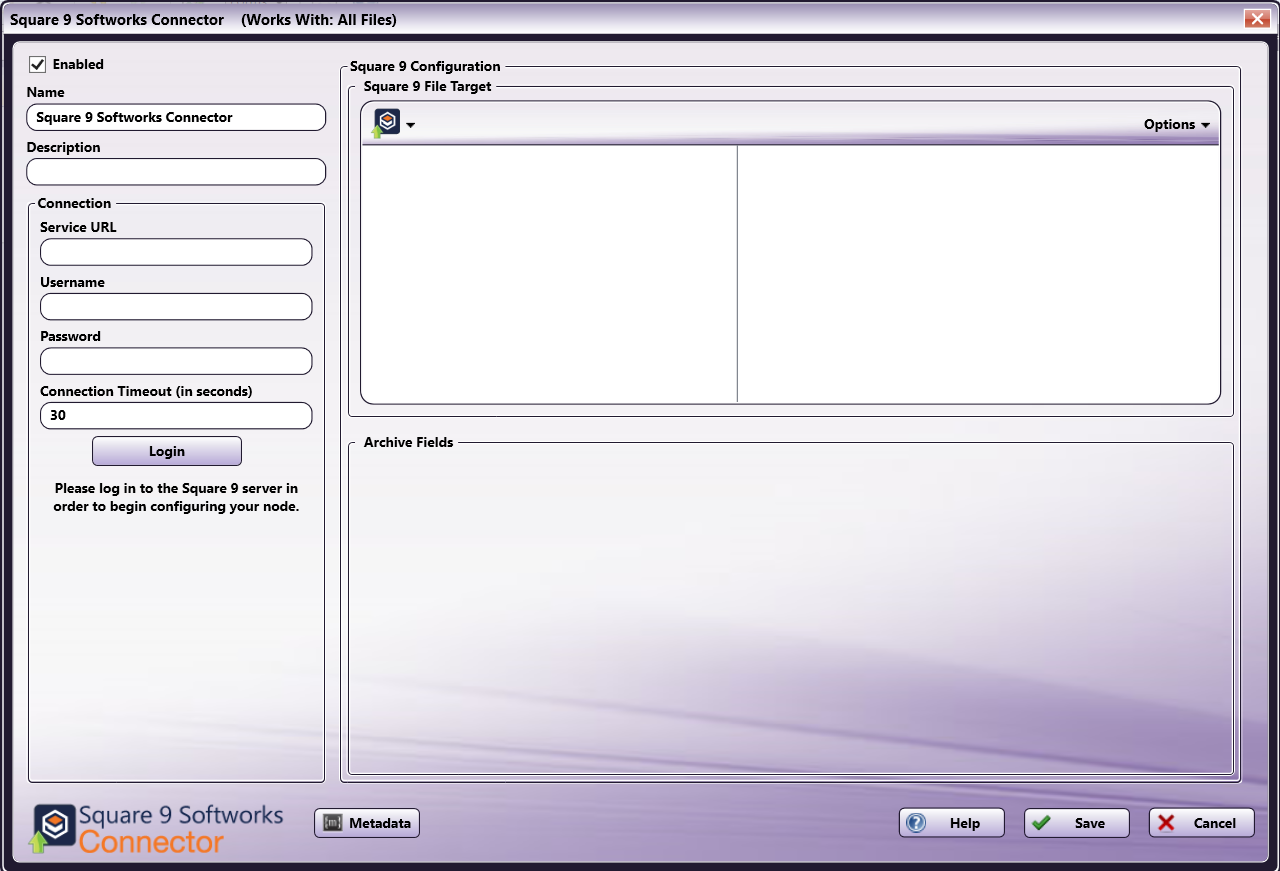
Enabled - To enable this node in the current workflow, ensure the Enabled box is checked. By default, nodes are enabled upon creation. If you disable the node, the workflow will ignore it. While the workflow will still validate, documents will not be output and may be lost. Note that a disabled node does not check for logic or error conditions.
-
Node Name - The node name defaults to this field. This name appears in the workflow below the node icon. Use this field to specify a meaningful name for the node that indicates its use in the workflow.
-
Node Description - Enter an optional description for this node. A description can help you remember the purpose of the node in the workflow or distinguish nodes from each other. If the description is long, you can hover the mouse over the field to read its entire contents.
Connecting to Square 9
To begin, you must first connect to the Square 9 Server. In the Connection area, do the following:
-
In the Server URL field, enter the URL address of your Square 9 Server.
-
Enter your Square 9 Server user credentials in the Username and Password fields.
-
When you are done, select the Login button to connect to your Square 9 Server.
Configuring the Square 9 Softworks Connector
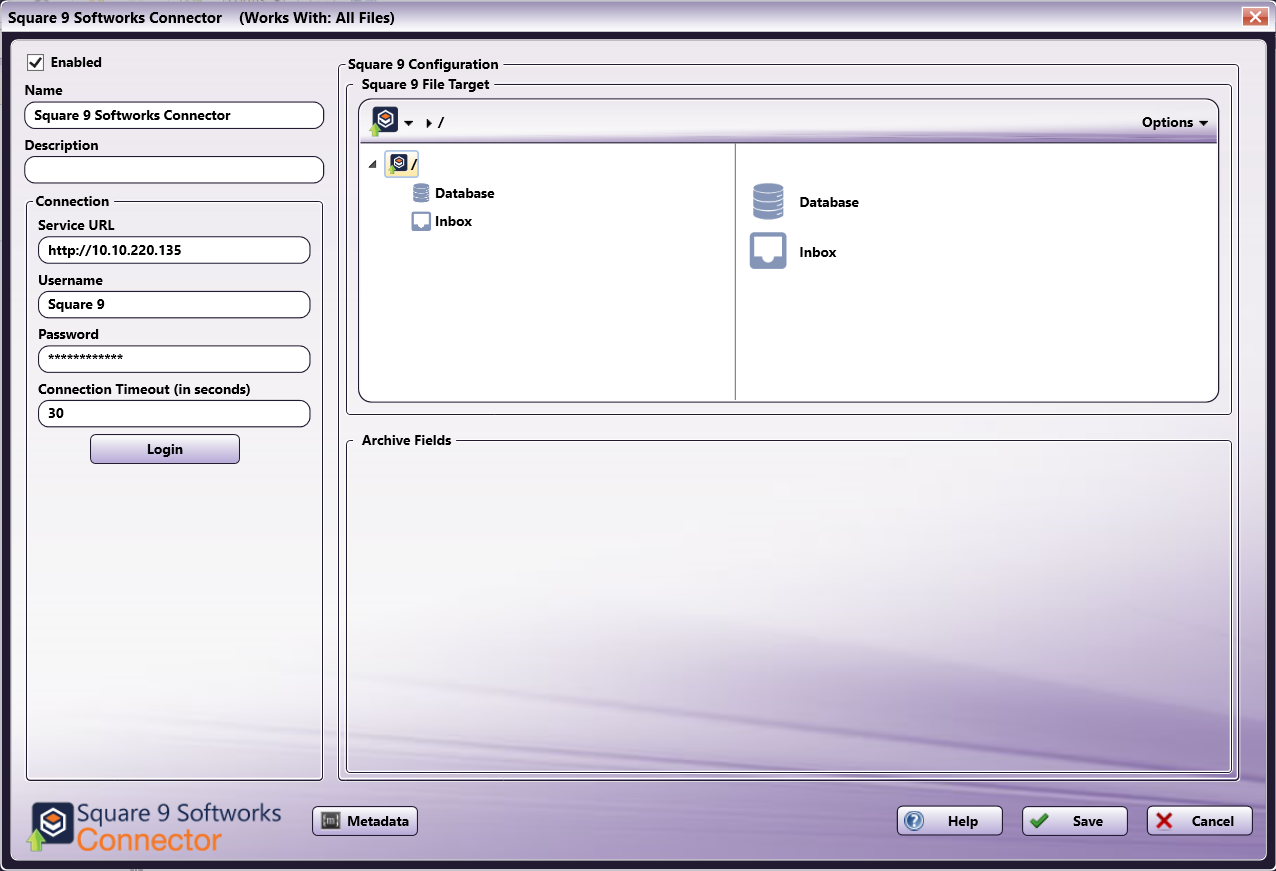
Once connected, the right hand side of the Square 9 Softworks Connector properties window displays a tree-view and listed view of your Square 9 Databases and Inboxes. The tree view is optional and can be turned off.
Selecting a Database or Inbox
Square 9 organizes documents in two ways: Databases and Inboxes. Databases are how Square 9 typically stores documents. Archives exist within databases and act much like folders. Inboxes are temporary repositories where documents can be reviewed by relevant parties before being indexed in a database.
After connecting to the Square 9 server, the Databases, Archives, and Inboxes available to the user will appear in the Configuration area. Navigate to the repository you would like to save documents to. Note that you must select an Archive or Inbox; selecting a database is not a valid configuration.
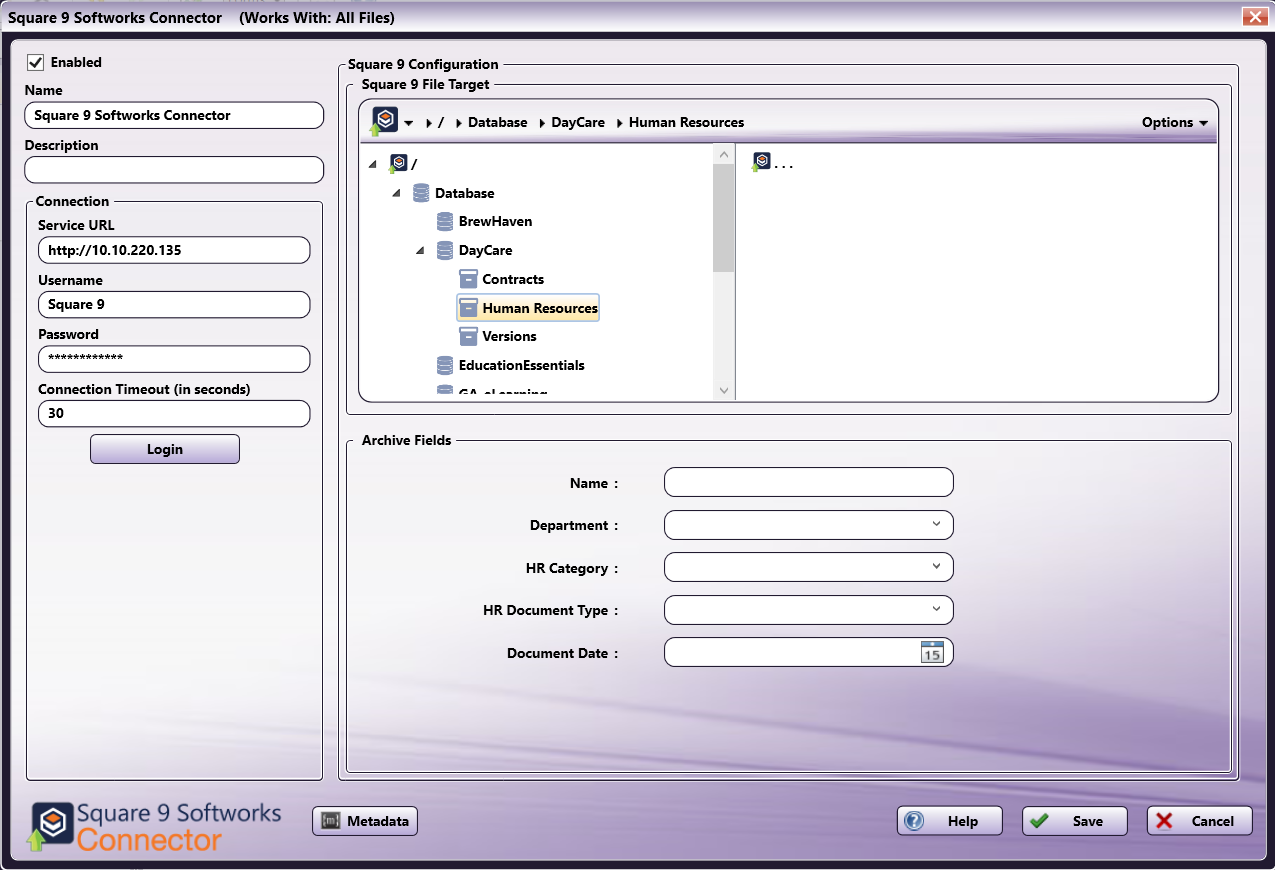
Archive Fields
If you selected an archive to save documents to, the Archive Fields area will populate with the associated fields. Archive Fields contain additional information that is uploaded with the document.
Note: Archive Fields support a single line of text. The maximum length is defined within GlobalSearch.
Options
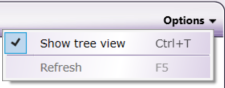
You can adjust the default view of your Square 9 archives in the node properties window by using the Options button on the top right hand side of the window. Do the following:
-
Click on the Options button. The following drop-down menu will appear:
-
To turn off the default view, uncheck the Show tree view option.
- To refresh the node’s configuration area and display the most up-to-date databases, archives, and inboxes from Square 9, select the Refresh option. This will also refresh the Archive Fields section.
Using with Index Form
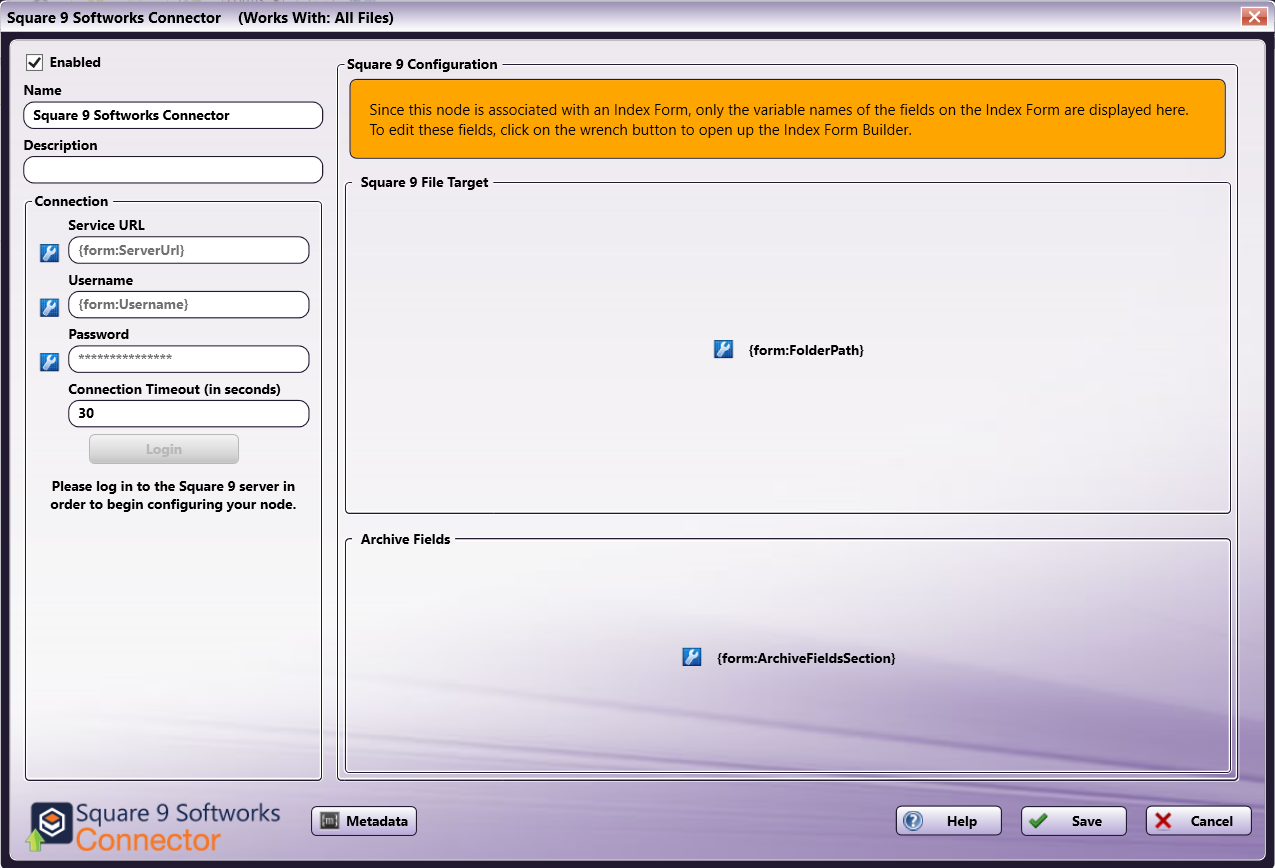
When using the Square 9 Softworks Connector node on an Index Form, the Square 9 Softworks Connector node properties window will be automatically populated with the variable names of the fields on the Index Form. Although you cannot edit the fields on this window, you can click on the wrench tool button to go to that section or field in the Index Form Builder. See the following illustration:
Creating a Square 9 Service Account Index Form
When the workflow is configured with a Service Account Index Form, users will be automatically logged into a single Square 9 account before they begin scanning. To create an Index Form that allows you to customize your Square 9 Softworks Connector node at the MFP, do the following:
-
Make sure that your workflow includes a Square 9 Softworks Connector node.
-
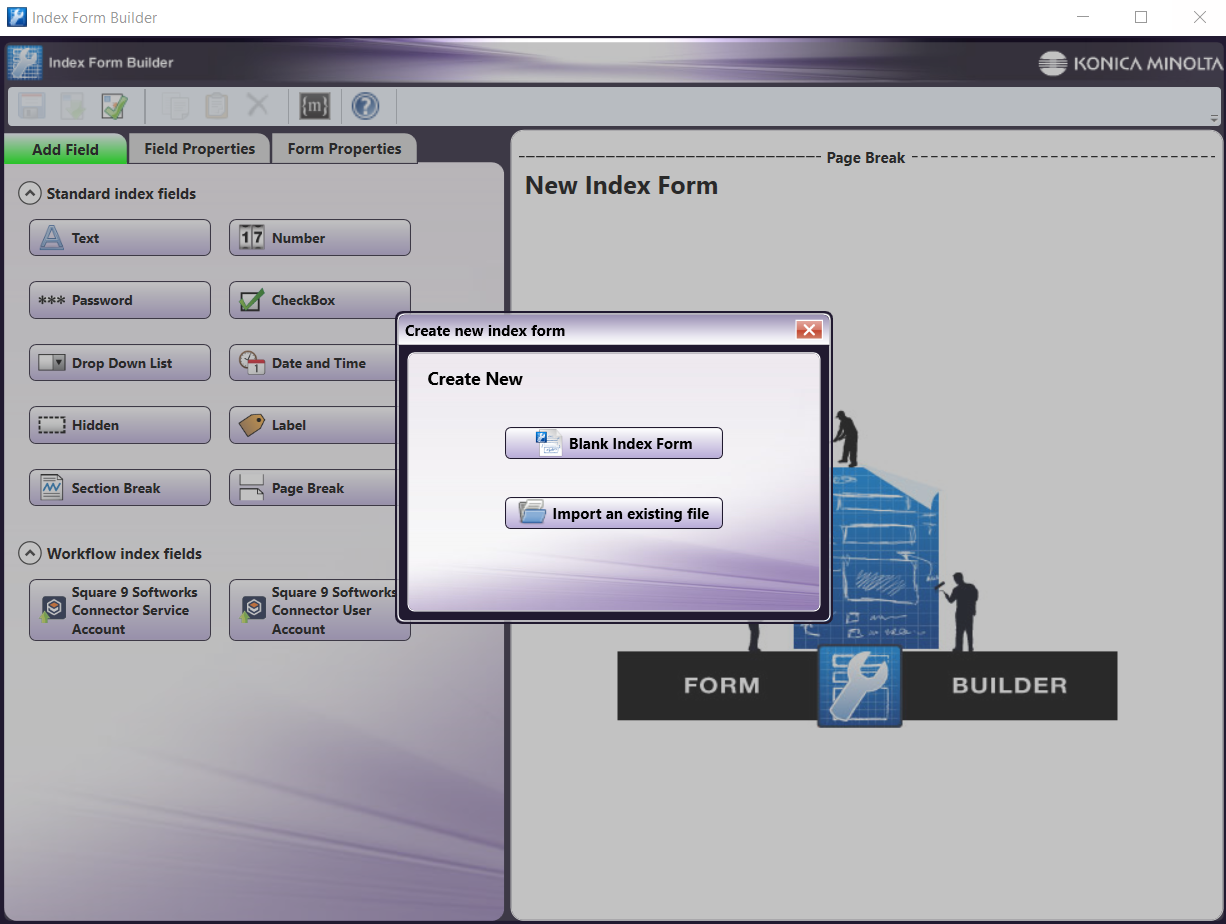
Click on the Forms dropdown in the toolbar and select Create New Index Form to open the Index Form Builder, as in the following illustration:
-
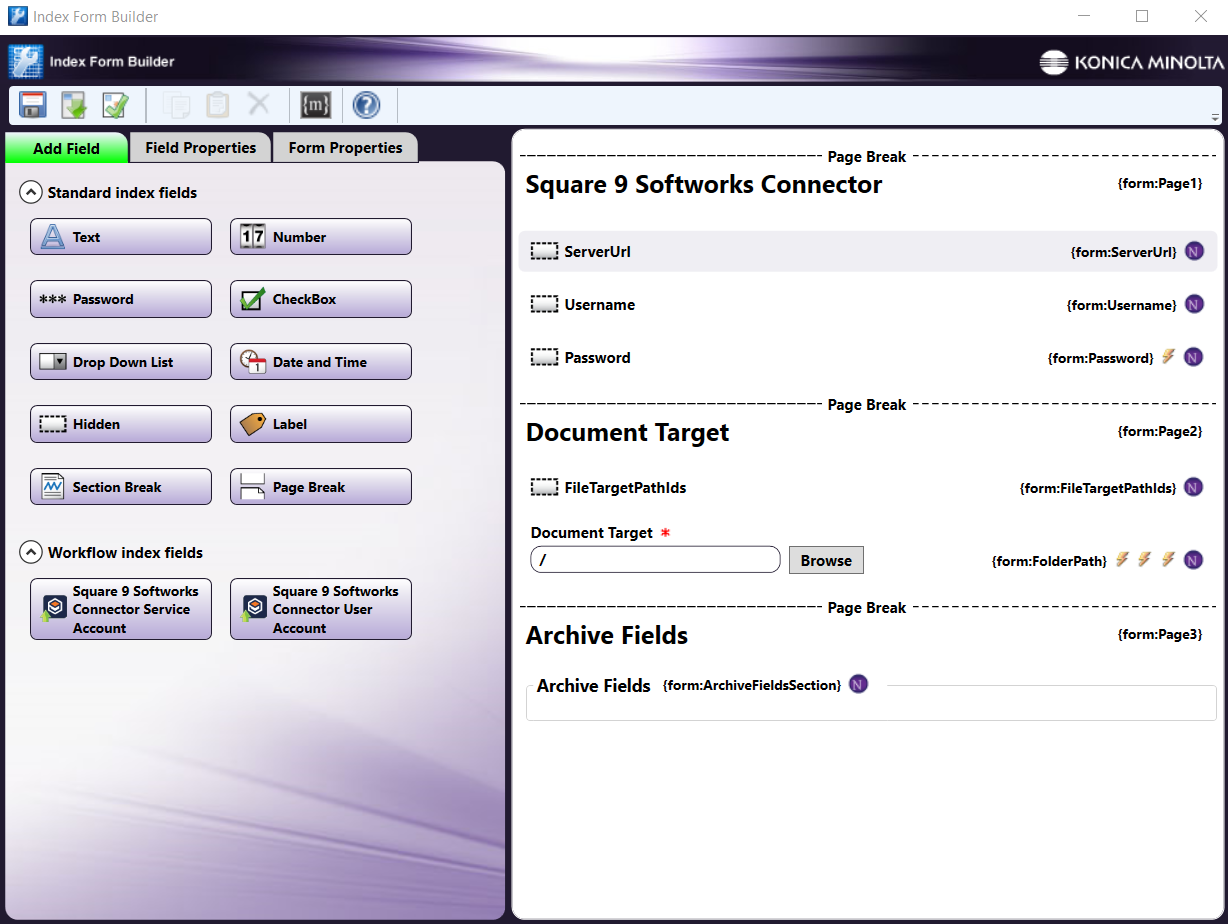
Select the Blank Index Form option in the pop-up. Then, drag the Square 9 Softworks Connector Service Account button to the Index Form Builder working area. Several fields will populate, as in the following illustration:
-
Select the ServerURL component and enter the server URL for the Square 9 installation in the Default value field.
-
Enter any additional information, such as Username, Password, any preconfigured Archive Fields, etc.
-
Validate, Save, and close the Index Form Builder.
-
Attach the Index Form to a node that supports Index Forms, such as the MFP Panel node, Web Capture node, or Release2Me node.
Creating a Square 9 User Account Index Form
When the workflow is configured with a User Account Index Form, you will be prompted to log into your Square 9 account at the MFP before you begin scanning and sending. To create an Index Form that allows you to customize your Square 9 Softworks Connector node at the MFP, do the following:
-
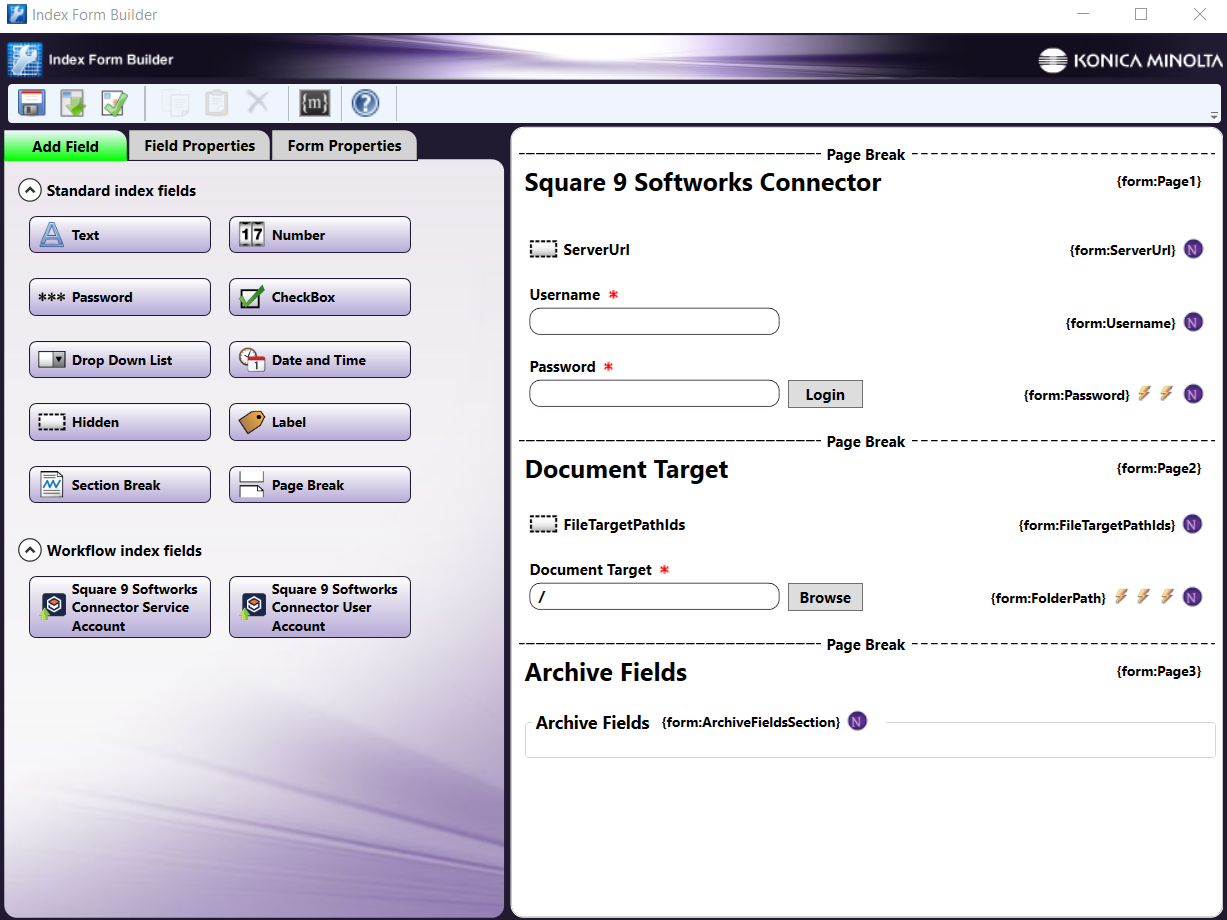
Follow steps 1 through 4 from the Creating a Squre 9 Service Account Index Form, except you click and drag the Square 9 Softworks Connector User Account button to the Index Form Builder working area.
-
Enter any additional information, such as preconfigured Archive Fields.
-
Validate, Save, and close the Index Form Builder.
-
Attach the Index Form to a node that supports Index Forms, such as the MFP Panel node, Web Capture node, or Release2Me node.
Square 9 Index Form On MFP
When the Square 9 Softworks Connector is configured with an Index Form, the user will be able to enter their account credentials, browse through archives, and add any necessary additional information. To use the Square 9 Softworks Connector at the MFP Panel, do the following:
-
At the MFP, open the workflow containing the Square 9 Softworks Connector and the node associated with the Index Form that you have already configured.
-
If the Index Form was built using a properly preconfigured Service Account form, you will be automatically logged in. If the Index Form was built using a User Account form, you will need to provide the Username and Password, if they have not been preconfigured. Then, select Login.

-
Browse for the Square 9 Document Target you would like to save to (Database/Archive or Inbox), as in the following illustration:

-
Enter any information needed in the Archive Fields, as in the following illustration:

The workflow will only process documents if a valid Document Target is selected. For example, selecting a Database with no Archives (an invalid selection) within it will cause an error, as in the following illustration:
